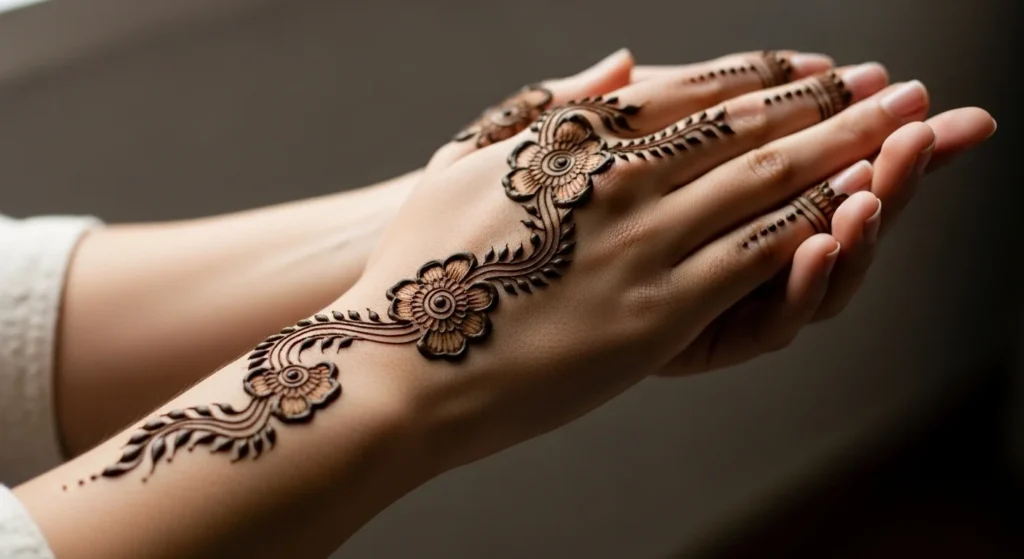
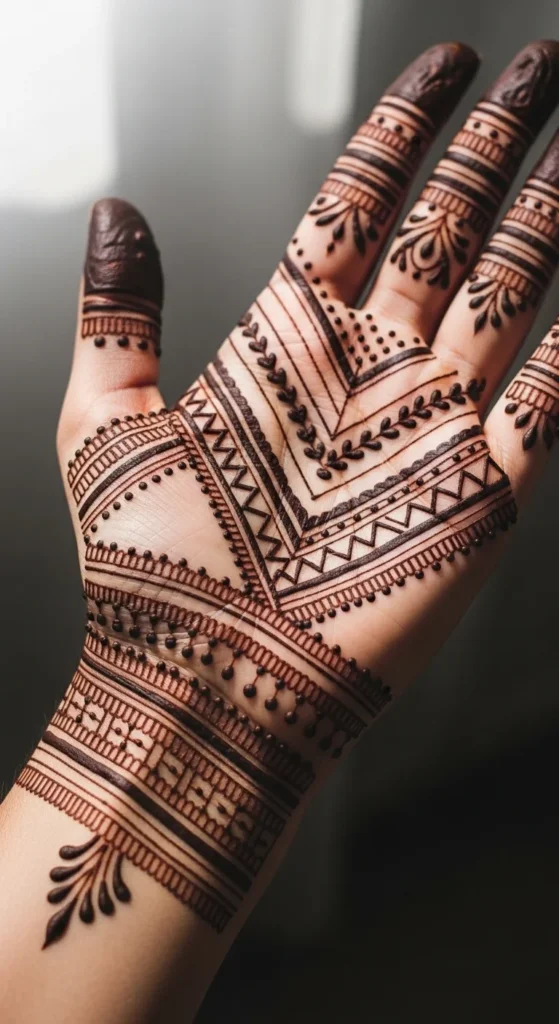
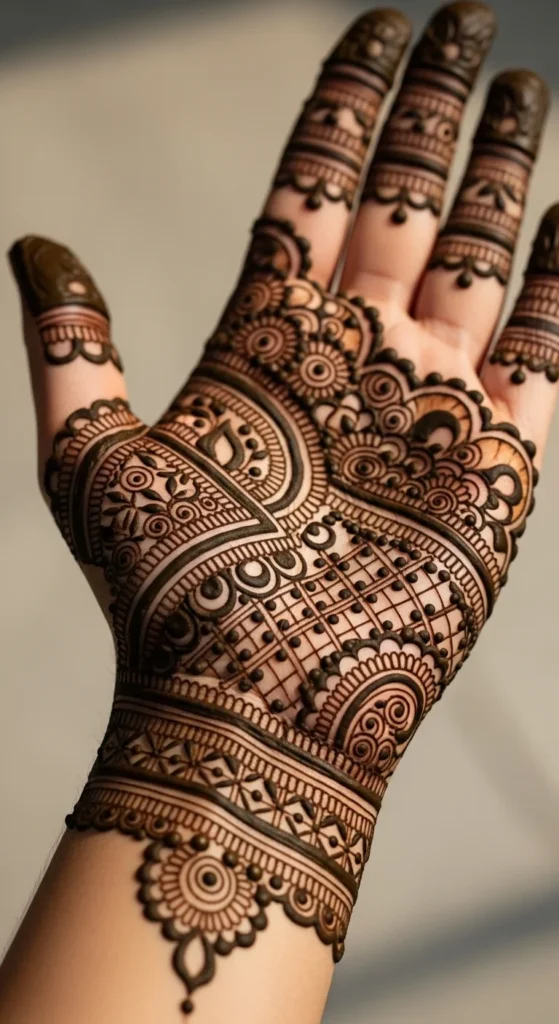
Simple mehndi designs are popular because they are quick, elegant, and beginner friendly. Clean lines, florals, vines, and negative space create a polished look without heavy detail. Many people want designs that take 5–15 minutes yet still look professional. These ideas focus on easy shapes, confident strokes, and practical placement. With basic cone control and a few repeatable patterns, anyone can create hand mehndi that looks refined and modern.
1. Minimal Floral Palm Starter

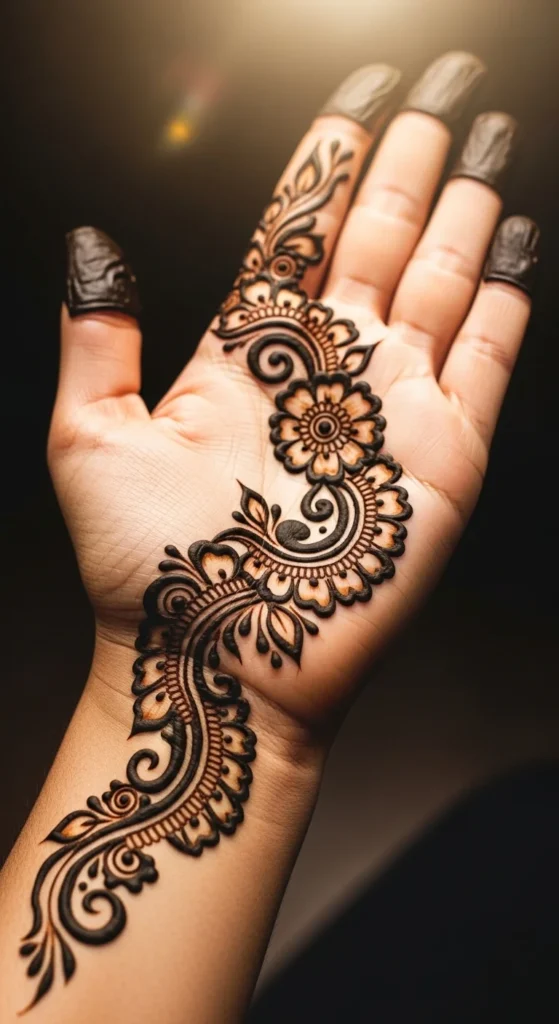
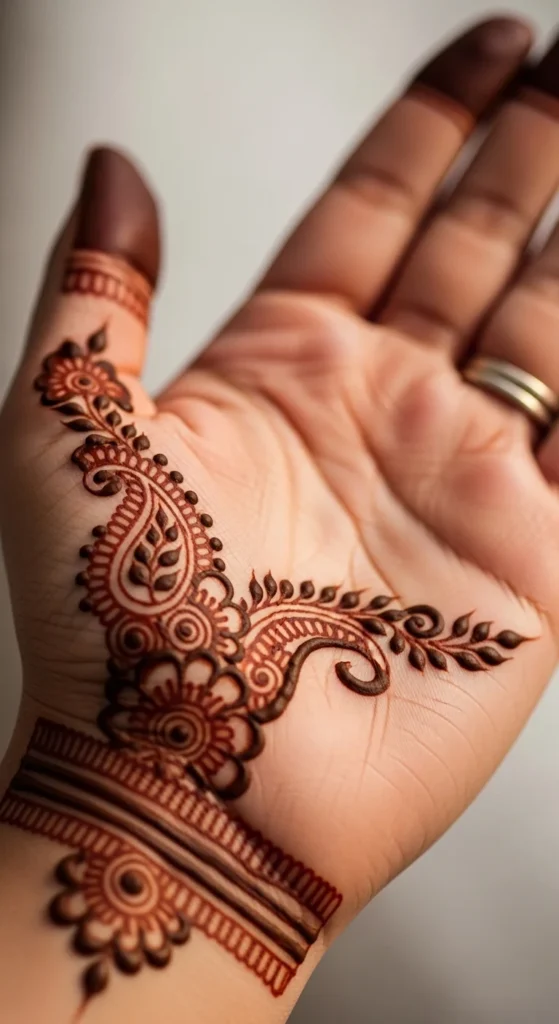
Small floral clusters are the easiest starting point. Begin with one flower in the center of the palm. Add two smaller flowers beside it.
Keep petals round and simple. Use dots to fill empty areas. This prevents designs from looking unfinished.
Spacing matters. Leave visible skin between elements. Negative space creates a professional look.
Budget tip: practice flowers on paper first using a cheap cone. Repetition builds steady strokes.
If hands feel shaky, draw dots first. Connect them into petals. This trick helps beginners.
Finish with tiny leaves around the flowers. Stop early instead of overfilling.
This design works for daily wear and events. It looks neat even when done quickly.
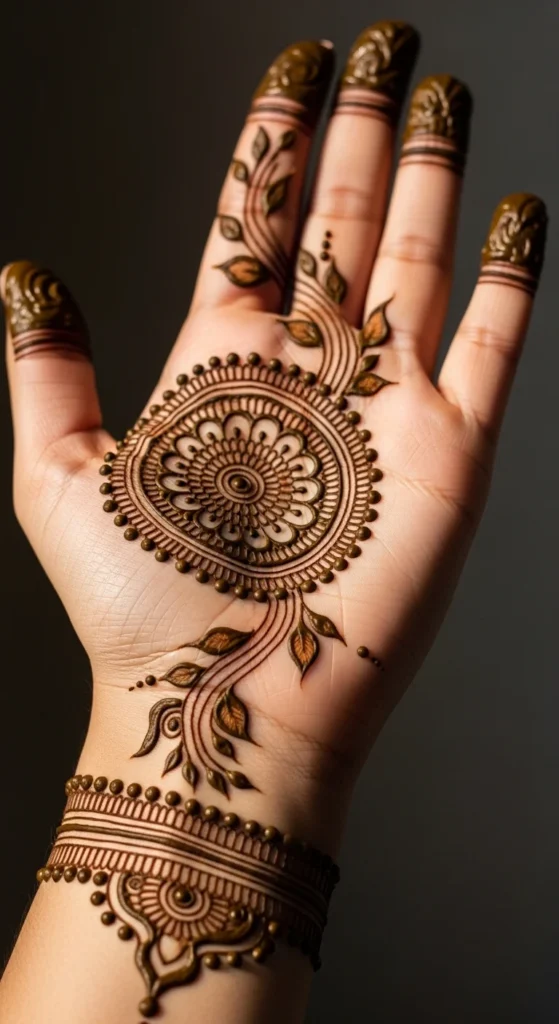
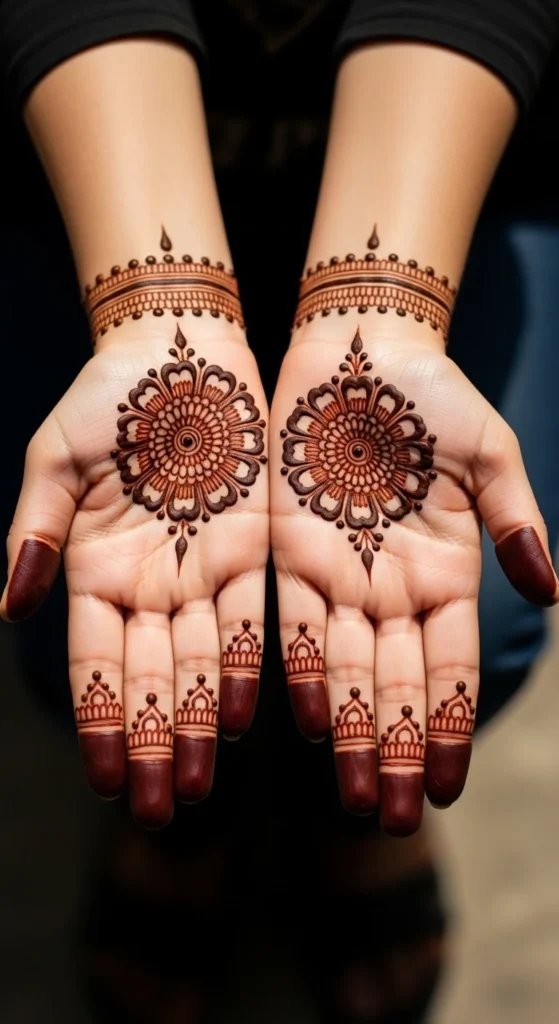
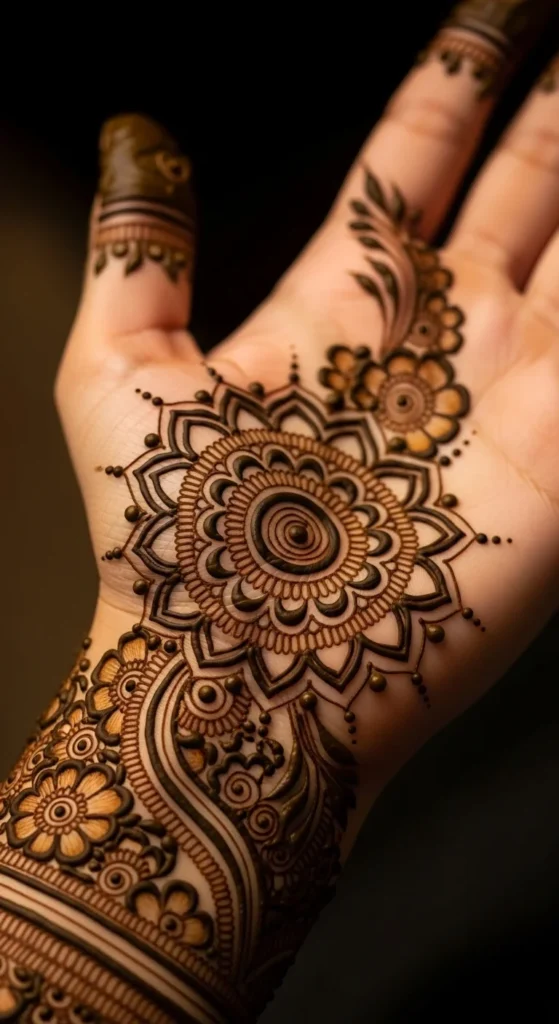
2. Palm Mandala Mini
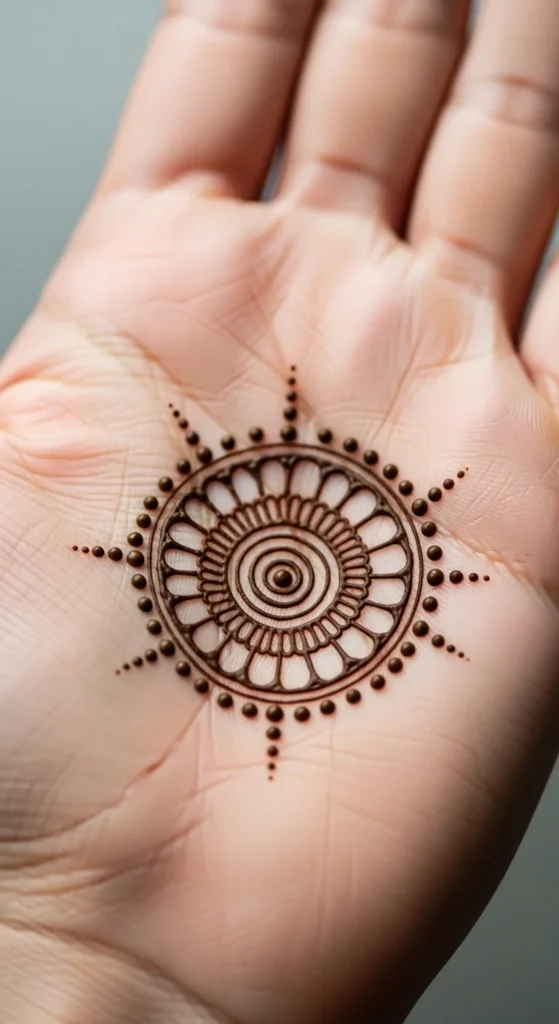
Mandala designs create balance instantly. Start with a dot. Draw a circle around it. Add small petals.
Repeat shapes instead of creating new ones. Repetition makes symmetry easier.
Keep lines thin. Thick lines can make the mandala look heavy.
A beginner trick is rotating your hand instead of rotating the cone. This keeps circles smoother.
Use dots between layers for texture. This adds detail without complexity.
Mandala minis work well for short events because they take little time but look structured.
Practice drawing circles slowly. Pressure control matters more than speed.
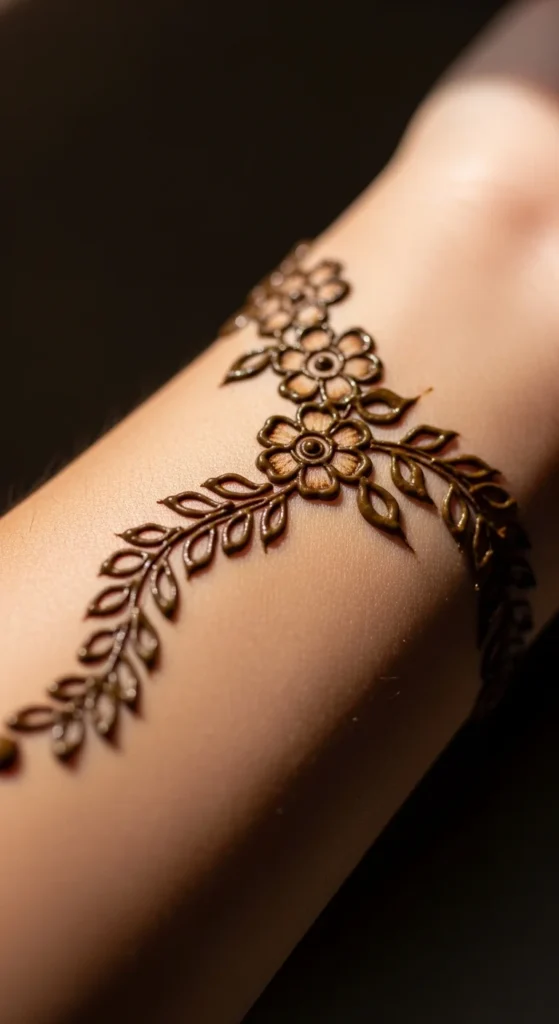
3. Leafy Vine Sweep
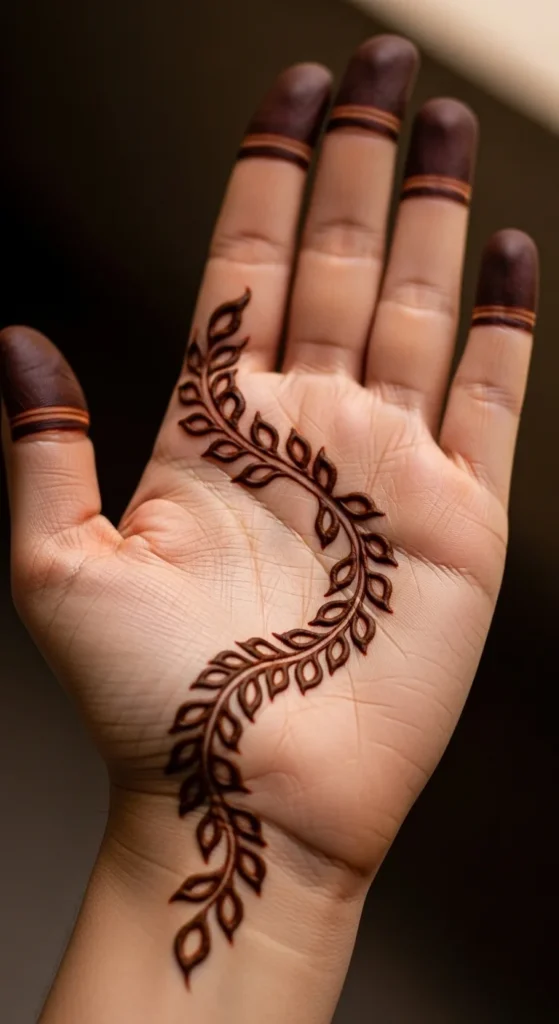
Vines create movement. Draw one curved line across the palm. Add small leaves on both sides.
Leaves can be simple teardrops. No extra detail required.
This design is flexible. It works on palm, back hand, or wrist.
Leave gaps between leaves. This keeps the design airy.
Budget idea: practice leaf shapes repeatedly in a notebook page.
Add dots near leaves for decoration. Small details make designs feel finished.
Vines are popular because they look elegant even when simple.
4. Arabic Side Flow Palm
Arabic style focuses on flow. Draw a diagonal guide line first.
Place one flower along the line. Add swirls and leaves around it.
Keep one side heavier than the other. This asymmetry creates style.
Avoid filling every space. Skin gaps highlight bold strokes.
Practice curved swirls slowly. Fluid movement matters more than detail.
This design suits quick event prep because it looks detailed yet fast.
5. Dot Grid Beginner Pattern
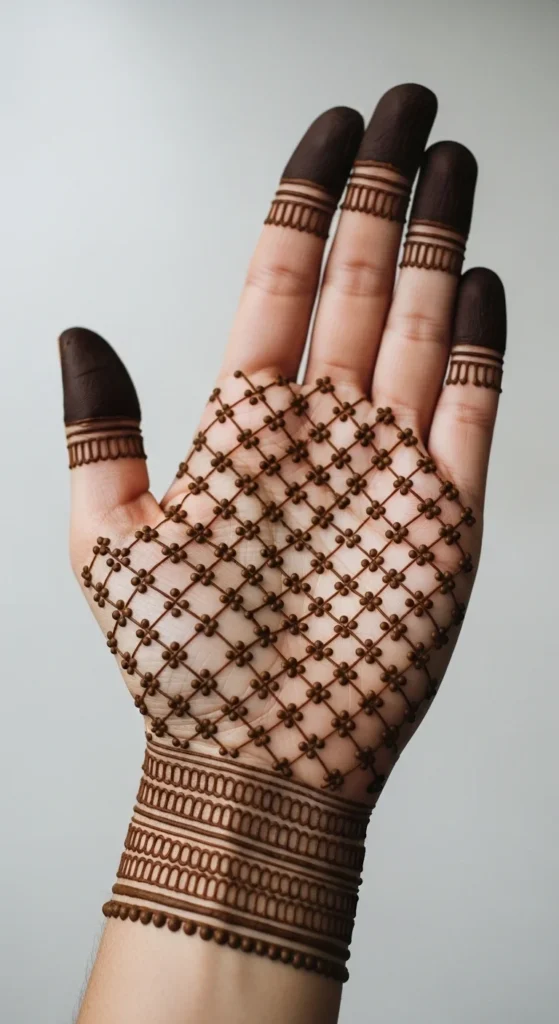
Dot patterns help shaky hands. Place evenly spaced dots first.
Connect some dots with lines. Leave others as accents.
Grids create a modern look. They work well with minimal outfits.
Use different dot sizes for interest. Variation adds depth.
Practice spacing by drawing light guidelines first.
Dot designs dry quickly and stain well because lines stay clean.
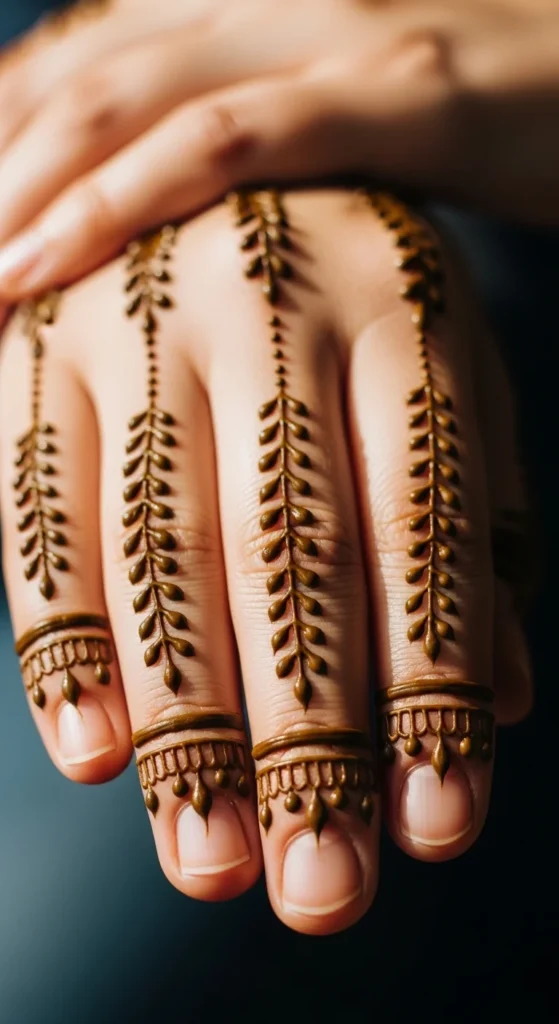
6. Finger Trail Minimal Design
Finger designs feel elegant without full hand coverage. Draw a thin line from finger base to tip.
Add tiny leaves or dots along the line.
Keep each finger slightly different. Small variation looks natural.
Finger trails are perfect for last-minute designs. They take minutes.
Avoid thick lines. Thin strokes look refined.
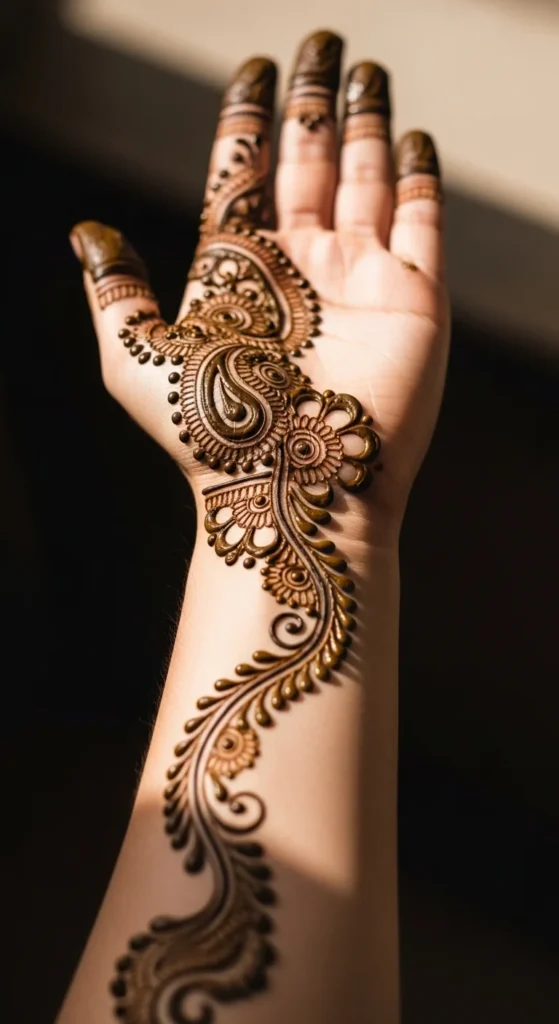
7. Teardrop Paisley Starter
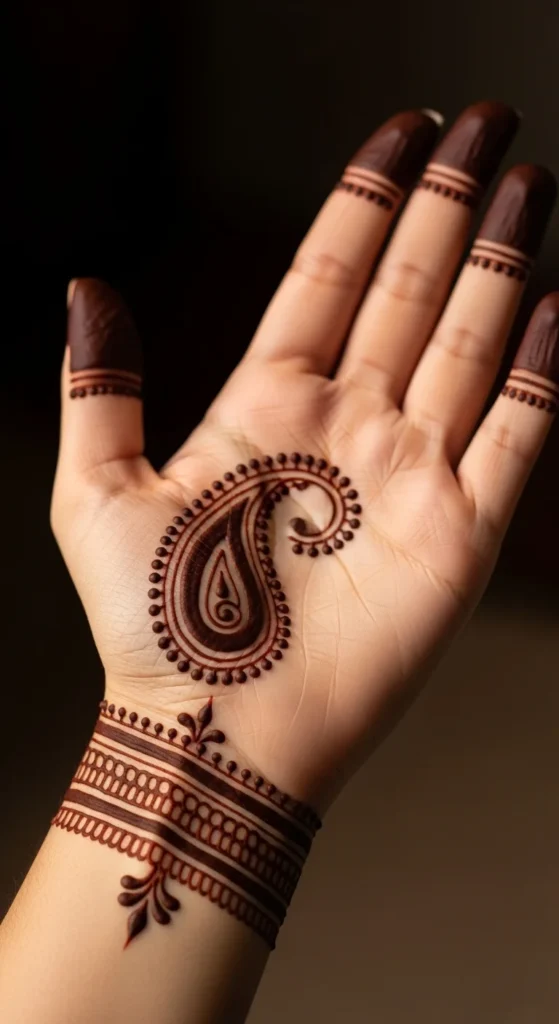
Paisley begins with a teardrop shape. Add a smaller teardrop inside.
Decorate the border with dots. This creates texture quickly.
Paisley works in traditional and modern styles. It is highly reusable.
Keep the first paisley large. Smaller ones can follow.
This method creates layered designs without complexity.
8. Half Palm Mandala + Vine
Half designs look professional while saving time. Place a mandala near the thumb.
Extend a vine outward. This creates movement.
Half coverage keeps the design breathable. It also dries faster.
Add dots where mandala meets vine. This blends elements.
This style works well for beginners learning composition.
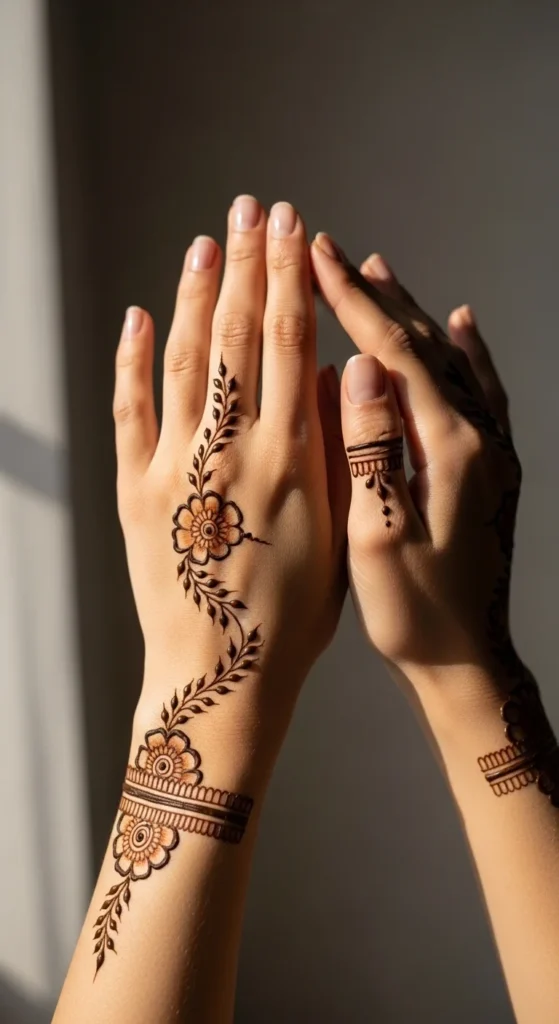
9. Back Hand Side Sweep
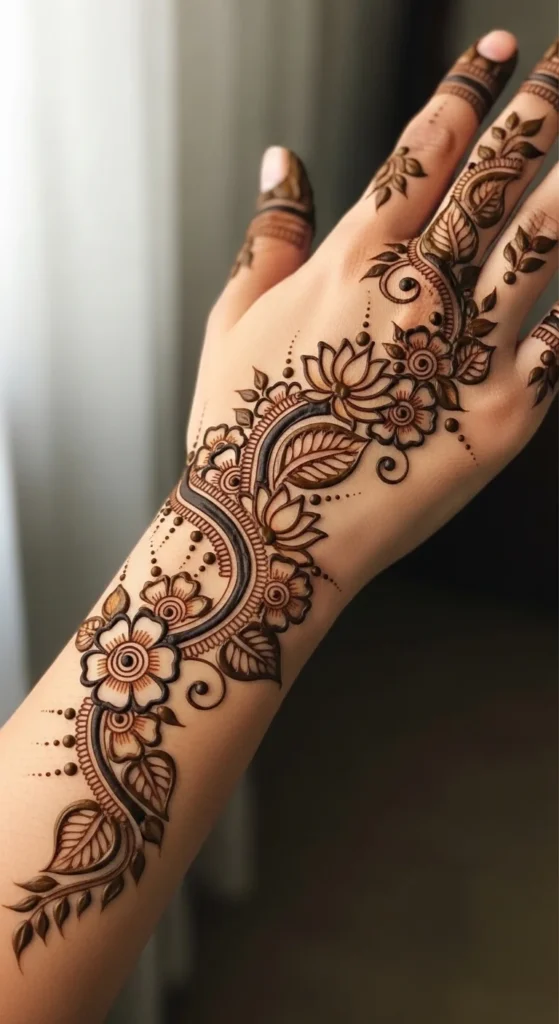
Side sweeps look elegant and modern. Draw a curved line from wrist toward one finger.
Place flowers along the curve. Add leaves to frame them.
Avoid covering the entire back hand. Negative space creates balance.
This design photographs well. It is popular for casual events.
10. Jewelry Inspired Jhumki Motif

Draw a small dome shape. Add hanging dot chains underneath.
This creates a jewelry illusion effect. It looks festive without heavy work.
Place the motif on palm or wrist.
Repeat small chains for rhythm. Keep spacing even.
Jhumki designs pair well with minimal outfits.
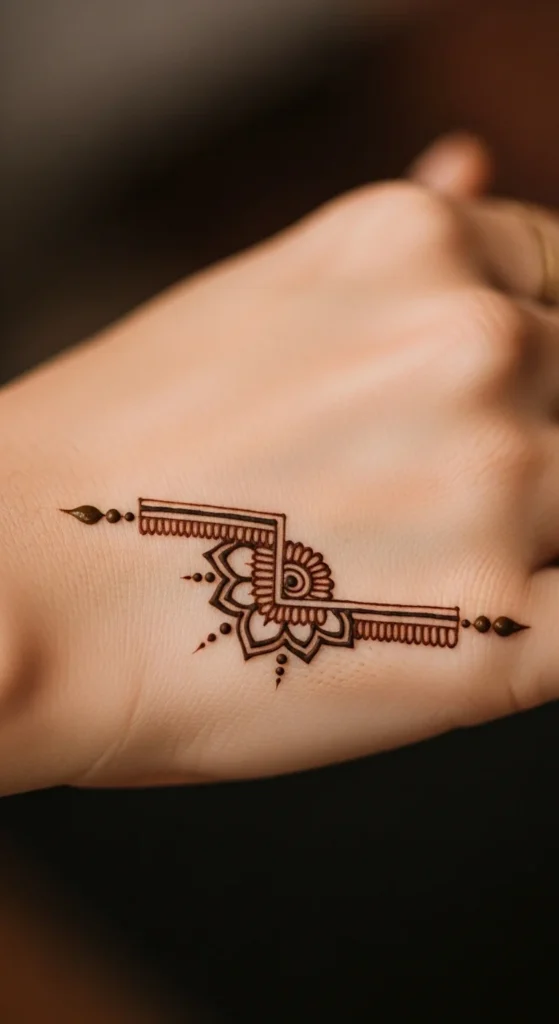
11. Reverse Border Frame
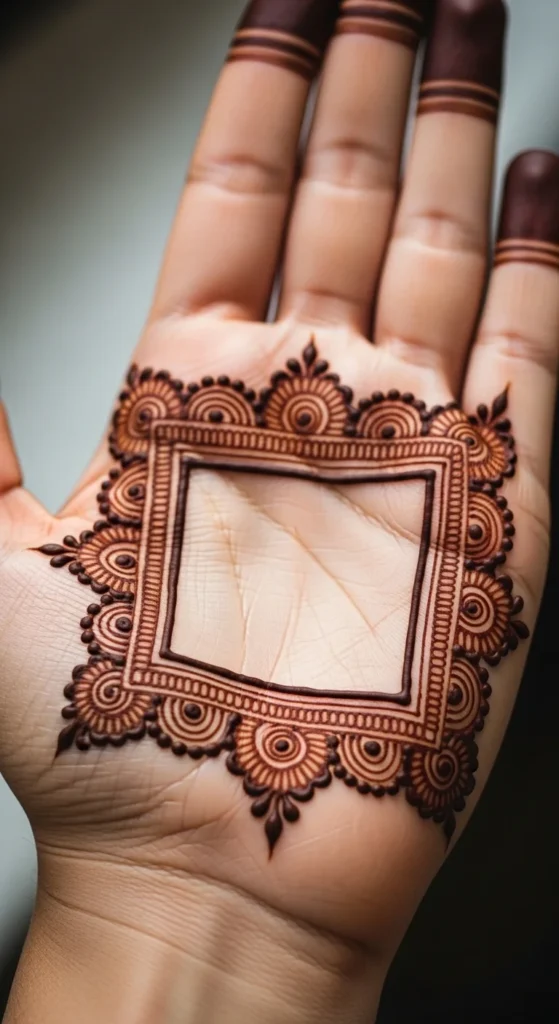
Instead of filling the center, decorate the border. Draw a frame around the palm.
Add leaves and dots along the frame.
Leaving the center empty creates a clean look.
This style works well for beginners learning control.
12. Curved Swirl Practice Design
Swirls are a core Arabic element. Draw large curved strokes slowly.
Add small leaves along the swirl.
Practicing swirls improves cone control quickly.
Keep designs simple. Focus on smooth motion.
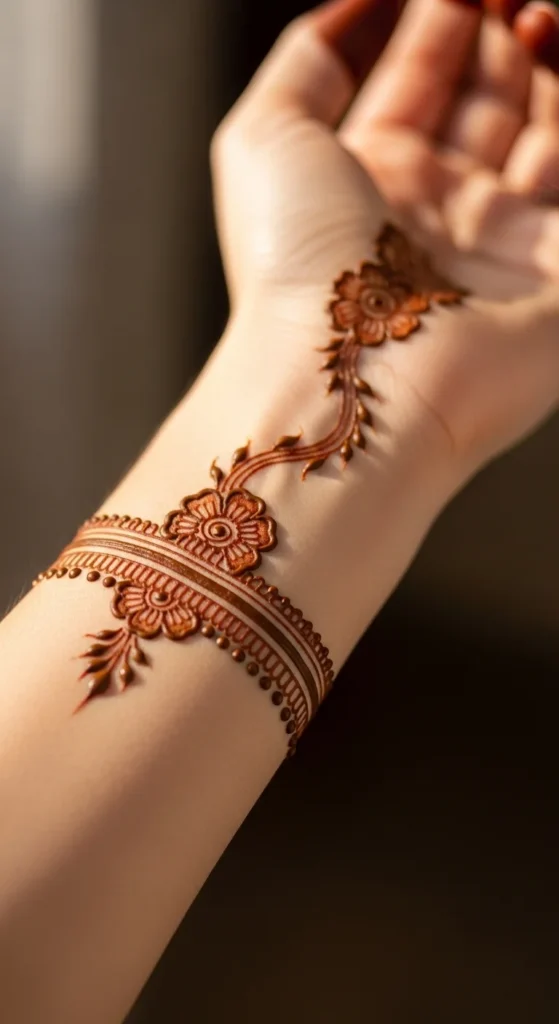
13. Floral Bracelet Mehndi
Create a bracelet shape around the wrist. Add tiny flowers along the band.
Bracelet mehndi is quick and versatile.
It works alone or paired with finger designs.
Keep flowers small for elegance.
14. Finger Tip Accent Design
Decorate only finger tips with tiny shapes.
Use dots, lines, and mini leaves.
This design is extremely fast yet stylish.
Finger tip accents work well for modern minimal looks.
15. Symmetrical Twin Palm Design
Mirror designs create a balanced appearance. Draw one simple motif and repeat on the other hand.
Symmetry looks professional even with simple shapes.
Use identical elements. Avoid adding extra details to one hand.
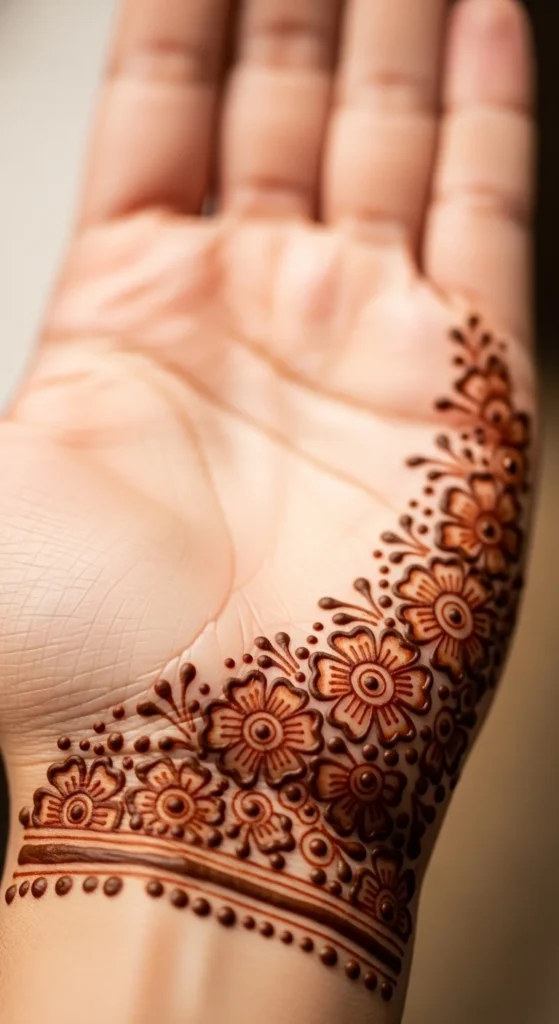
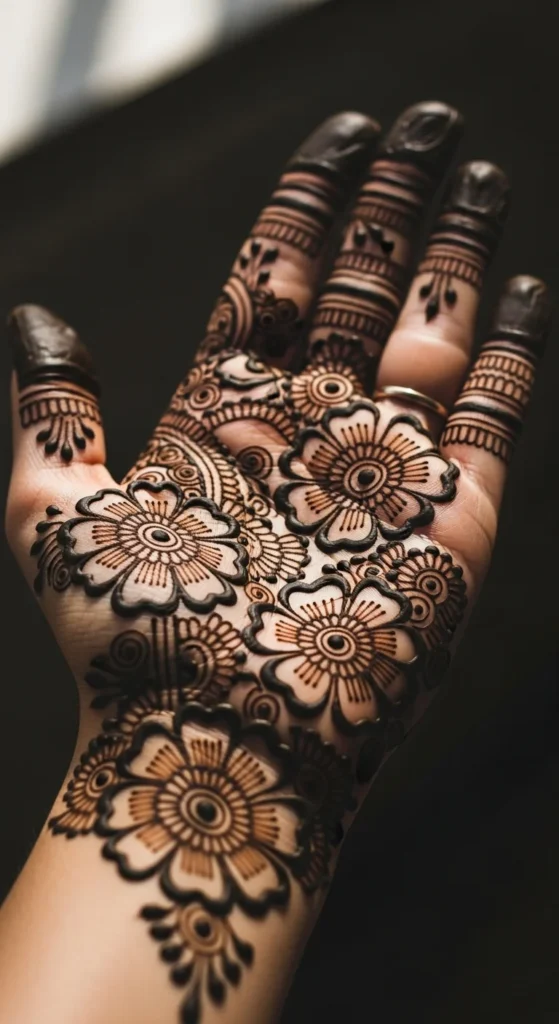
16. Hibiscus Petal Pop
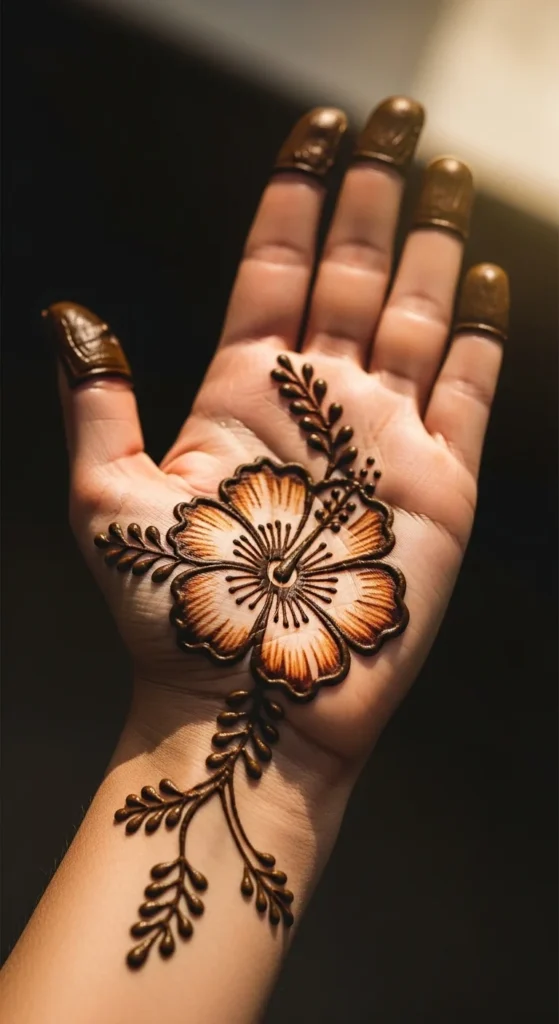
Large hibiscus flowers are beginner friendly. Draw five bold petals.
Add small leaves beside the flower.
Large florals fill space quickly. This saves time.
Keep details minimal for clarity.
17. Minimal Geometric Lines
Straight lines create a modern look. Draw parallel lines across the palm.
Add dots at intersections.
Geometric designs suit contemporary styles.
They are easy to repeat and quick to learn.
18. Hybrid Paisley Vine
Combine paisley with vines for a fusion style. Draw one paisley and extend leaves outward.
This keeps traditional roots while feeling modern.
Hybrid designs are trending because they stay simple yet decorative.
19. Palm Corner Cluster
Place a small floral cluster in one palm corner.
Corner placement feels modern and minimal.
Add dots trailing toward fingers.
This design works for quick occasions.
20. Reverse Fill Texture Design
Draw borders first. Fill around shapes instead of inside them.
Reverse fill creates texture without heavy detail.
This technique makes simple shapes look advanced.
Practice slowly for cleaner edges.
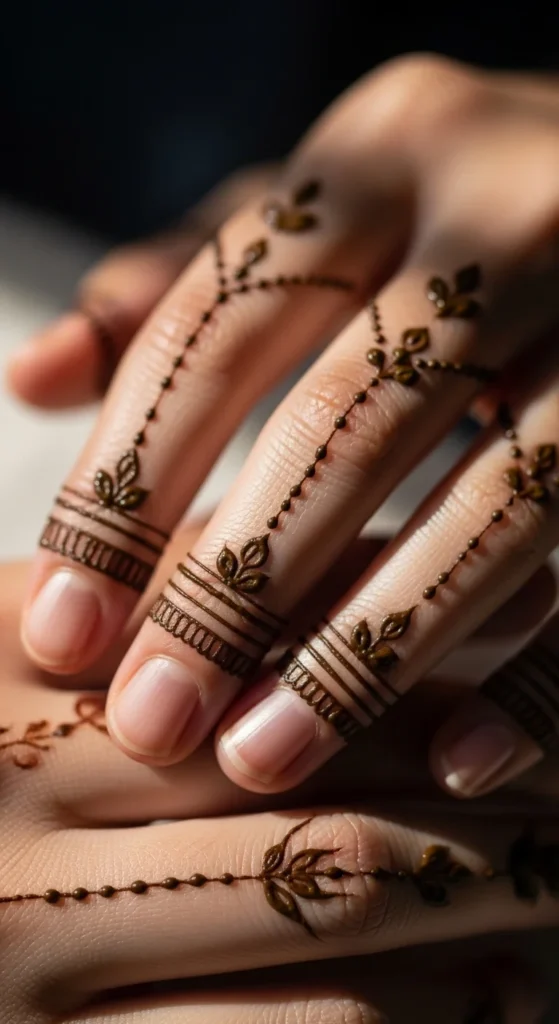
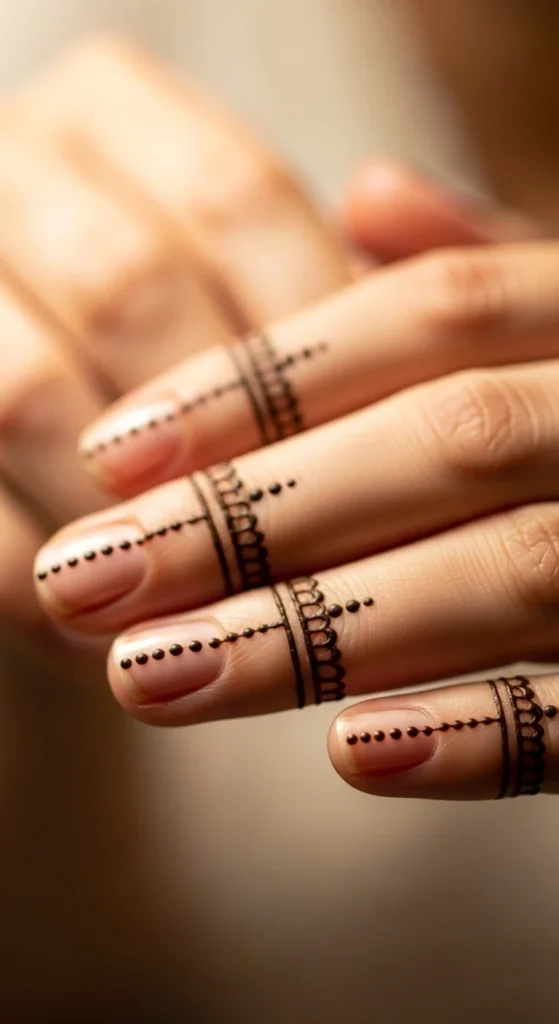
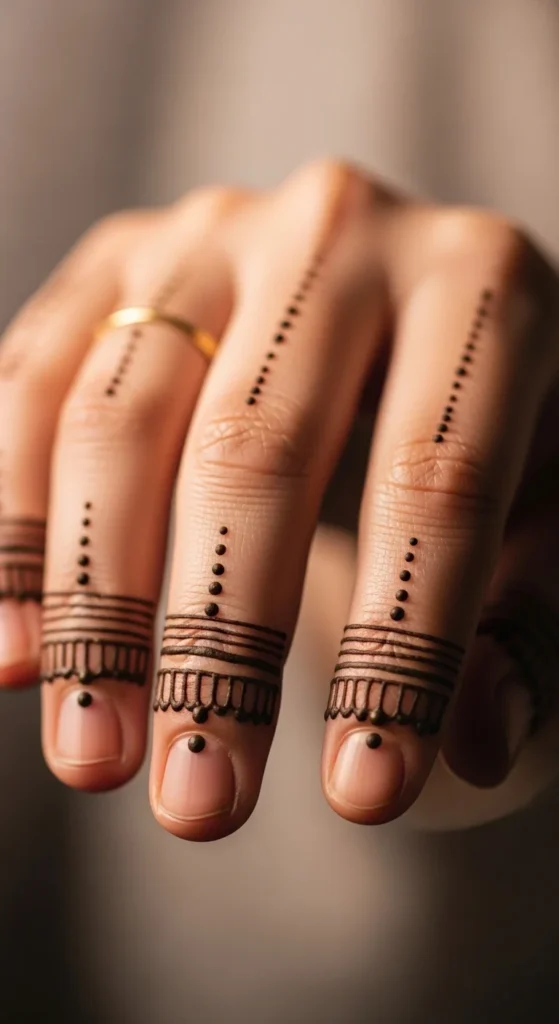
21. Minimal Finger Ring Design
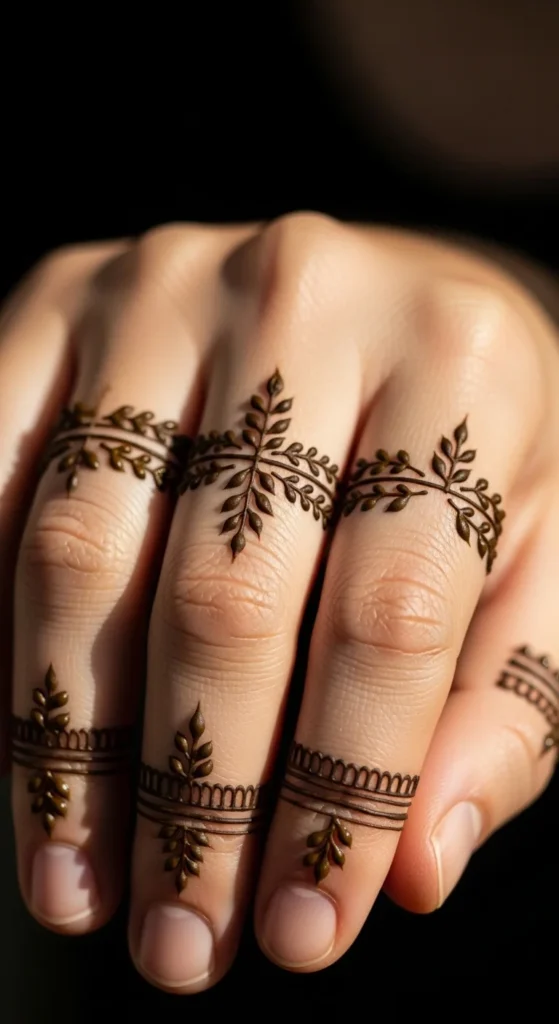
Create small ring bands around finger joints. Use thin lines for elegance.
Add dots or tiny leaves to decorate each band. Keep patterns consistent across fingers.
Finger rings look stylish without full hand coverage. They are perfect for quick events.
Avoid thick lines. Thin strokes keep the design refined.
Budget tip: draw guideline dots first to maintain even spacing.
This design pairs well with bracelet mehndi. It also works alone for minimal looks.
Finger ring patterns photograph beautifully and dry quickly. This makes them practical for last-minute designs.
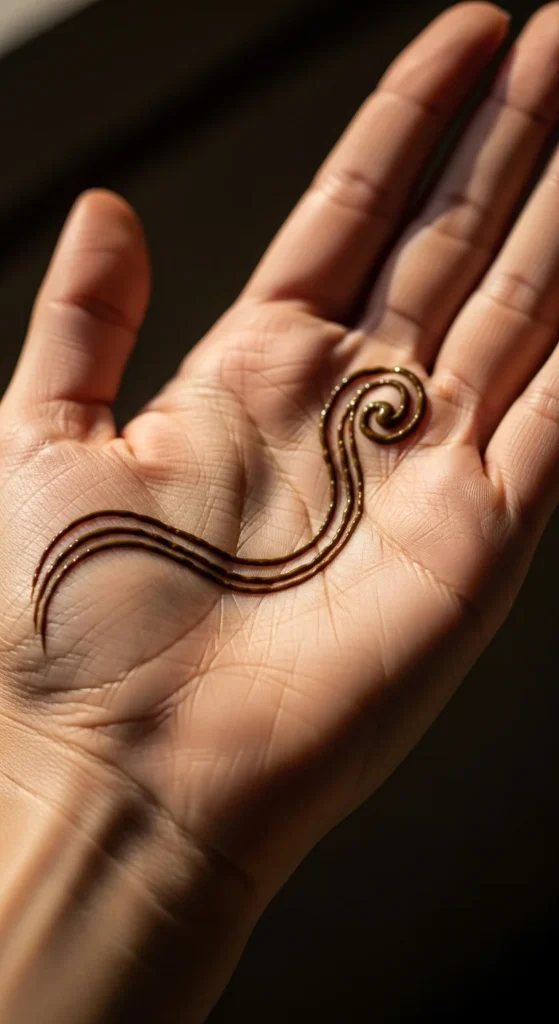
22. Spiral Palm Accent
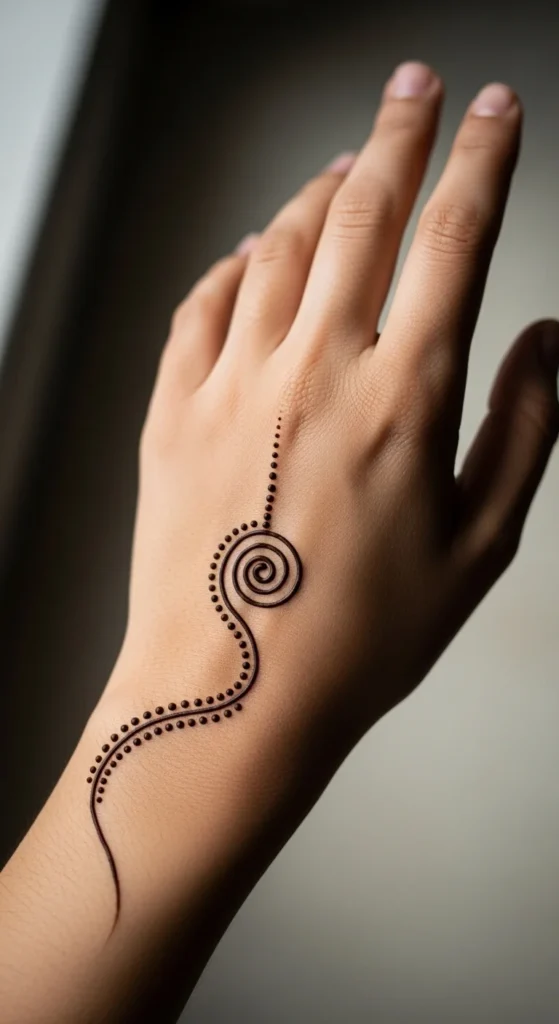
Draw one spiral in the palm center. Keep the spiral wide and smooth.
Add tiny dots along one side of the spiral. This creates depth without complexity.
Spiral accents are quick and versatile. They work on palm, wrist, or back hand.
Focus on smooth motion. Practice drawing spirals slowly on paper first.
This design suits beginners learning cone pressure control.
Minimal spiral accents feel modern and elegant while taking only minutes.
23. Floral Wrist Trail
Start near the wrist with a small flower. Extend tiny leaves upward.
Wrist trails create graceful movement. They connect well with finger designs.
Keep flowers small and spaced. Overcrowding reduces elegance.
Budget idea: repeat the same flower shape for consistency.
Wrist trails work well for casual gatherings and festive wear.
They are fast and forgiving because minor imperfections are less noticeable.
24. Double Paisley Pair
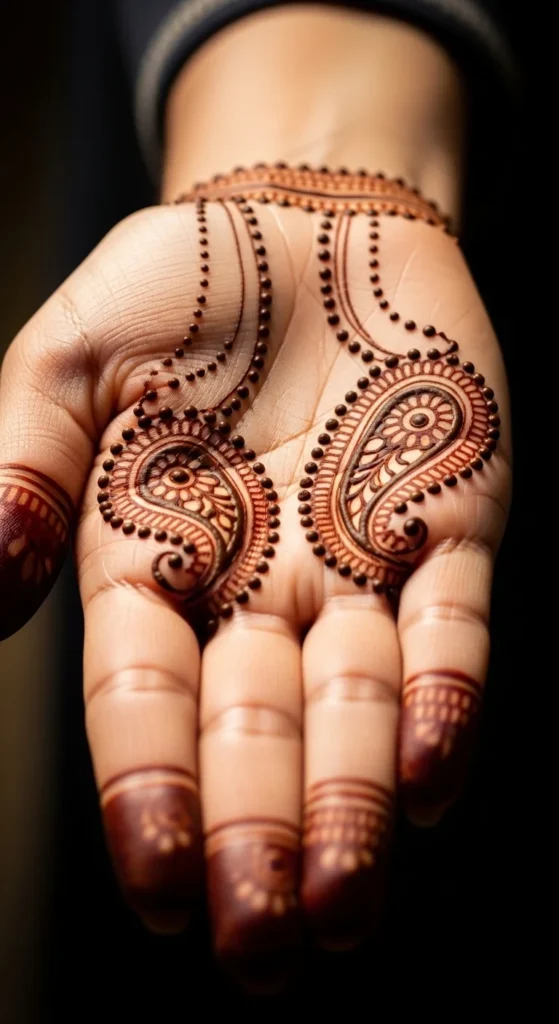
Draw two paisleys facing each other. Leave space between them.
Add dots along the outer borders. This creates balance quickly.
Double paisley designs look structured without complex detailing.
Keep the first paisley larger. The second slightly smaller for visual interest.
This pattern works well for palm centers and back hand corners.
Paisley pairs are easy to repeat, making them ideal practice shapes.
25. Negative Space Mandala Ring
Draw a circular ring instead of a full mandala. Leave gaps between layers.
Negative space makes the design look airy and modern.
Add dot chains between rings for subtle texture.
Mandala rings dry faster than full mandalas because less paste is used.
Practice spacing carefully. Even gaps create a professional look.
This style is popular for minimal bridal and festive designs.
26. Leaf Chain Finger Design
Draw a thin line along the finger. Add alternating leaf shapes.
Leaf chains create elegant finger length illusions. They make fingers appear longer.
Keep leaves small and consistent.
Budget tip: practice leaf pressure control on scrap paper.
Leaf chains pair well with palm mandalas and wrist bracelets.
This design is quick, simple, and highly reusable.
27. Corner Mandala Back Hand
Place a mini mandala near the thumb corner of the back hand.
Corner placement feels modern and balanced. It leaves most skin visible.
Extend tiny dots or short vines outward.
Mini mandalas are easier than full hand designs. They still look polished.
This design works well for beginners learning symmetry.
28. Bold Outline Floral Design
Draw large flowers using thicker outlines. Skip inner filling.
Bold outlines create contrast and clarity.
This method saves time while making designs visible from a distance.
Use dots inside petals if extra detail feels necessary.
Bold floral outlines are ideal for events where quick application matters.
29. Finger Edge Enhancer Pattern
Decorate only the outer finger edges. Draw a thin line and add dot accents.
Edge designs feel subtle yet stylish.
They pair well with palm minimal designs.
Focus on smooth lines. Edge placement highlights hand shape.
This pattern is extremely fast and beginner friendly.
30. Minimal Bridal Fusion Accent
Combine one paisley, one flower, and a short vine.
This creates a bridal-inspired design without heavy detail.
Keep each element simple. Avoid filling every space.
Fusion accents look festive while staying quick to apply.
Budget tip: practice combining three shapes repeatedly until placement feels natural.
This design works for engagement events, festivals, and modern bridal looks.
It shows how simple elements together can look refined and intentional.
Conclusion
Simple mehndi designs rely on clean lines, spacing, and repeatable shapes. Florals, vines, paisley, and minimal geometry create polished looks without complex detail. Start with small patterns, practice cone pressure, and keep designs breathable. With consistent practice, simple mehndi can look refined and event ready while staying quick and easy to create.


