
Nothing is more frustrating than printing beautiful stickers… and watching the ink smear seconds later.
Smudging happens because of moisture, paper type, printer settings, or rushing the drying step. The good news is that preventing smudges is mostly about technique — not expensive tools.
Once you understand how ink behaves on sticker paper, your prints instantly look cleaner and more professional.
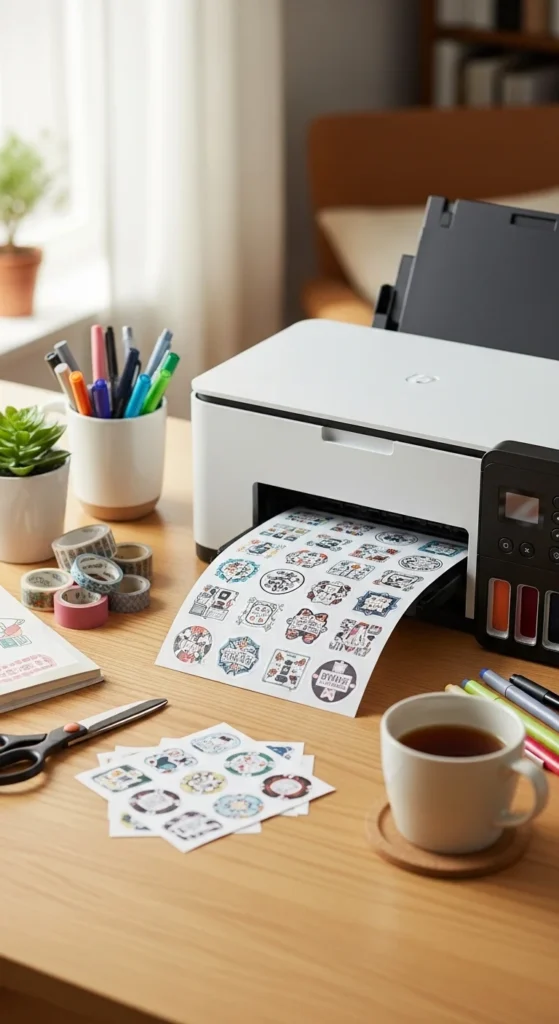
Below is a beginner-friendly guide to printing stickers at home without smudging.
Choose the Right Ink (Pigment vs Dye)
Ink type is one of the biggest causes of smudging.
Pigment ink
- Dries faster on vinyl
- Sits on top but bonds better
- More water resistant
Dye ink
- More vibrant colors
- Higher smudge risk on glossy paper
- Slower drying
If your printer supports pigment ink, it usually produces cleaner sticker prints.
Important note:
Black ink often dries the slowest — sometimes up to 24 hours.
If smudging happens mostly with black lines, drying time is likely the issue.
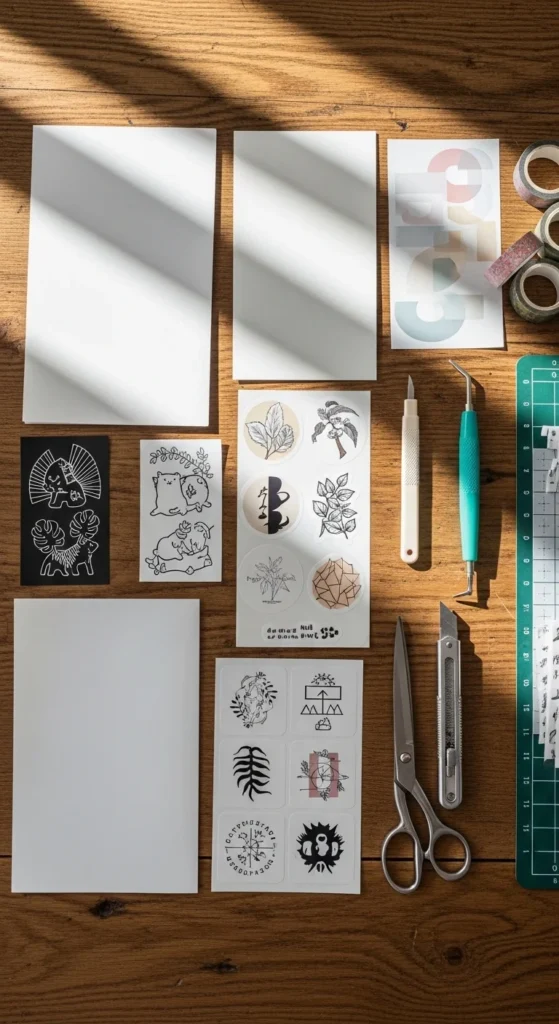
Use Sticker Paper That Absorbs Ink Well
Not all sticker paper behaves the same.
Beginner-friendly options:
- Matte vinyl sticker paper (best overall)
- Matte printable paper (budget practice)
- Premium matte waterproof vinyl
Glossy paper looks bright but is less absorbent, which increases smudge risk.
Quick rule:
If smudging happens, switch paper before changing printers.
Paper choice solves a large percentage of smudge problems.
Adjust Printer Settings to Reduce Wet Ink
Many people print using default settings — which often apply too much ink.
Settings that help:
- Paper type → Matte photo paper
- Print quality → High (not always maximum ink)
- Enable transparency or sticker mode if available
- Try Economy / Draft mode for test prints
Reducing ink density means less moisture on the surface.
Test prints help find the best balance between color and drying speed.
Always Do a Test Print First
Test prints prevent wasted sticker sheets and reveal smudge risks early.
Before printing on sticker paper:
- Print on plain paper
- Check size and spacing
- Look at color density
- Adjust brightness slightly if ink looks heavy
This step also confirms alignment if you plan to cut later.
Think of it as your safety check.
Respect Dry Time (This Is the #1 Rule)
The most common mistake: touching stickers too soon.
Dry time guidelines:
- Light prints → 30–60 minutes
- Heavy color prints → several hours
- Black heavy designs → up to 24 hours
Place prints on a flat surface with airflow.
Avoid stacking sheets.
Avoid sliding them across surfaces.
Dry time is boring — but it prevents most smudging issues.
Flatten and Prevent Paper Curl
Heat and moisture can cause sticker paper to curl. Curling traps moisture and increases smearing.
Easy fixes:
- Place books on fully dry sheets
- Use a brayer roller gently after drying
- Store paper flat before printing
- Avoid humid rooms
Flattening improves print consistency and cutting accuracy.
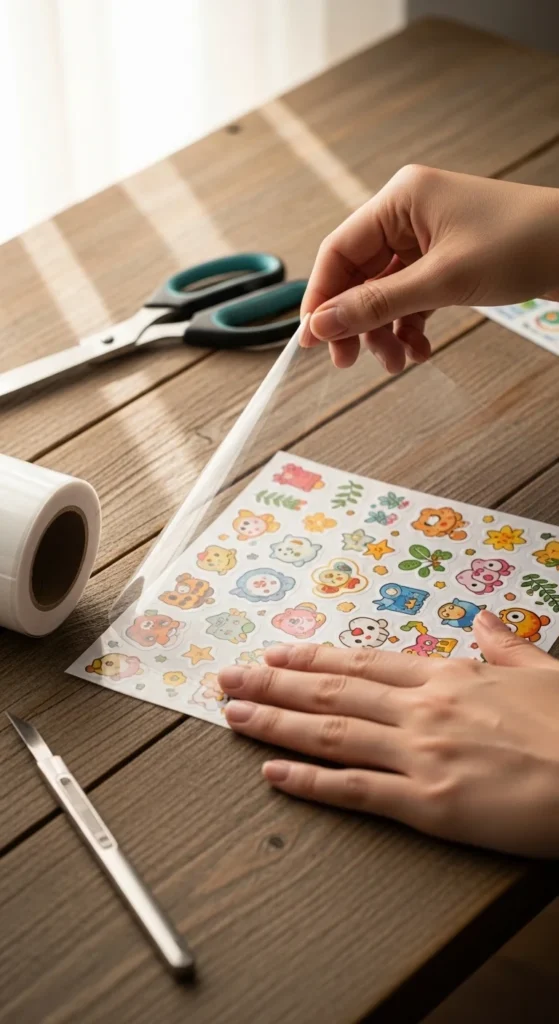
Seal Stickers for Extra Protection
Sealing adds durability and reduces smudge risk during handling.
Beginner options:
- Self-laminating sheets
- Cold laminate film
- Clear packing tape (budget method)
- Spray sealant (thin layers)
If using spray:
- Apply multiple light coats
- Let each layer dry
- Spray in ventilated space
Lamination also makes stickers more resistant to scratches and moisture.
Laser vs Inkjet: When Smudging Won’t Stop
If you frequently print glossy or clear stickers, printer type matters.
Inkjet
- Better color range
- More smudge risk
- Works best with matte vinyl
Laser
- Toner is fused dry
- Very resistant to water
- Ideal for glossy and clear sticker paper
Many creators use hybrid workflows depending on paper type.
Storage Matters More Than You Think
Sticker paper reacts to environment.
Storage tips:
- Keep paper sealed
- Store flat
- Avoid humidity
- Avoid heat exposure
Poor storage can cause paper to reject ink properly.
This leads to unexpected smudging even with good settings.
Quick Anti-Smudge Checklist
Before printing:
- Use matte vinyl paper
- Print test sheet
- Reduce ink density
- Allow full dry time
- Avoid touching surface
- Seal if needed
These steps prevent most problems.
Final Thoughts
Printing stickers at home without smudging is mostly about patience and matching the right materials.
Start with absorbent paper, adjust printer settings, and respect drying time. Small changes create big improvements.
Once you dial in your workflow, printing becomes predictable and stress-free.
Save this guide for later and try these steps on your next sticker sheet. ✂️✨


