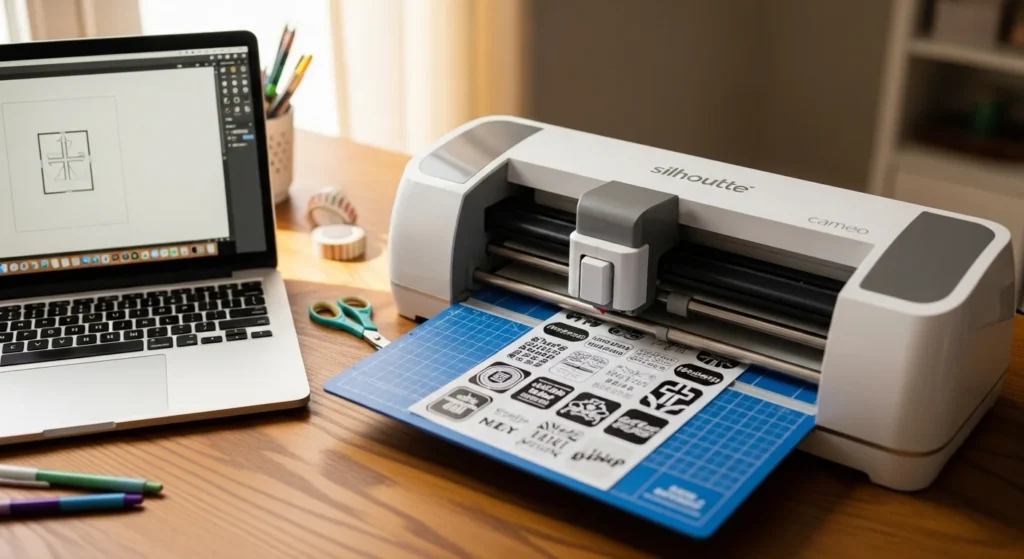
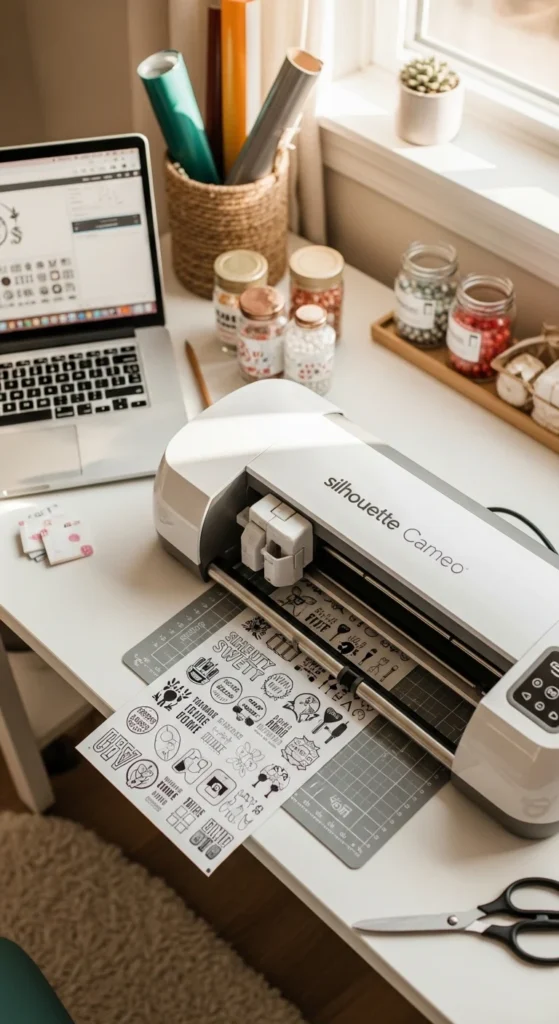
Making printable stickers with Silhouette is incredibly satisfying — when the cuts are perfect. Smooth kiss cuts, even borders, and zero registration errors are all possible with the right setup.
Most sticker issues come from a few settings: registration marks, blade depth, and material presets. Once these are dialed in, Silhouette becomes one of the most reliable sticker workflows available.
This guide walks through the perfect cut settings beginners and small sticker shops rely on.
Start by Restoring Registration Defaults
If Silhouette struggles to read registration marks, reset first.
Advanced settings often cause scanning problems — especially after updates.
Reset steps:
- Open Silhouette Studio
- Go to registration mark settings
- Restore defaults
- Re-enable marks
This simple reset solves a large percentage of print-and-cut errors.
After resetting, print one test sheet before changing anything else.
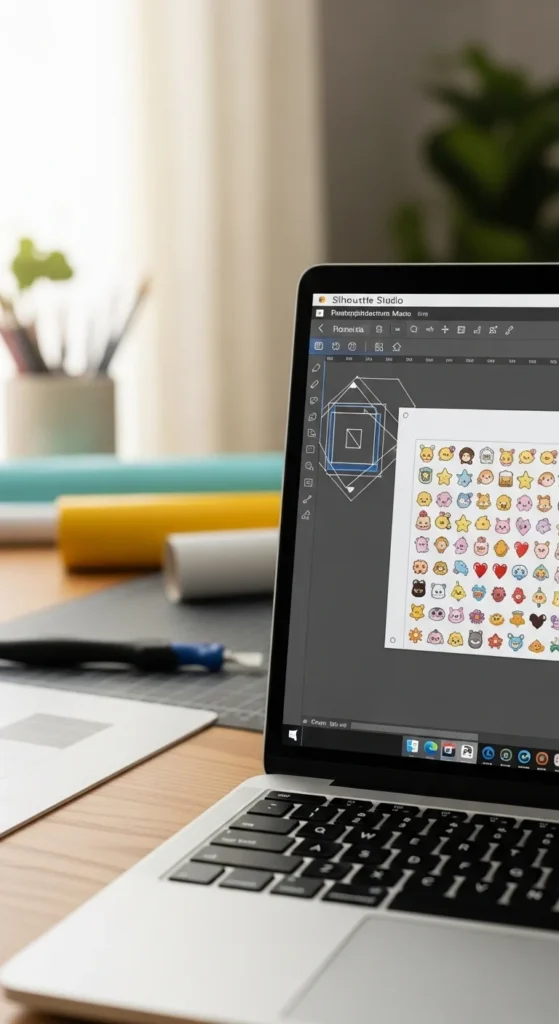
Turn On Registration Marks (Correct Setup)
Registration marks tell Silhouette where your printed design sits on the page.
In Page Setup:
- Enable registration marks
- Keep default margins
- Avoid placing designs near mark areas
- Turn on print border preview
Print border visualization helps you avoid cutoff marks — a common beginner mistake.
Marks must print clearly for accurate cutting.
Add a White Offset Border
Offset borders create the classic sticker edge and improve cutting accuracy.
Standard offset size:
- 0.01–0.02 inch
Offset benefits:
- Hides tiny cut variations
- Creates consistent borders
- Improves kiss-cut results
- Makes stickers look professional
After offset:
- Merge or flatten design
- Remove duplicate cut lines
- Confirm only one cut path exists
Layer cleanup prevents overlapping cuts.
Print With the Correct Printer Setup
Scaling mistakes are common if printer settings don’t match Studio.
Important step:
- Choose Specific Printer instead of “Any Printer”
- Print using Best quality
- Use bright white sticker paper
High print quality makes registration marks darker, which improves scanning.
Always check that preview matches your printed sheet.
Laminate Before Cutting (Huge Improvement)
Lamination stiffens sticker paper and improves blade consistency.
Workflow:
- Print sticker sheet
- Let dry
- Apply laminate
- Smooth bubbles
- Load on mat
- Cut

Laminated sheets usually produce cleaner kiss cuts and reduce tearing.
Use the Right Blade (Ratchet Blade Advantage)
Blade choice matters more than many beginners expect.
Ratchet blade advantages:
- Manual depth control
- Consistent pressure
- Better for laminated stickers
- Reliable kiss cuts
AutoBlade is convenient but can be less predictable on vinyl.
Test blade depth using scrap material before final cutting.
Perfect Kiss Cut Settings (Starter Formula)
These settings work well for many sticker papers.
Starter kiss-cut example:
- Material: Sticker Paper White
- Blade: 2–3
- Force: around 4
- Passes: 2
For laminated glossy sheets:
- Slightly increase force
- Keep passes at 2
Always run a small test cut first.
This prevents over-cutting through backing.
Secure the Sheet Properly on the Mat
Sheet movement causes inaccurate cuts.
Best practices:
- Use Light or standard grip mat depending on paper
- Smooth sheet firmly
- Remove air bubbles
- Align top left corner carefully
Electrostatic mats can reduce sticker lift-off for vinyl materials.
Flat sheets produce more consistent cuts.
Use Multi-Pass Cutting for Laminated Gloss
Laminated sticker paper often needs multiple passes.
Why multi-pass helps:
- Cleaner kiss cuts
- Less tearing
- More consistent edges
Instead of increasing blade depth dramatically, increase passes first.
This preserves backing and improves precision.
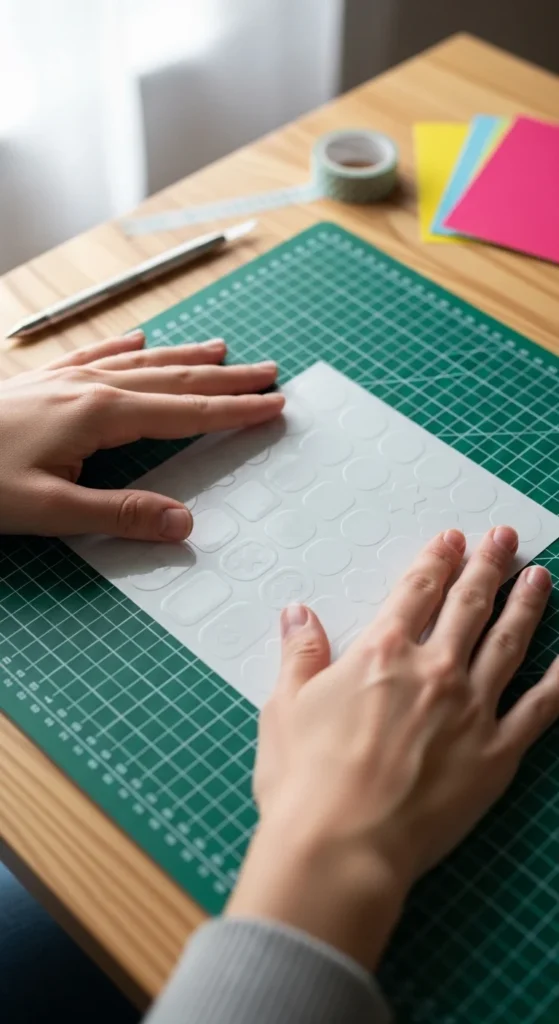
Remove Stickers Without Bending Them
After cutting, removal technique matters.
Better method:
- Flip mat upside down
- Peel mat away from sticker sheet
- Keep sheet flat
This prevents curling and protects kiss cuts.
Let stickers rest briefly before handling.
Common Silhouette Sticker Problems (And Fixes)
Registration marks not reading
→ Restore defaults, print darker marks
Cuts not deep enough
→ Increase passes before blade depth
Cuts going through backing
→ Lower force slightly
Scaling mismatch
→ Use specific printer setting
Vinyl lifting
→ Laminate first and secure sheet better
Small adjustments fix most issues.
Quick Perfect Cut Checklist
Before cutting:
- Restore registration defaults
- Enable marks and print border
- Add white offset
- Merge layers
- Print Best quality
- Laminate before cutting
- Use ratchet blade
- Test cut first
This workflow produces consistent results.
Final Thoughts
Printable stickers with Silhouette become predictable once perfect cut settings are established. Registration setup, offset borders, blade choice, and lamination sequence all work together.
Start with simple designs, test small adjustments, and save successful presets. Over time, your sticker workflow becomes fast and reliable.
Save this guide for later and try your next Silhouette sticker sheet using these perfect cut settings. ✂️✨


