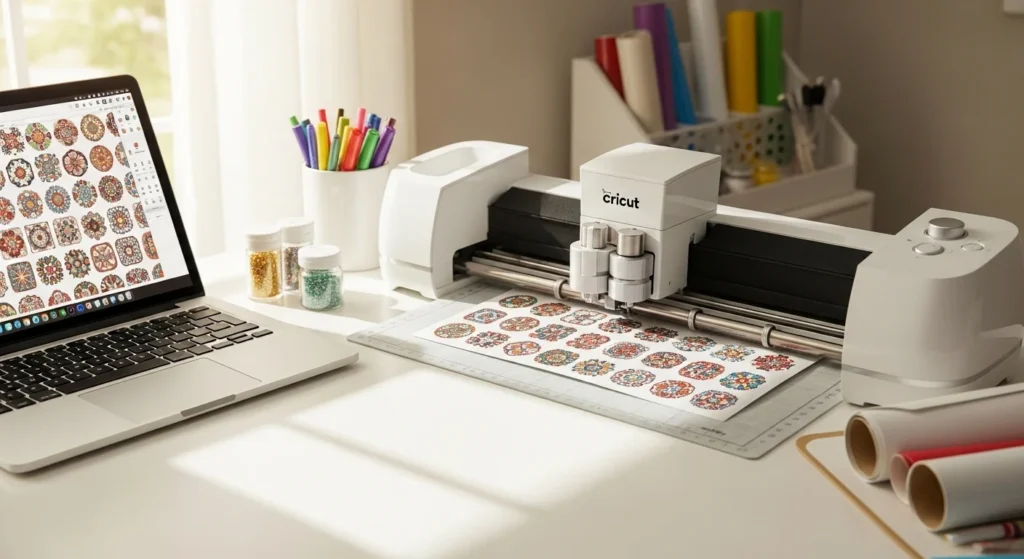
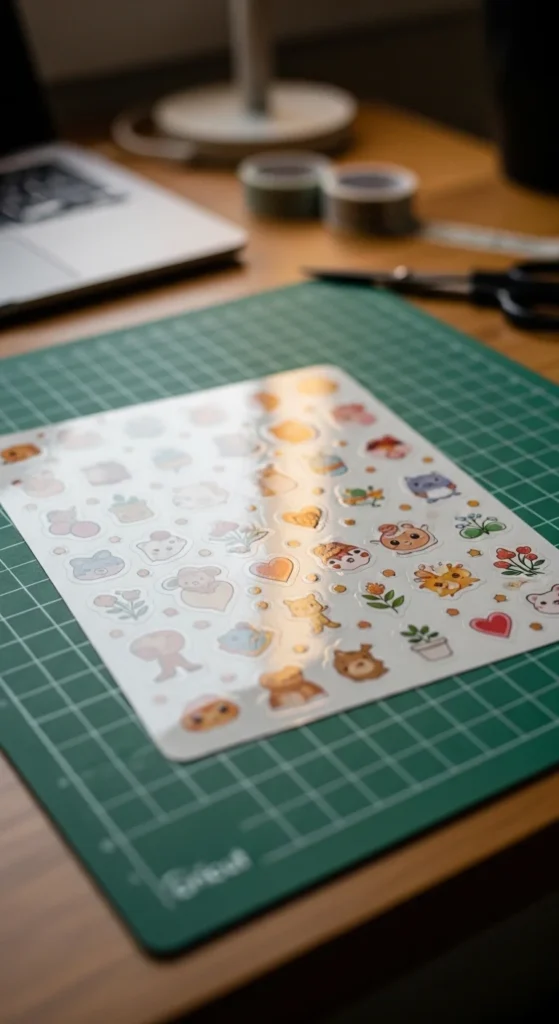
Making printable stickers with Cricut feels magical when everything cuts perfectly — smooth edges, clean borders, and zero frustration.
But clean cuts don’t happen by luck. They come from a simple workflow: calibrating once, preparing designs correctly, and using the right mat + pressure settings.
Once your setup is dialed in, Cricut becomes one of the fastest ways to create professional sticker sheets at home.
Here’s the clean cut method beginners and small sticker shops rely on.
Calibrate Cricut First (Do This Once)
Calibration is the most overlooked step — and the biggest cause of misaligned cuts.
Calibration teaches Cricut where your printer places registration marks.
Do this before your first sticker project:
- Open Design Space
- Go to calibration settings
- Print calibration sheet
- Follow cut alignment prompts
If your cuts ever shift later, recalibrate.
Calibration dramatically improves print-then-cut accuracy.
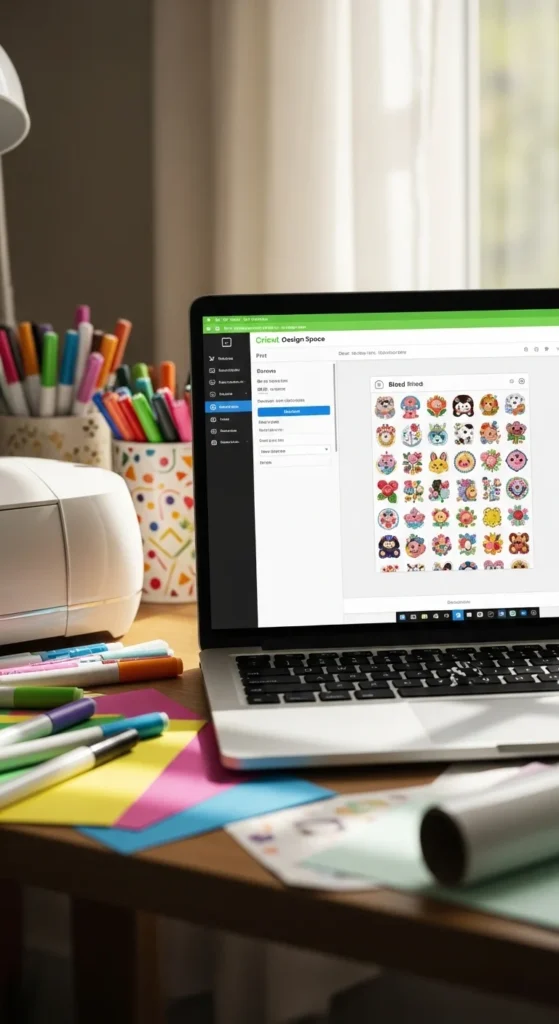
Prepare Your Sticker Design Correctly
Clean cuts start in Design Space.
Key preparation steps:
- Flatten artwork before printing
- Add offset border (about 0.1 inch works well)
- Keep spacing between stickers
- Use high resolution artwork (300 DPI)
Offset borders create consistent edges and hide tiny cut variations.
Flattening merges layers so Cricut treats each sticker as one piece.
This step is essential.
Enable Bleed for Perfect Edges
Bleed extends artwork slightly beyond the cut line. This prevents white gaps.
When printing from Design Space:
- Turn on Bleed
- Keep default amount
- Don’t worry if preview looks messy — it won’t show after cutting
Bleed is one of the easiest ways to make stickers look professional.
Most creators leave bleed on for all printable stickers.
Print Settings That Improve Registration
Cricut reads black registration marks. If they print faint, scans fail.
Printer tips:
- Use Best quality print setting
- Select photo paper or matte photo
- Avoid draft mode
- Print on bright white sticker paper
Stronger registration marks improve scanning reliability.
Always print one test sheet when changing paper types.
Use the Light Grip Mat (Very Important)
Sticker paper sticks best to the blue Light Grip mat.
Why it works:
- Holds sheet flat
- Prevents lifting during cutting
- Easier removal after cutting
Before loading:
- Place sheet aligned top left
- Use a brayer or card to smooth bubbles
- Confirm arrow direction on mat
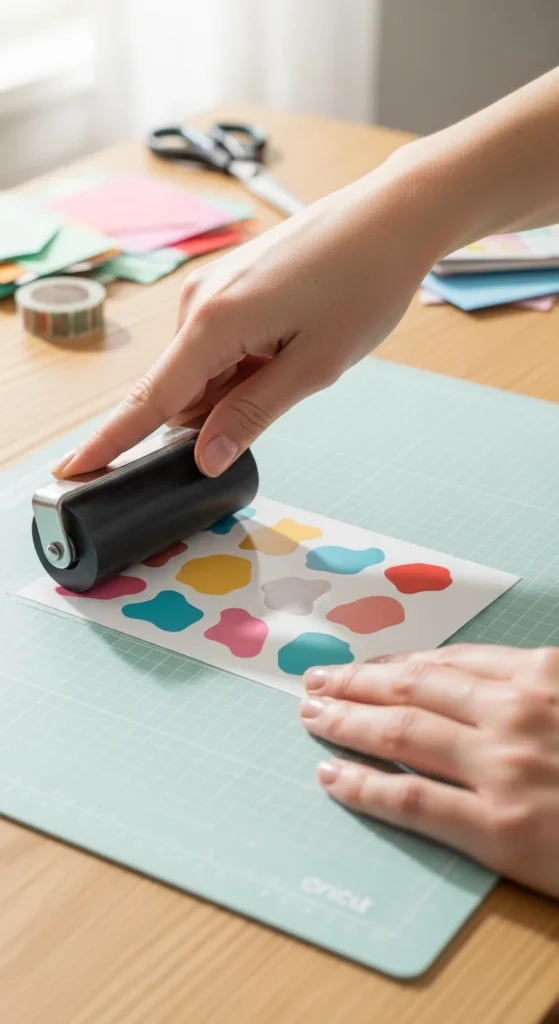
A secure sheet prevents cut errors and sensor misreads.
Choose Kiss Cut or Die Cut
Your cut style changes settings.
Kiss cut (sticker sheets)
- Cuts sticker layer only
- Sheet stays intact
- Common setting: Washi Tape
Die cut (individual stickers)
- Cuts through backing
- Separate stickers
- Common setting: Light Cardstock or custom pressure
Most planner sticker sheets use kiss cuts.
Die cuts are popular for packaging stickers.
Pressure and Multi-Cut Settings (Clean Edge Trick)
If cuts aren’t fully going through, adjust pressure.
Helpful tweaks:
- Increase pressure slightly (300–350 range works for many vinyl papers)
- Use Multi-Cut (2–3 passes) for thicker materials
- Replace dull blades
Fine-Point blade is the standard for printable stickers.
Small pressure adjustments make a big difference.
Laminate Before Cutting for Better Precision
Lamination stiffens sticker paper and improves cutting accuracy.
Workflow:
- Print stickers
- Let dry
- Apply laminate
- Smooth bubbles
- Place on mat
- Cut
Laminated sheets often produce cleaner edges and reduce tearing.
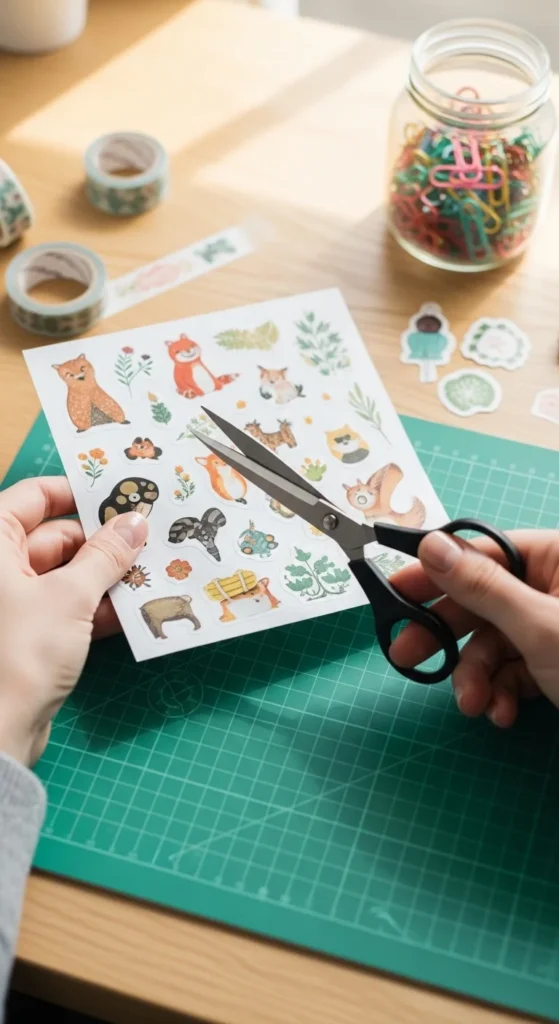
After Cutting: Remove Stickers the Right Way
Many beginners peel stickers off the mat — which can bend them.
Better method:
- Flip mat upside down
- Peel mat away from stickers
- Keep sticker sheet flat
This prevents curling and protects kiss cuts.
Let stickers rest briefly before handling.
Common Cricut Sticker Problems (And Fixes)
Misaligned cuts
→ Recalibrate and check print quality
Stickers lifting on mat
→ Use Light Grip mat + smooth sheet firmly
Incomplete cuts
→ Increase pressure or enable multi-cut
Sensor not reading marks
→ Print darker, avoid glossy glare, clean sensor
Edges look uneven
→ Add offset border
Most issues come from small setup details.
Quick Clean Cut Checklist
Before cutting:
- Calibrate Cricut
- Flatten + offset design
- Enable bleed
- Print high quality
- Use Light Grip mat
- Smooth sheet with brayer
- Adjust pressure if needed
This checklist produces consistent results.
Final Thoughts
Printable stickers with Cricut become easy once you follow a repeatable clean cut method. Calibration, offset borders, and mat choice matter more than complex settings.
Start simple, test one sheet at a time, and adjust pressure gradually. Small improvements quickly lead to smooth, professional sticker cuts.
Save this guide for later and try your next Cricut sticker sheet using the clean cut method. ✂️✨


