Installing wall panels is one of the fastest ways to upgrade a room without a full renovation. The best part? You don’t need professional skills or a big budget to pull it off. With the right materials, a bit of planning, and some patience, DIY wall panels can completely change how your space looks and feels.
In this guide, you’ll learn how to install DIY wall panels on a budget, step by step, while keeping the results stylish and long-lasting.
Why DIY Wall Panels Are a Smart Budget Choice
Wall panels add depth, texture, and character that paint alone can’t always achieve. When done right, they can make a room feel custom-designed.
Here’s why they’re budget-friendly:
- Many panel styles use inexpensive materials like MDF, plywood, or peel-and-stick options
- Installation can be done with basic tools
- You can cover imperfections on walls without costly repairs
- They instantly elevate plain or outdated spaces
Whether you’re updating a bedroom, living room, or hallway, wall panels give high impact for relatively low cost.
Choose the Right Wall Panels for Your Space
Before buying anything, decide what type of panel works best for your room and budget.
Popular affordable options include:
- MDF panels – Smooth, paintable, and widely available
- Plywood panels – Great for natural or modern looks
- Peel-and-stick panels – Easy and renter-friendly
- PVC panels – Lightweight and moisture-resistant
Think about where the panels will go. High-traffic areas may need sturdier materials, while decorative walls can use lighter options.
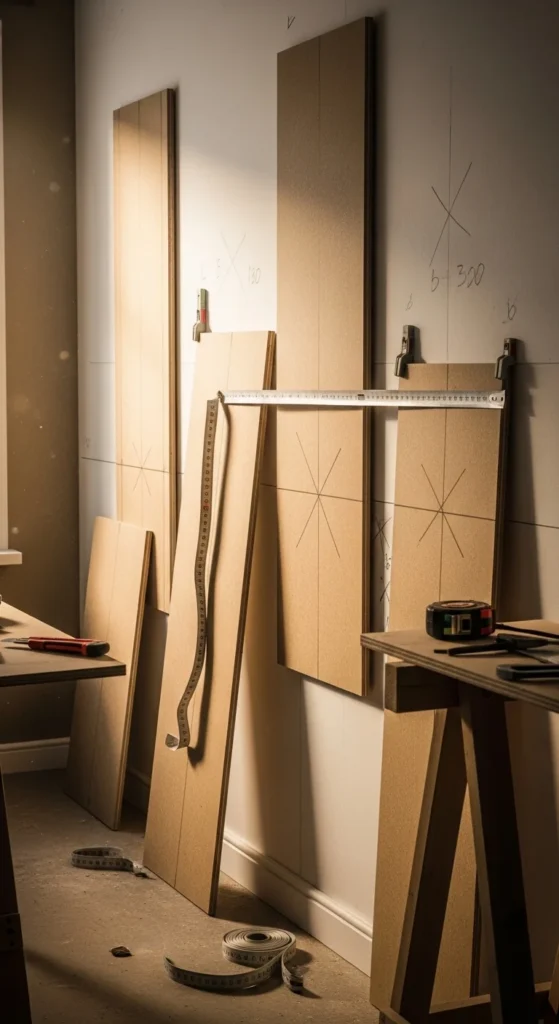
Measure and Prep the Wall Properly
Preparation is what separates a rushed DIY job from a polished result.
Start by:
- Measuring wall height and width carefully
- Sketching a simple layout to avoid uneven spacing
- Cleaning the wall to remove dust and grease
- Filling major holes or cracks so panels sit flat
If your wall isn’t perfectly straight, don’t worry. Small gaps can be filled later with caulk or paint for a clean finish.
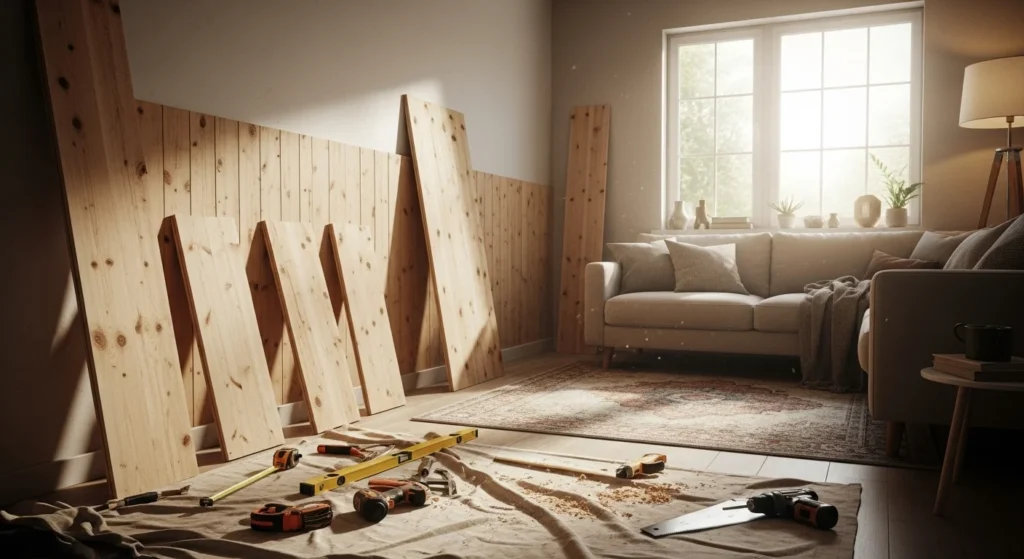
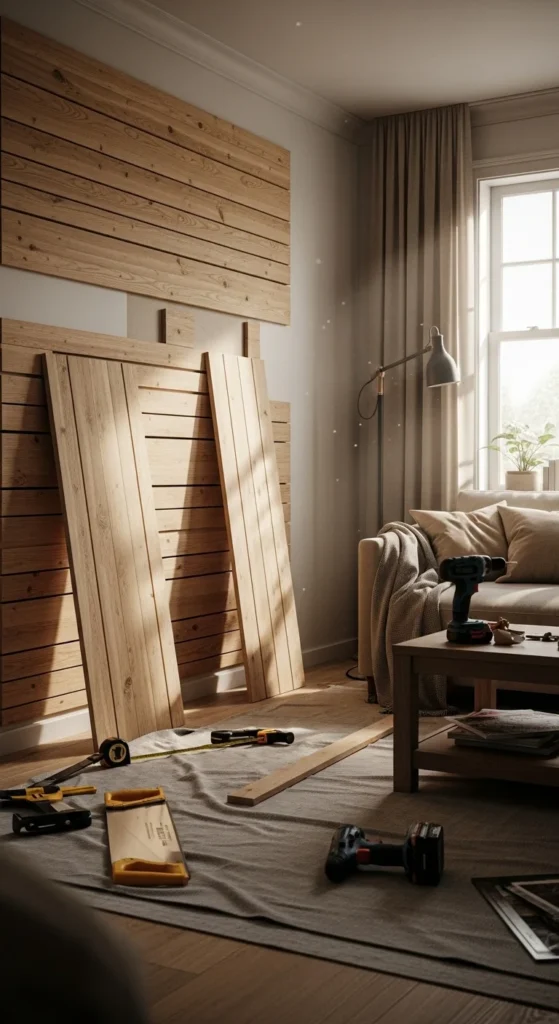
Cut and Dry-Fit Panels Before Installing
Always cut panels before attaching them to the wall. This step saves time and prevents costly mistakes.
Helpful tips:
- Use a level and straight edge for accurate cuts
- Label panels on the back so you know where each piece goes
- Dry-fit everything on the wall first
- Adjust spacing before committing with adhesive or nails
Dry-fitting helps you spot issues early and ensures your final layout looks balanced.
Install Panels Using Budget-Friendly Methods
You don’t need expensive tools to install wall panels.
Common low-cost installation methods include:
- Construction adhesive for smooth walls
- Brad nails for extra hold on heavier panels
- Peel-and-stick backing for quick upgrades
Work from one corner and move across the wall slowly. Press each panel firmly and check alignment often. Taking your time here makes a huge difference in the final look.
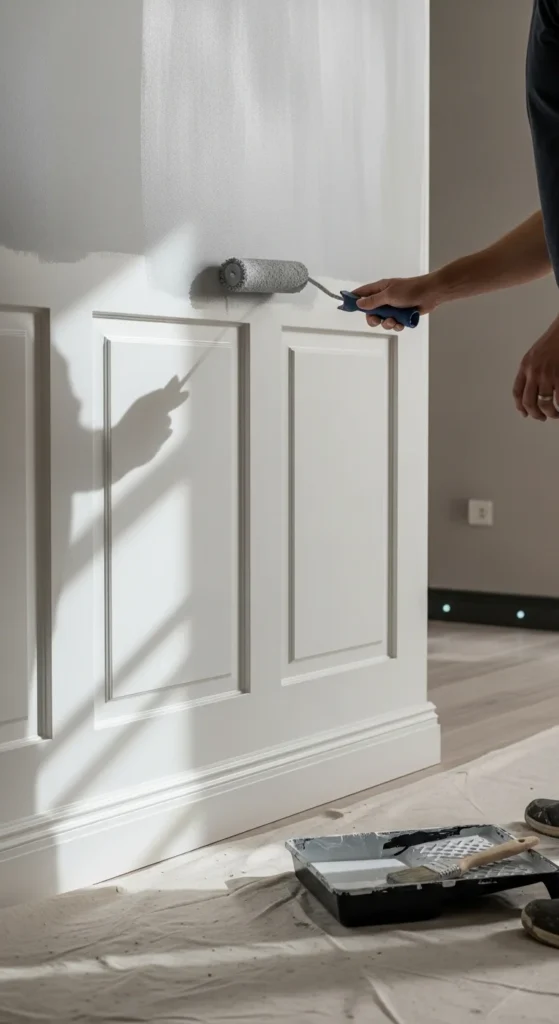
Fill Gaps, Sand, and Finish Cleanly
Once panels are up, finishing touches bring everything together.
Do the following:
- Fill nail holes with lightweight filler
- Caulk seams for a seamless appearance
- Lightly sand rough edges
- Paint or seal panels as needed
Choose a paint color that complements your room. Neutral shades keep things timeless, while bold colors can turn the wall into a statement feature.
Budget Tips to Keep Costs Low
Want to save even more? Try these tricks:
- Use leftover paint from previous projects
- Panel only one accent wall instead of the entire room
- Shop clearance sections or local suppliers
- Mix panel styles for a custom look without custom prices
Small choices add up and help keep your project affordable.
Final Thoughts
DIY wall panels are proof that big style doesn’t require big spending. With smart planning, affordable materials, and simple tools, you can transform your space in a weekend.
If you’ve been waiting to upgrade your walls, this is your sign to start. Save this guide for later and turn your next DIY project into a success ✨


