Nothing says “winter cozy” like mittens you made yourself. They’re warm, customizable, and surprisingly beginner-friendly once you learn the basic shape. Most simple mitten patterns are worked from the cuff up, in the round, with a thumb opening and a smooth tapered top.
This guide walks you through the core steps so you can crochet cute mittens that actually fit. You’ll also get easy options for ribbed cuffs, thumb shaping, and a clean finish.
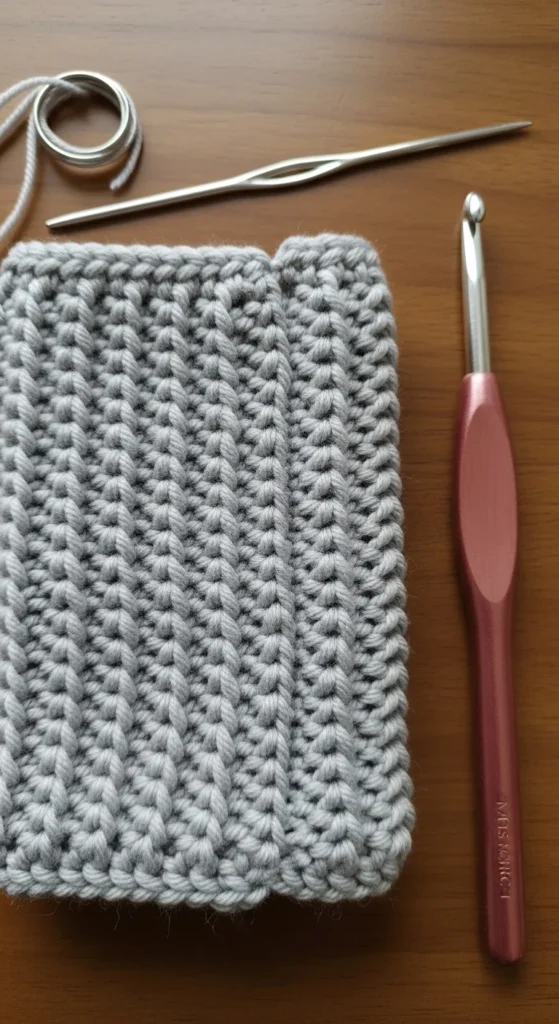
Pick Your Yarn and Hook (Warm + Cute)
For mittens, you want yarn that feels soft but still holds up to daily wear.
Good beginner choices:
- Worsted weight yarn for a balanced mitten (warm, not too bulky)
- Wool-acrylic blend for warmth plus easier care
- Double-strand worsted (holding two strands together) for extra thickness
Hook sizes:
- Worsted weight often starts around 5mm
- Double-strand or bulky yarn may feel better around 6–8mm
Helpful extras:
- Stitch markers (for thumb placement)
- Tapestry needle (for weaving in ends and cinching)
- Measuring tape
Quick tip: If your mitten fabric feels “holey,” go down a hook size or use single crochet for a tighter fabric.
Measure Your Hand for a Better Fit
Two quick measurements help a lot:
- Palm circumference (around the knuckles, not including thumb)
- Hand length (wrist crease to tip of middle finger)
Beginner sizing shortcut:
- Crochet the cuff first, then try it on.
- If it slides off easily, make the cuff tighter.
- If it pinches, add a few stitches.
Mittens stretch a bit, especially with ribbing. A snug cuff is a good thing.
Crochet the Ribbed Cuff (Snug Wrist, Cute Look)
A ribbed cuff keeps mittens from slipping down and traps warmth.
Easy cuff method:
- Chain to your desired cuff height (about 2–3 inches).
- Work single crochet rows back and forth.
- Use back loop only for ribbing texture.
- Join the short ends to form a tube.
- Now you’ll crochet around the top edge of the tube to begin the mitten body.
Cuff variations you can try:
- Taller cuff for extra warmth
- Short cuff for a neat, minimal mitten
- Two-color stripe cuff for a playful look
Build the Hand in the Round (No-Sew Mitten Body)
Once the cuff is joined, you’ll work in rounds up the hand.
Beginner-friendly stitches:
- Single crochet for dense warmth
- Half double crochet if you want faster rows (still cozy)
What you’re aiming for:
- A tube that fits around your palm comfortably
- Enough length to reach the base of your thumb
Tips that help right away:
- Place a stitch marker at the start of each round.
- Try it on every few rounds.
- Keep tension steady. Tight fabric equals warmer mittens.
If you’re using double-strand yarn, go slower at first so the strands don’t split. It gets easier after a few rounds.
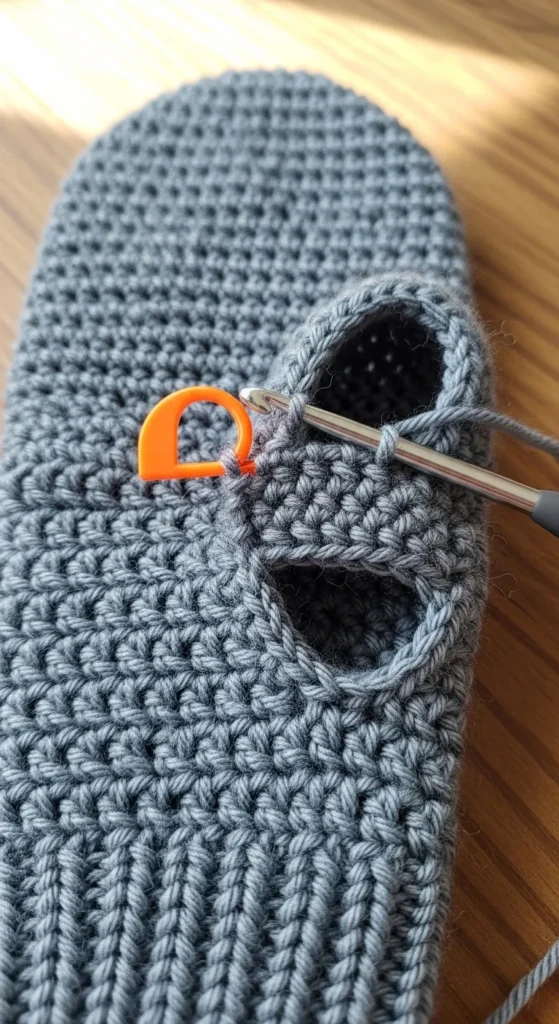
Make the Thumb Opening (Two Easy Options)
The thumb is the part that scares beginners, but it’s just a planned gap.
Option A: Chain Space Thumb (simple + common)
- Crochet to the thumb placement area.
- Chain a small number of stitches (this becomes the opening).
- Skip the same number of stitches on the mitten body.
- Continue crocheting in the round.
Option B: Thumb Gusset (better fit, less gaping)
- Add increases near the thumb area over a few rounds.
- This creates a little wedge shape.
- It gives extra room and feels more comfortable.
Beginner tip: If you want the easiest path, start with the chain-space thumb. You can try gussets on your second pair.
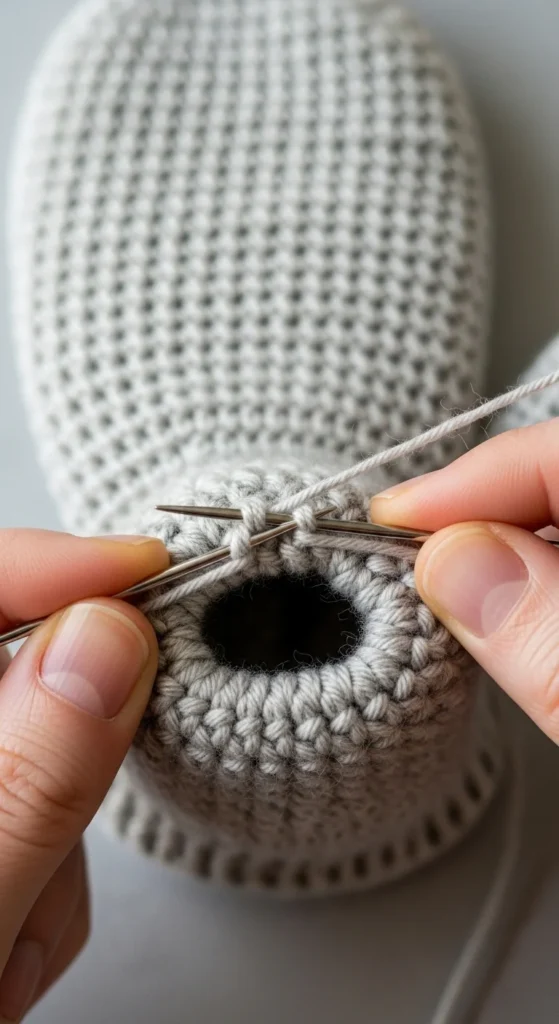
Crochet the Thumb (After the Hand Is Done)
Once the mitten hand is long enough, you’ll crochet the thumb.
Steps:
- Attach yarn at the thumb opening.
- Crochet in the round around the opening.
- Close small gaps by picking up an extra stitch at corners if needed.
- Work until thumb reaches near the top of your thumb.
- Finish with a few decreases, then cinch.
Easy thumb finishing:
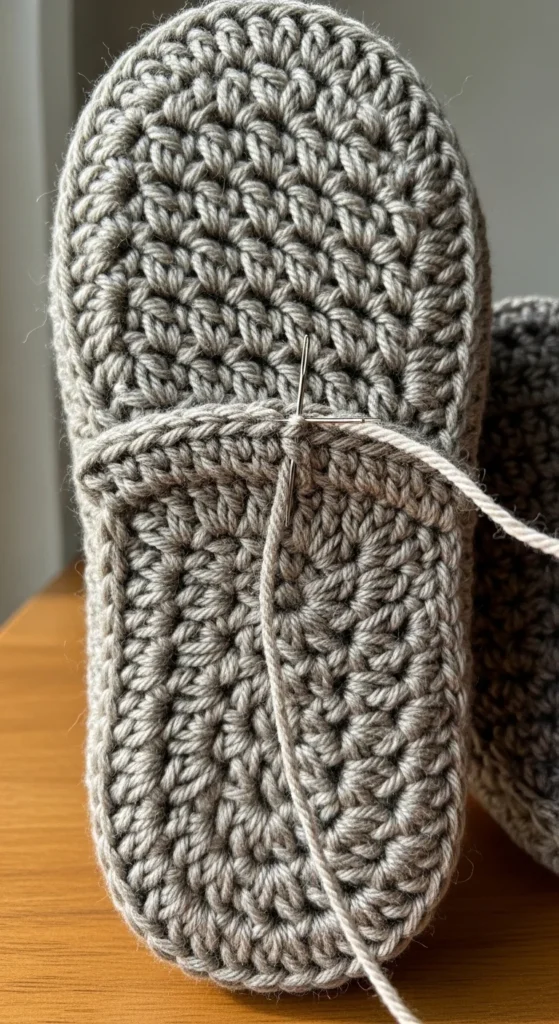
- Cut yarn, leave a tail.
- Thread the tail through the last stitches.
- Pull tight to close.
- Weave in ends.
If the thumb feels tight, add one extra round. If it feels loose, decrease sooner.
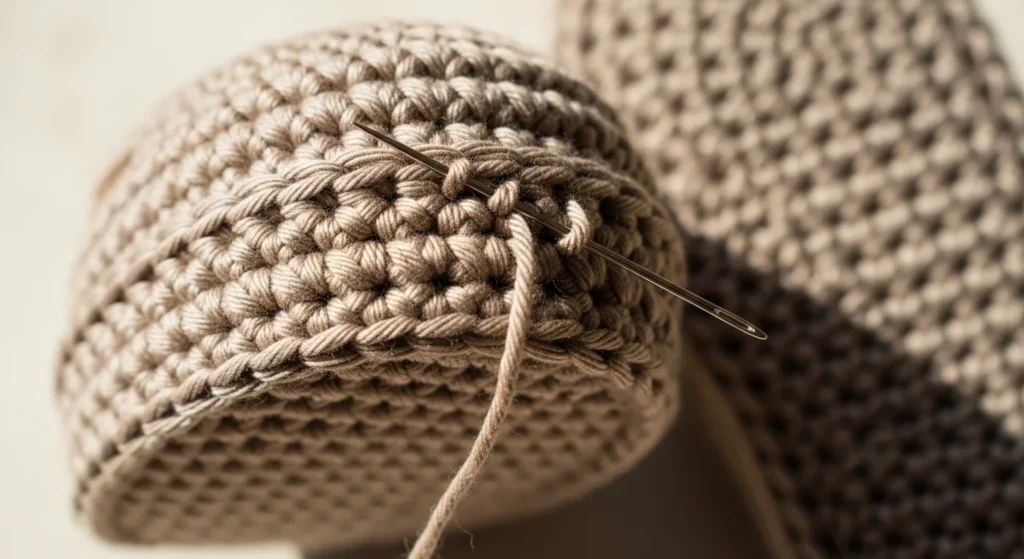
Shape the Top (Smooth, Not Pointy)
To close the mitten top, you’ll taper with decreases.
Common decrease method:
- Work sc2tog (single crochet two together) spaced evenly around the round.
A simple approach:
- Decrease every few stitches around the mitten.
- Do a normal round.
- Decrease again.
- Repeat until the opening is small.
Then:
- Use a yarn needle to thread the tail through the remaining stitches.
- Pull tight and secure.
Tip: Evenly spaced decreases create a rounded top. If you decrease too quickly, the top can look pointy.
Cute Finishing Touches (Optional but Fun)
Make your mittens feel extra special with small details:
- Two-color stripes (simple and cute)
- Surface slip stitches for subtle patterns
- A small bow or tassel at the cuff
- Matching mitten set for gifting
If you want extra grip:
- Add a non-slip coating or small stitched grips on the palm area.
Conclusion
Save this tutorial for later, grab your favorite yarn, and crochet a cozy pair this week!
Crocheting cute winter mittens is totally doable, even if you’re a beginner. Start with a ribbed cuff, work the hand in the round, create a simple thumb opening, then shape the top with steady decreases. Your first pair teaches you everything you need for the second pair to look even cleaner.


