
Fingerless gloves are one of the easiest crochet projects that still feel stylish and useful. They keep your hands warm while letting your fingers stay free for phones, typing, or everyday tasks. Even beginners can make them because the shape is simple and forgiving.
Most easy gloves use a ribbed cuff, a tube for the hand, and a small thumb opening created with a chain space. Once you understand these three parts, you can customize colors, textures, and fit.
Let’s walk through a simple step-by-step method that works for nearly any yarn.
Choose Yarn and Hook (Comfort First)
Fingerless gloves should feel soft, flexible, and not bulky.
Good beginner yarn choices:
- Worsted weight yarn for everyday gloves
- Wool blends for warmth without itch
- Acrylic yarn for easy care and affordability
Hook sizes:
- 4–5mm works well for most worsted yarn
- Use a smaller hook if fabric feels loose
- Use a larger hook if gloves feel stiff
Helpful tools:
- Stitch markers
- Tapestry needle
- Measuring tape
Tip: Gloves stretch during wear. Slightly snug is better than loose.
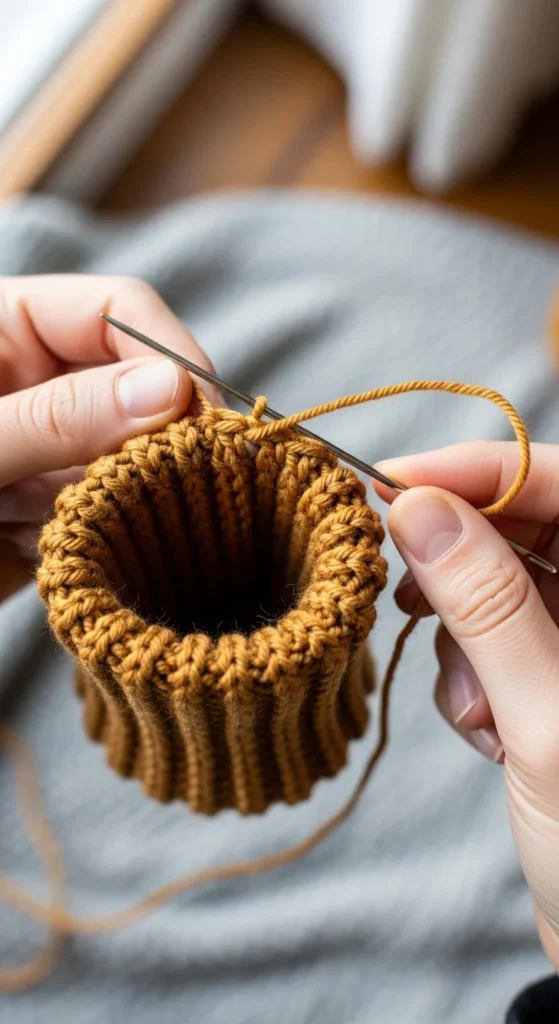
Make the Ribbed Cuff (Stretchy Wrist Fit)
A ribbed cuff keeps gloves secure and comfortable.
Simple method:
- Chain the height of your cuff (about 2–3 inches).
- Work single crochet rows back and forth.
- Use back loop only to create ribbing.
- Join the short ends to form a tube.
Now you have the base of your glove.
Cuff ideas:
- Short cuff for everyday gloves
- Long cuff for cozy winter style
- Two-color cuff for visual interest
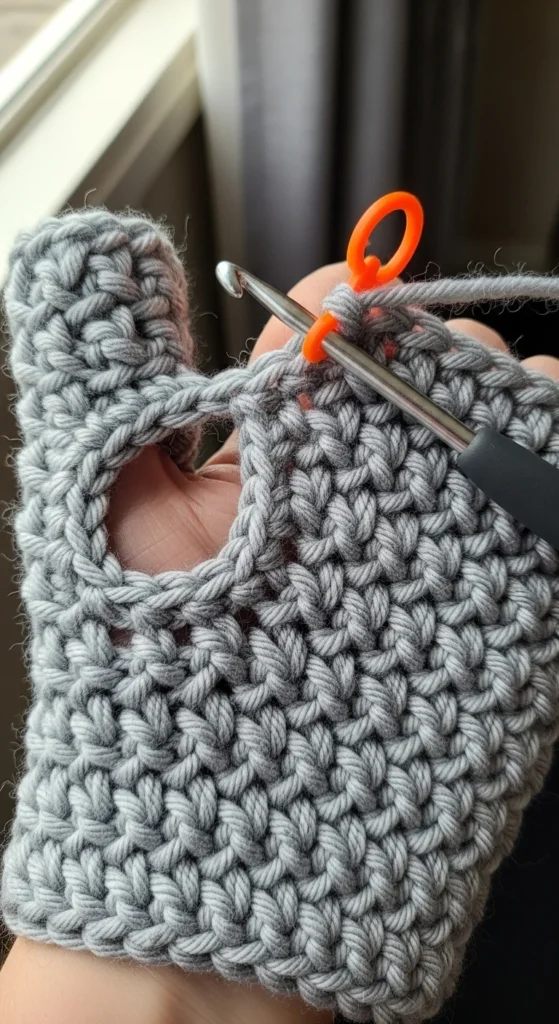
Crochet the Hand Tube (Seamless Method)
Once the cuff is ready, you’ll work around the edge to build the hand.
Steps:
- Attach yarn at the cuff edge.
- Crochet in the round.
- Use half double crochet (HDC) for a soft, flexible fabric.
- Continue until you reach thumb placement.
Helpful tips:
- Place a marker at the start of each round.
- Try gloves on frequently.
- Keep tension consistent.
If gloves feel tight, add stitches.
If they feel loose, reduce stitches or switch hook size.
This stage forms the main glove body.
Create the Thumb Opening (Easy Chain Method)
The thumb opening is simply a planned gap.
How to do it:
- Crochet until the thumb area.
- Chain 2–4 stitches (depending on thumb size).
- Skip the same number of stitches.
- Continue crocheting in the round.
This creates a comfortable thumb hole without complicated shaping.
Sizing tip:
- Smaller chain = snug thumb opening
- Larger chain = looser fit
You can adjust easily on the second glove if needed.
Continue the Hand and Shape the Top
After the thumb opening, continue working rounds until the glove reaches your desired finger height.
Common lengths:
- Short (just past thumb)
- Mid-length (half finger coverage)
- Long (near knuckles)
To finish neatly:
- Work one or two rounds of single crochet at the top.
- This prevents rolling and adds structure.
If the glove feels wide near the fingers:
- Add a few decrease stitches evenly around.
- This creates a cleaner fit.
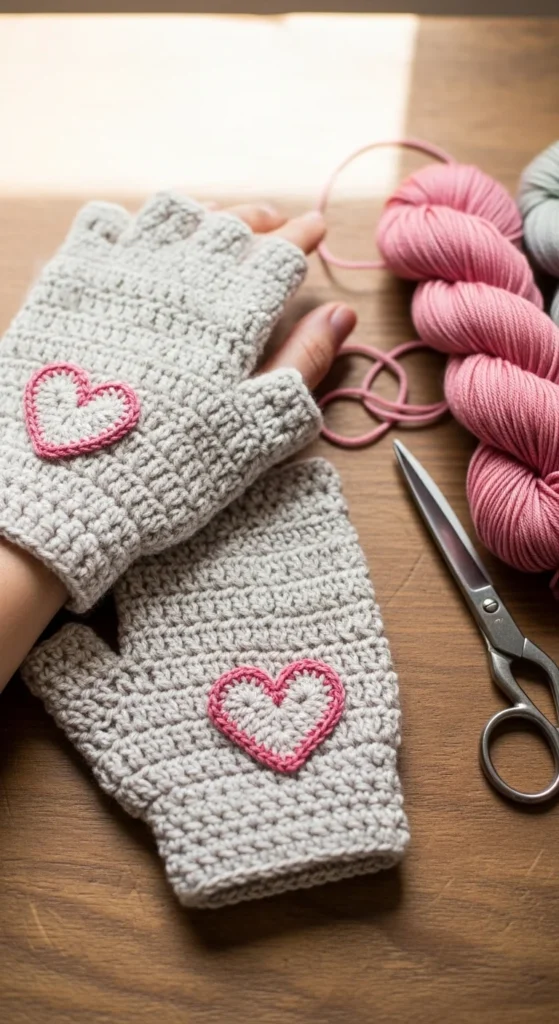
Add Optional Texture or Style
Fingerless gloves are perfect for small upgrades.
Beginner-friendly ideas:
- Front post stitches for subtle cables
- Moss stitch for knit-like texture
- Color stripes
- Cute appliques like hearts or paw prints
Small changes make gloves look unique without changing construction.
Fix Common Fit Problems (Quick Solutions)
If your gloves don’t feel perfect, small tweaks help:
- Thumb hole too tight: add 1 extra chain next time
- Cuff too loose: reduce hook size or fewer rows
- Palm gaping: add one decrease round
- Gloves sliding down: make cuff tighter or longer
Trying them on during crochet is the easiest way to adjust.
Finishing Tips for Long-Lasting Gloves
Before wearing:
- Weave in ends securely
- Lightly reshape with your hands
- Add a final top edging round if needed
For durability:
- Wash gently
- Air dry flat
- Avoid heat for wool blends
Making a second pair right away helps refine sizing and tension.
Conclusion
Crocheting fingerless gloves is one of the easiest ways to create something cozy, useful, and giftable. Start with a ribbed cuff, build a simple hand tube, create a thumb opening with a chain space, and finish with a neat edge.
Once you master the basic version, you can experiment with texture, colors, and length.
Save this tutorial for later and crochet your first pair this week.


