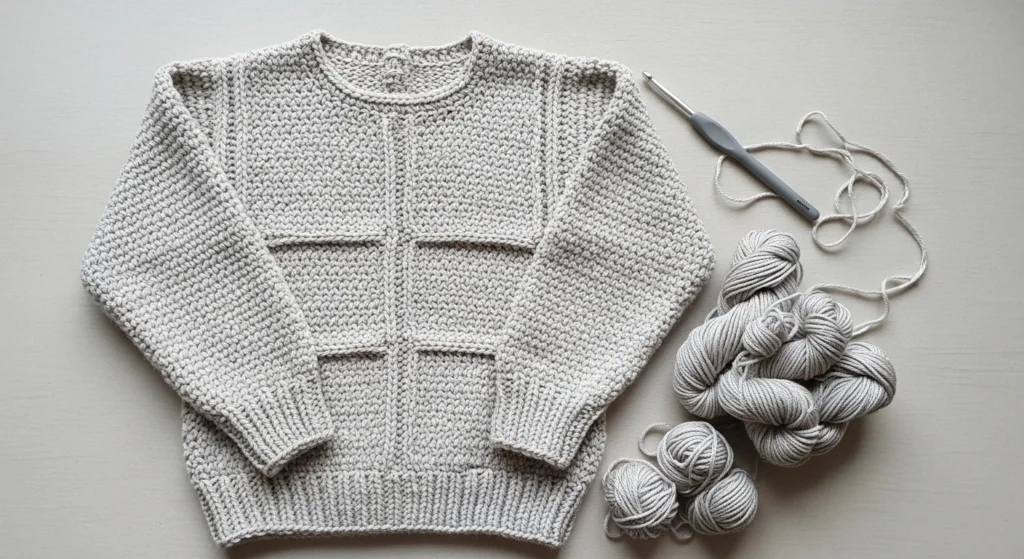
Crocheting a sweater might sound intimidating — but what if I told you it’s basically just a few rectangles sewn together?
That’s right. Many beginner-friendly sweaters use simple rectangle panels, basic stitches, and easy seaming. No complicated shaping. No advanced math. Just clean construction and cozy yarn.
If you can crochet rows and count stitches, you can make this sweater.
Let’s break it down step by step.
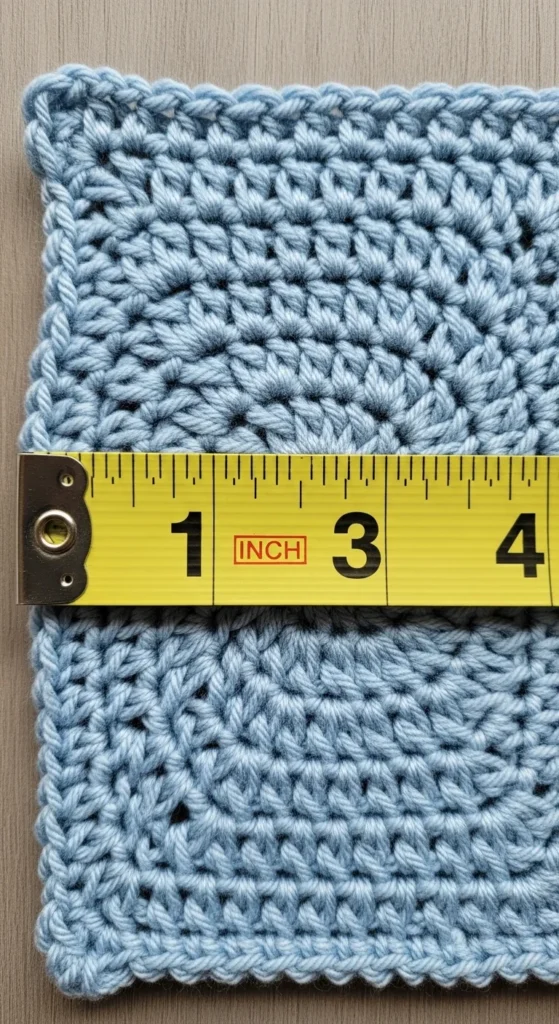
🧶 Step 1: Make a Gauge Swatch (Don’t Skip This!)
Before you crochet anything large, make a small test square.
Why?
- Prevents sizing disasters
- Helps match your measurements
- Ensures correct drape
For worsted weight yarn with a 5–5.5mm hook, a common gauge is:
- 11 HDC x 10–11 rows = 4 inches
Crochet a 4×4-inch swatch using your planned stitch. Measure it. Adjust hook size if needed.
Too small? Go up a hook.
Too loose? Go down a hook.
This one step saves hours of frustration later.
📏 Step 2: Measure Your Body
Instead of guessing sizes, we’re using a measure-to-make method.
Take these measurements:
- Bust circumference
- Desired sweater length
- Arm length
For adult sizes, front/back panels often begin with:
- 49–79 chains (depending on bust and yarn weight)
Your starting chain should equal half your bust width (plus ease).
Write everything down before starting.
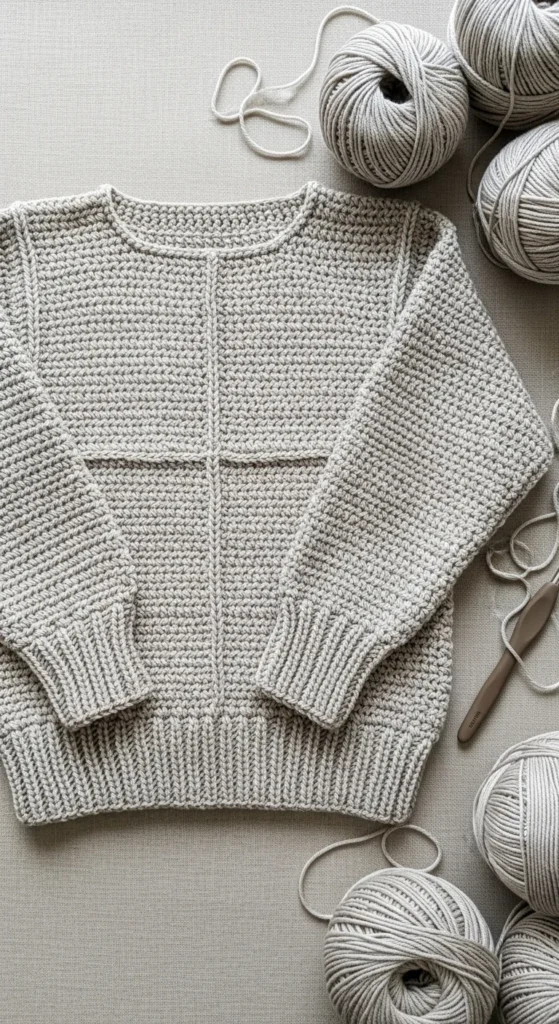
🧵 Step 3: Crochet the Rectangle Panels
Most beginner sweaters use:
- 1 back panel
- 1 front panel (or split into 2 front pieces)
- 2 sleeve panels
Panel Instructions
- Chain to your measured width
- Work half double crochet (HDC) or double crochet (DC) across
- Turn and repeat rows
- Continue until reaching desired length (usually 21–22 inches for adults)
Foundation double crochet is a great option for stretch and reduced curling.
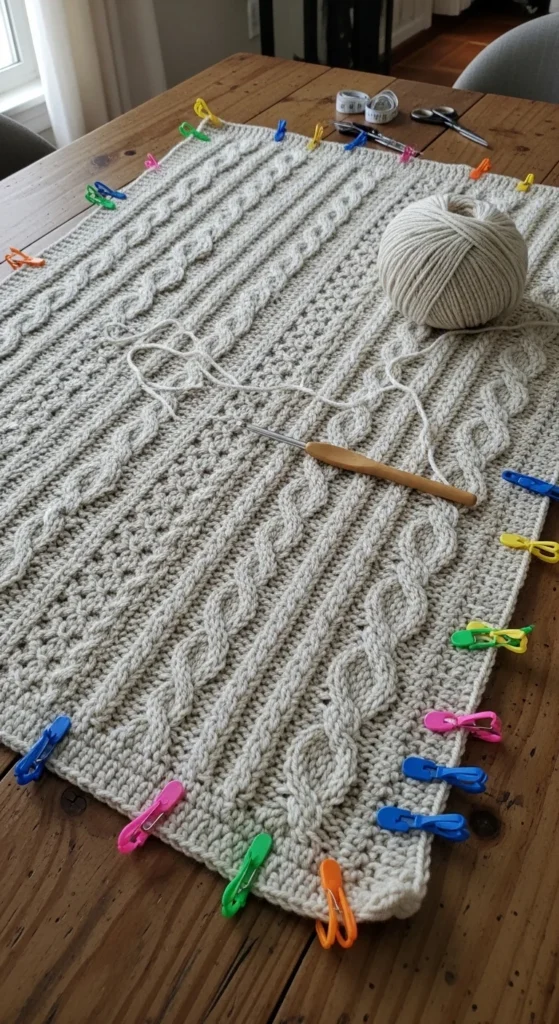
Keep edges straight by:
- Counting stitches every few rows
- Using stitch markers
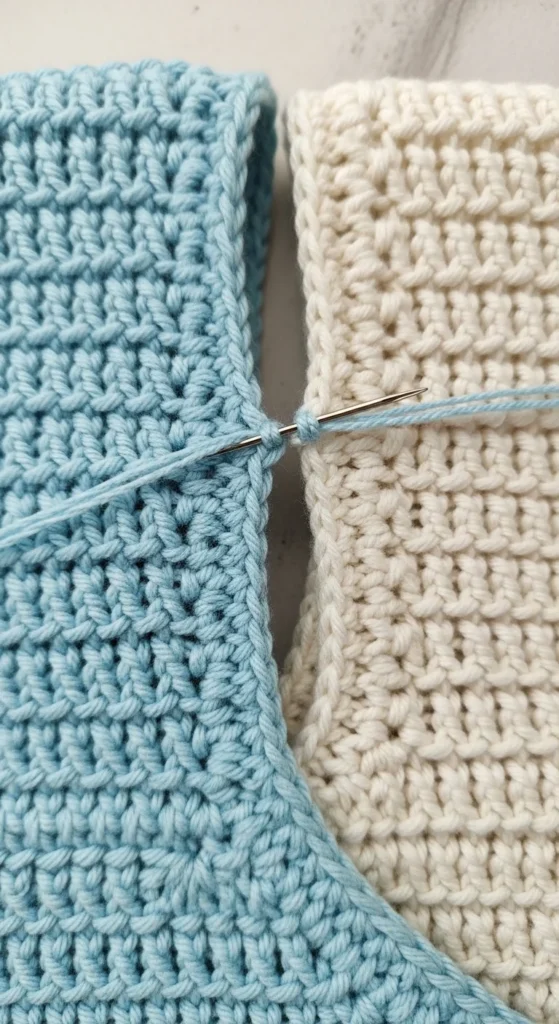
🪡 Step 4: Seam the Shoulders First
Once your panels are complete:
- Lay them flat
- Match shoulders evenly
- Pin before sewing
Use mattress stitch or whip stitch from the inside for invisible seams.
Always seam shoulders first. This aligns everything properly before side seams.
👕 Step 5: Seam the Sides (Leave Armholes!)
Fold the sweater so front and back align.
Sew from the bottom upward, stopping at the armhole opening.
Tip:
- Measure your arm circumference
- Leave enough space for comfort
If gaps appear later, you can chain across during sleeve setup.
🧶 Step 6: Add Sleeves (Easy Top-Down Method)
Instead of sewing sleeve rectangles separately, you can crochet sleeves directly into the armhole.
How:
- Attach yarn at the shoulder seam
- Crochet evenly around armhole opening
- Work in rounds
- Decrease slightly toward wrist if desired
To prevent gaping:
- Chain across small underarm spaces
- Tighten first round slightly
This method creates a cleaner fit.
✨ Step 7: Add Ribbed Edges & Cuffs
For that knit-look finish, use:
- Half double crochet in the back loop only (BLO)
Add ribbing to:
- Sleeve cuffs
- Bottom hem
- Neckline
Work 1–3 inches depending on style preference.
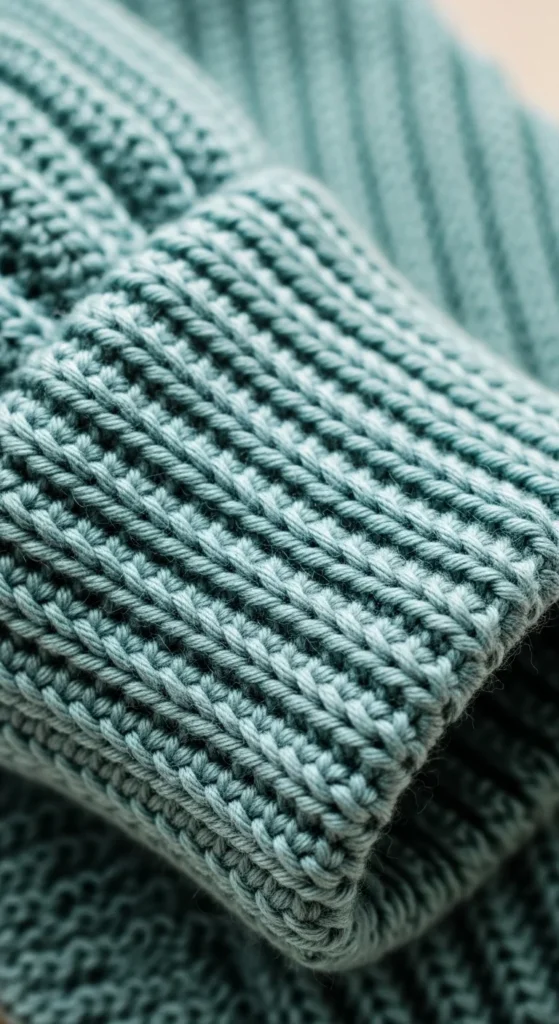
This small detail makes a huge difference in how professional your sweater looks.
💛 Step 8: Shape the Neckline (Optional)
Want a V-neck or open neckline?
Use short rows:
- Split front panel into two sections
- Decrease gradually at neckline edge
- Seam shoulders after shaping
For a simple crew neck:
- Leave a centered neck opening
- Add ribbing afterward
No complicated shaping required.
🧼 Step 9: Block Before Wearing
Blocking improves:
- Drape
- Seam alignment
- Overall fit
Lightly steam (don’t press directly on yarn) and lay flat to cool.
Blocking panels before assembly also helps keep seams straight.
🚫 Common Beginner Mistakes
Sweater too tight?
- Gauge swatch was off
- Add more chains next time
Too boxy?
- Add neckline shaping
- Slight sleeve decreases
Armholes too wide?
- Chain fewer stitches
- Tighten first sleeve round
Too many loose ends?
- Weave as you go
- Crochet over tails when possible
🧶 Quick Construction Recap
- Make gauge swatch
- Measure body
- Crochet rectangle panels
- Seam shoulders
- Seam sides (leave armholes)
- Add sleeves in rounds
- Add ribbing
- Block
Simple structure. Clean finish. Beginner-friendly.
💛 Final Thoughts
Crocheting a simple sweater isn’t about complicated shaping — it’s about:
- Rectangle panels
- Consistent gauge
- Invisible seams
- Ribbed finishing touches
Take it step by step, and you’ll be surprised how manageable it feels.
🧶 Save this tutorial, grab your yarn, and start crocheting your first simple sweater today!


