There’s nothing more satisfying than wearing something you made yourself — especially when it’s a soft, cozy cardigan you can throw over everything. The good news? You don’t need complicated shaping or advanced skills to crochet one.
In fact, most beginner-friendly cardigans are made from simple rectangle panels sewn together. No scary curves. No confusing math. Just panels, seams, and cozy texture.
Let’s break it down step by step so you can confidently make your first cardigan.
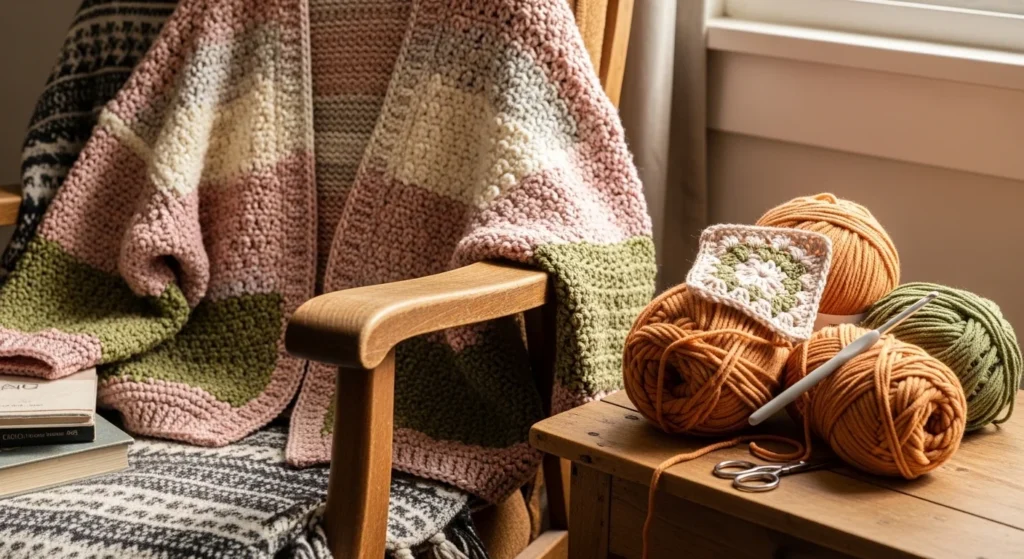
🧶 Step 1: Choose the Right Yarn & Hook
Your yarn choice determines how your cardigan feels and drapes.
Beginner-Friendly Options:
- DK weight (#3) – lightweight and wearable year-round
- Worsted (#4) – balanced structure and warmth
- Chunky (#5) – fast and cozy for weekend projects
Hook guide:
- DK → 5mm hook
- Worsted → 5–5.5mm hook
- Chunky → 6–8mm hook
If you want speed, go chunky. If you want flowy and breathable, choose DK or bamboo blends.
📏 Step 2: Measure Before You Crochet
Cardigans look boxy when sizing is guessed.
Take these measurements:
- Bust circumference
- Hip width
- Desired length
Most beginner cardigans are made to measure, meaning you adjust your starting chain to your body width.
Example:
- Adult medium panel width often starts around 60–80 chains (depending on yarn)
Crochet a small swatch first:
- DK + 5mm hook ≈ 15–18 stitches = 4 inches
This helps avoid size surprises later.
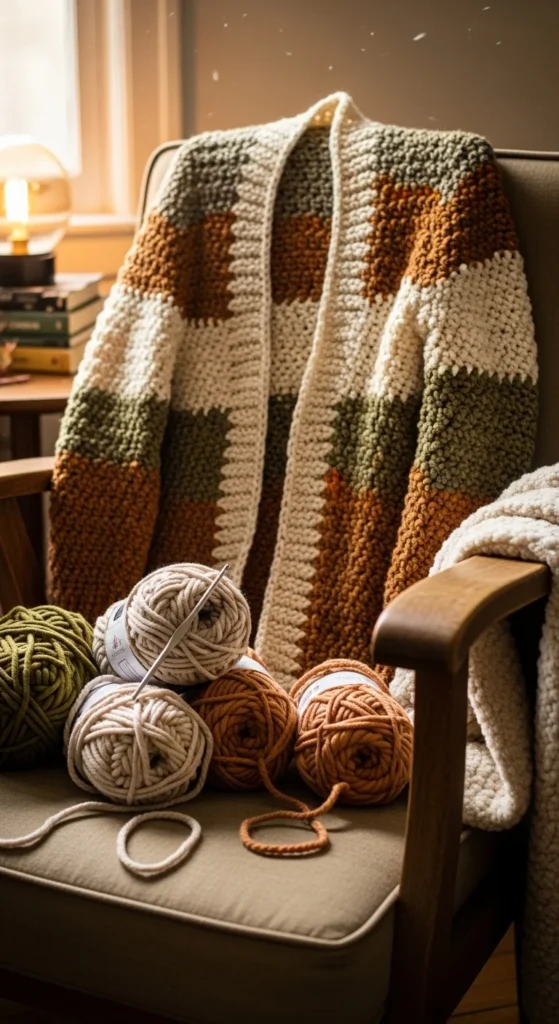
🧵 Step 3: Crochet Simple Rectangle Panels
The easiest cardigan construction uses:
- 2 large panels (front + back folded)
- Or 4 panels (back + 2 fronts + sleeves)
How to Start
Use a foundation double crochet row if possible — it stretches and prevents curling.
If you prefer:
- Chain to width
- Double crochet or half double crochet across
- Turn and repeat until desired length
Keep it simple with:
- Half double crochet
- Double crochet
- Basic textured stitches
Work until your panel reaches your preferred length (hip-length or cropped).
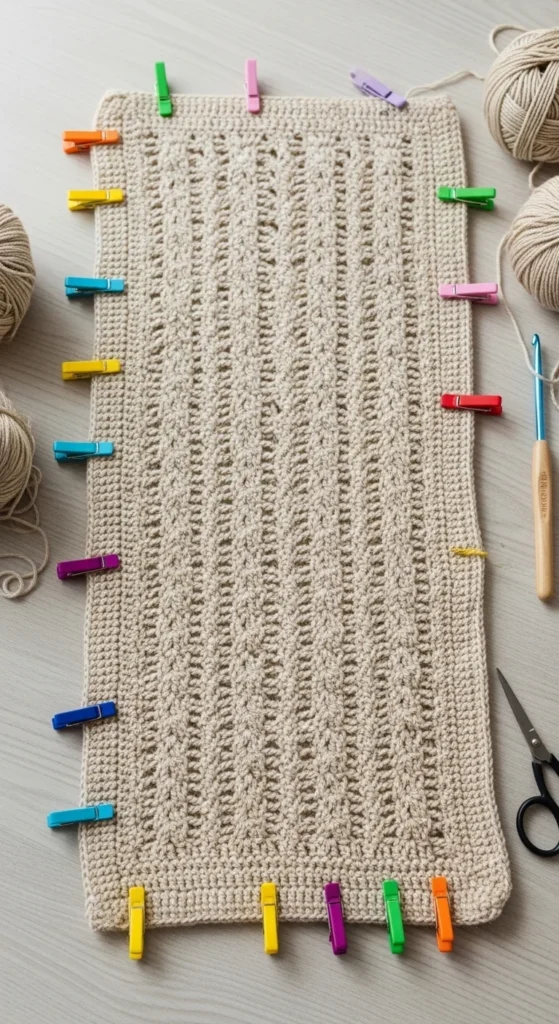
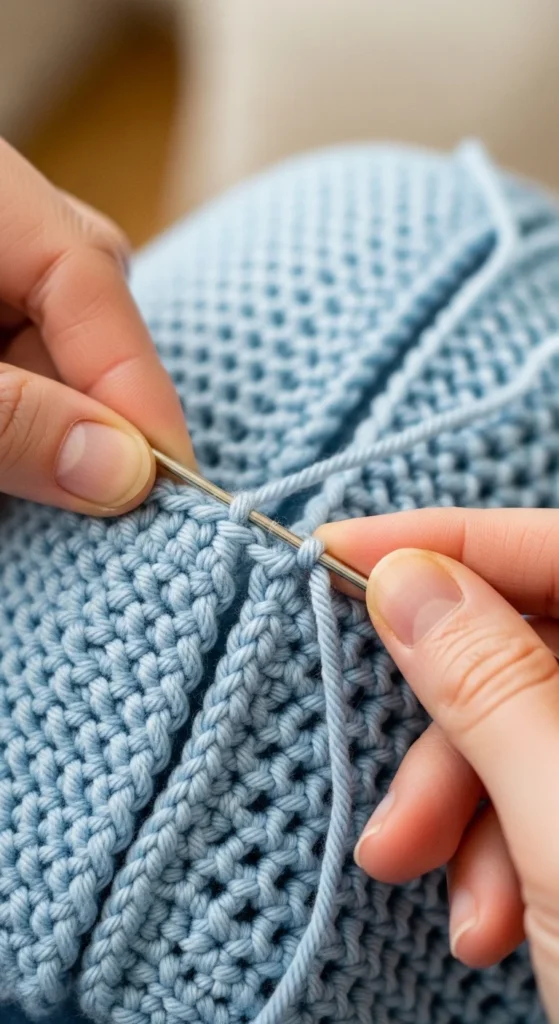
🪡 Step 4: Seam the Panels Together
Now the magic happens.
Fold your back panel in half (if using the fold-over method). Attach front panels along shoulder seams.
For invisible seams:
- Use mattress stitch
- Sew from the inside
- Keep tension even
This keeps the outside looking clean and professional.
Leave armholes open based on your arm measurement.
👕 Step 5: Add Sleeves (Easy Method!)
Once the body is assembled:
- Attach yarn at the armhole
- Crochet sleeves directly in rounds
This avoids sewing separate sleeves later.
To prevent gaping:
- Chain across small gaps
- Use stitch markers to divide evenly
Continue rounds until sleeves reach wrist length (or short sleeve preference).
🧶 Step 6: Add Ribbed Cuffs & Edges
Ribbing makes everything look polished.
Use half double crochet in the back loop only (BLO) for:
- Sleeve cuffs
- Bottom hem
- Front opening
This creates a knit-like ribbed texture without knitting needles.
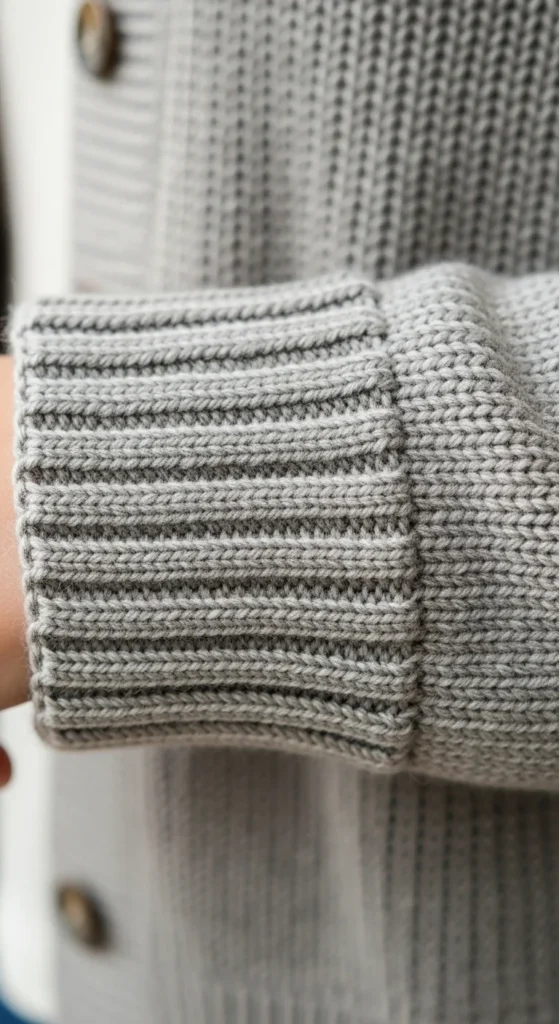
Work 1–3 inches of ribbing depending on style.
🎀 Step 7: Optional Add-Ons
Want to personalize your cardigan?
Try:
- Front ties or bows (no buttons needed)
- Sew-on pockets (simple rectangles attached later)
- Color-blocked panels
- Short rows for V-neck shaping
- Babydoll-style ruffle hem
Pockets are especially trending:
- Crochet two small rectangles
- Seam onto front panels
- Reinforce corners for durability
🧼 Step 8: Block Before Final Wear
Blocking improves:
- Panel alignment
- Seam appearance
- Overall drape
Lightly steam (without touching yarn) and lay flat to cool.
Blocking panels before seaming makes assembly easier too.
🚫 Common Beginner Mistakes (And Fixes)
Cardigan too boxy?
- Add short rows at neckline
- Use smaller hook for better drape
Sleeve gaps?
- Chain across underarm before continuing
Ends everywhere?
- Weave in as you go
- Crochet over tails when possible
Panels uneven?
- Use stitch markers along edges
- Count rows consistently
✨ Quick Construction Recap
- Measure body
- Crochet rectangle panels
- Seam shoulders & sides
- Add sleeves in rounds
- Add ribbed edges
- Optional pockets or ties
Simple. Structured. Beginner-friendly.
💛 Final Thoughts
Crocheting a cozy cardigan doesn’t require advanced shaping or complicated patterns. With:
- Basic rectangle panels
- Invisible seaming
- Ribbed back-loop edges
- Custom sizing from measurements
You can create a wearable, comfortable cardigan that feels handmade in the best way.
🧶 Save this guide, choose your yarn, and start crocheting your first cozy cardigan today!


