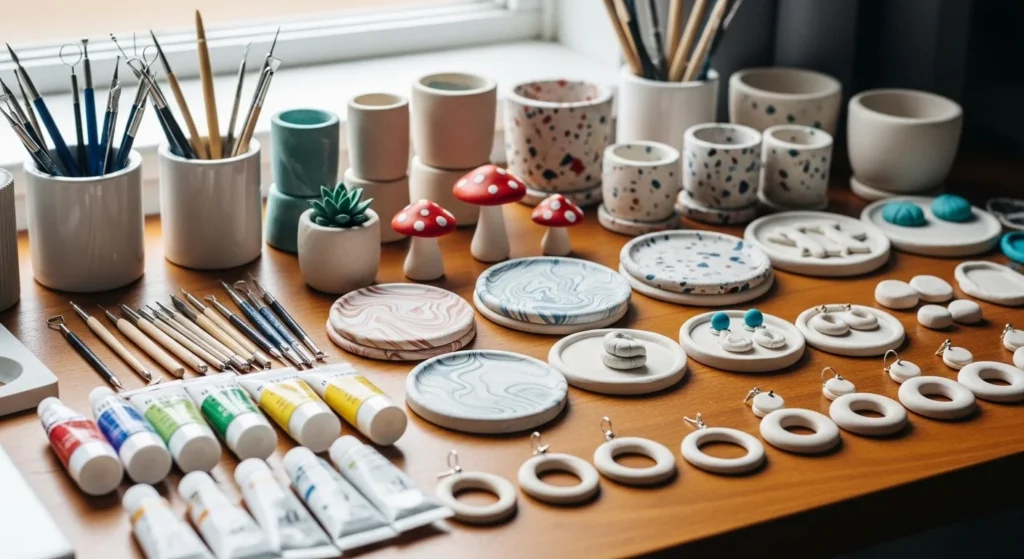
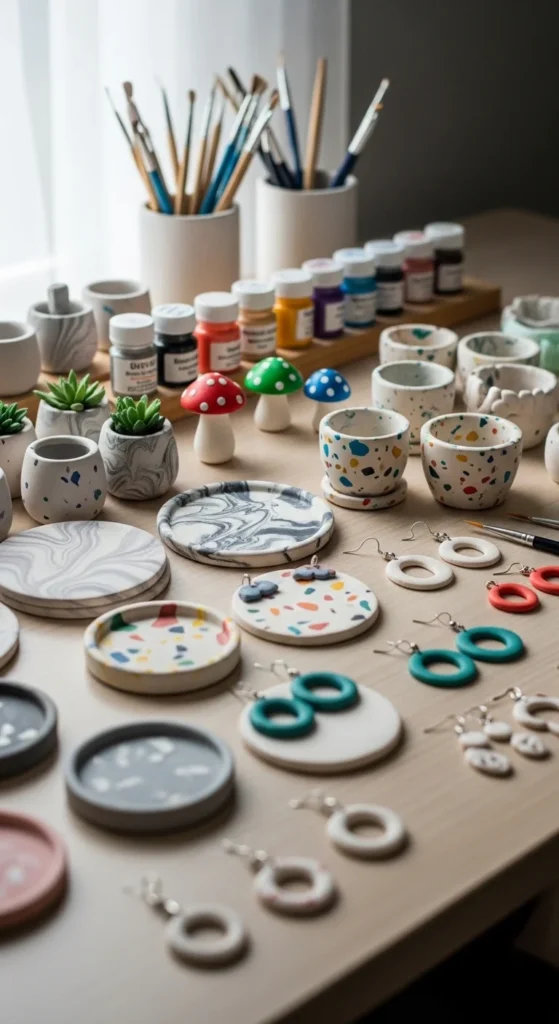
Clay crafting is having a serious moment—and it’s easy to see why. With air dry clay, you don’t need a kiln, a studio, or expensive tools. Just a table, simple supplies, and a little time. Whether you want home decor, gift ideas, or small items you can sell online, clay projects are budget-friendly and beginner-safe. Below you’ll find creative ideas that are simple, trendy, and actually doable at home.
1. Mini Hanging Planters
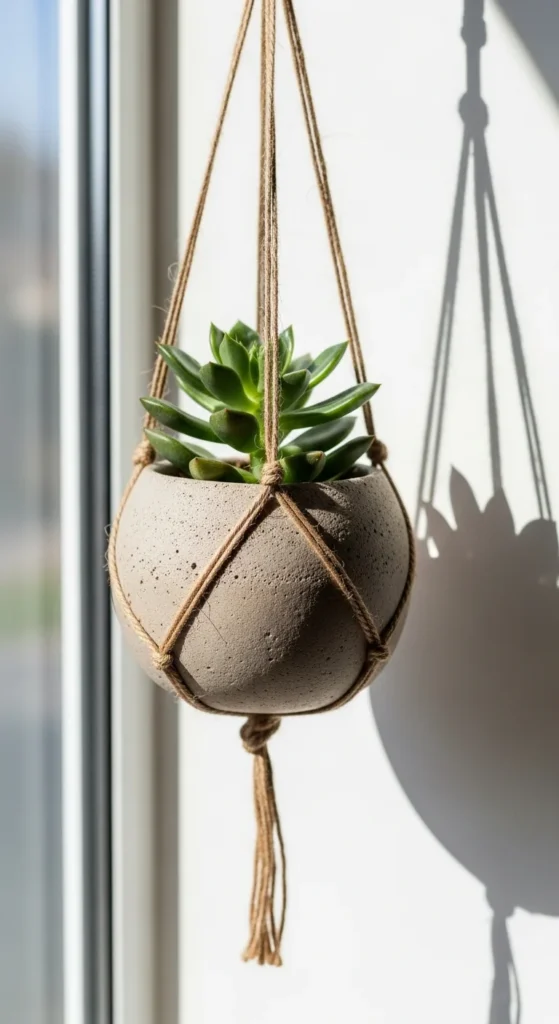
Mini planters are everywhere right now, especially for small succulents. Start with air dry clay and shape a small bowl using your hands or press clay into a cup as a mold. Poke three evenly spaced holes near the rim before drying. After it dries, sand lightly and seal with varnish to prevent cracking.
Thread jute or cotton cord through the holes and knot underneath. Keep the design simple if you’re new. Smooth white, speckled, or terrazzo styles work well.
Want to save money? Use leftover clay scraps to make tiny matching plant tags.
Seal the inside if using real plants. Or place a plastic nursery pot inside to avoid water damage.
These sell well online and make easy gifts.
2. Clay Earrings for Beginners

Clay earrings are one of the easiest entry projects. Roll clay thin and cut shapes using cookie cutters or a knife. Circles, arches, and abstract shapes work great.
Use a toothpick to poke holes for hooks before drying. Once dry, lightly sand edges.
Add color with acrylic paint or markers. Keep patterns simple—dots, lines, or color blocking.
Attach affordable earring hooks from craft stores. You can make several pairs from one clay pack.
They’re lightweight, stylish, and perfect for small business starters.
3. No-Bake Clay Trinket Dishes
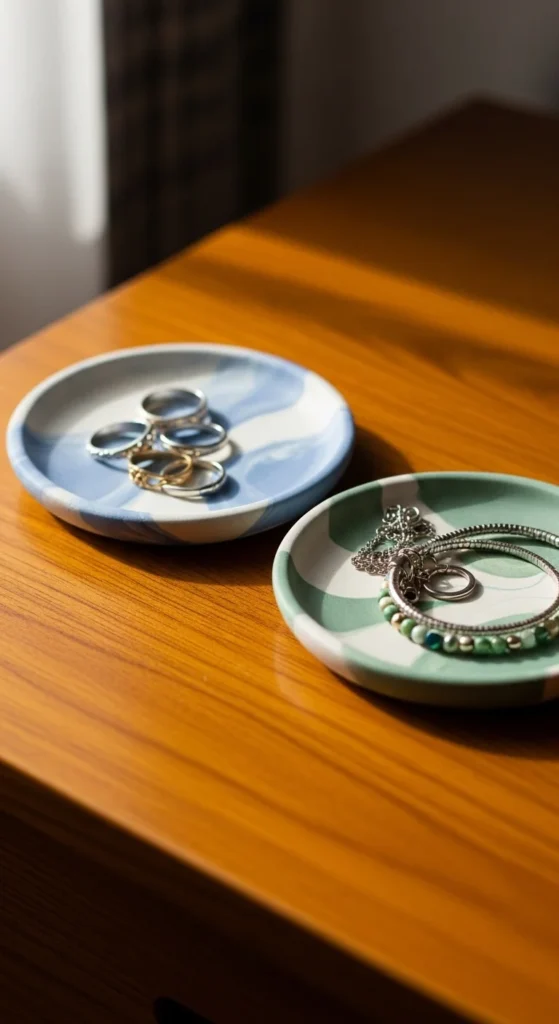
Trinket dishes are practical and popular. Roll clay into a flat circle and gently press into a small bowl to create a curve.
Marbled effects are easy. Twist two clay colors together and roll flat.
After drying, seal with a clear varnish to avoid cracking.
These are perfect for rings and small jewelry. You can personalize them with stamped initials before drying.
They’re quick to make and always useful.
4. Mushroom Fairy Garden Decor
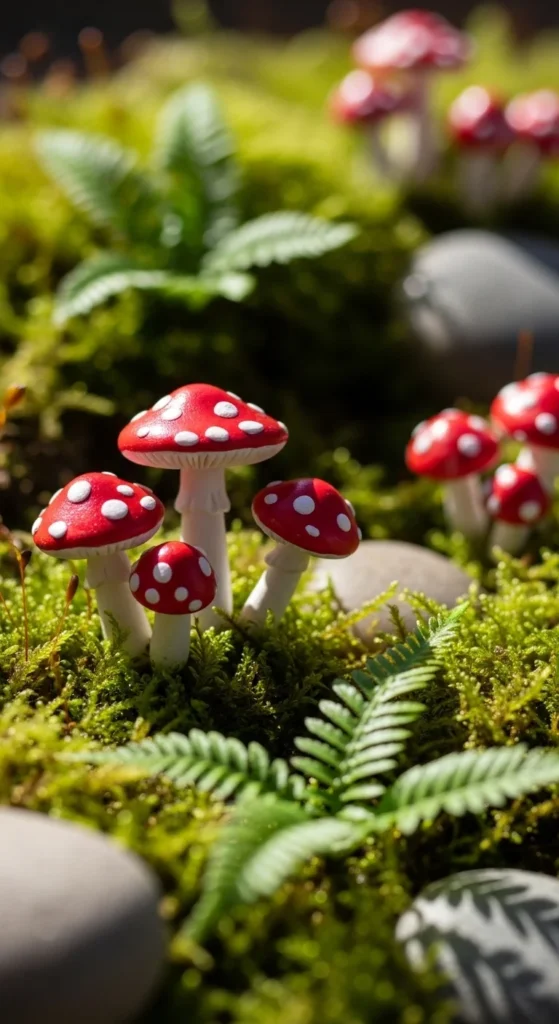
Mushroom motifs are trending in fairy garden decor. Shape a small stem and cap separately. Attach using a bit of water as glue.
Add white dots with paint after drying.
Create different sizes for a realistic look. Use textured tools like a toothbrush for natural detail.
They’re small, cute, and great for scrap clay.
5. Textured Clay Coasters
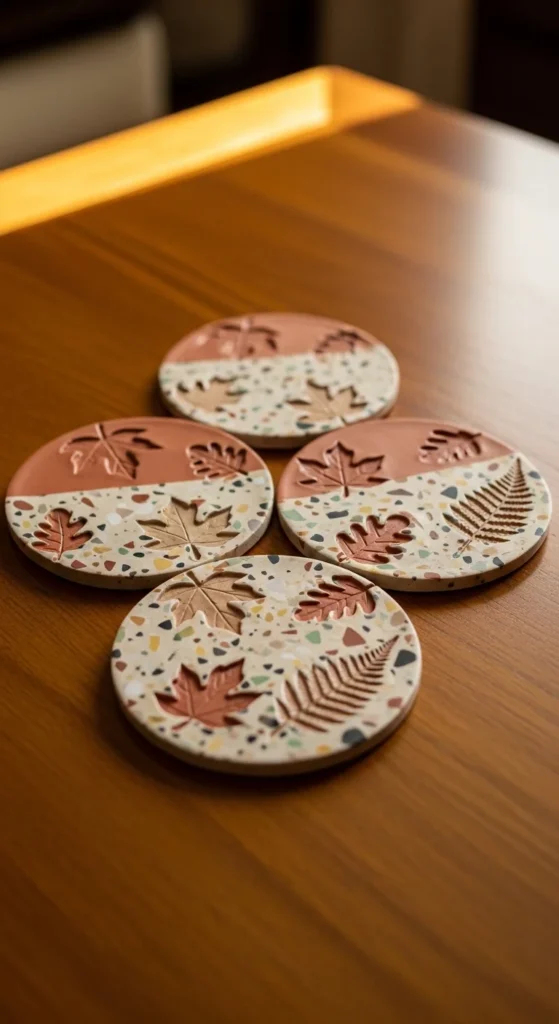
Roll clay evenly and cut into circles. Press leaves, lace, or textured fabric onto the surface.
Seal with waterproof varnish after drying.
Speckled and terrazzo styles look modern. Add tiny clay bits for the effect.
These make thoughtful housewarming gifts.
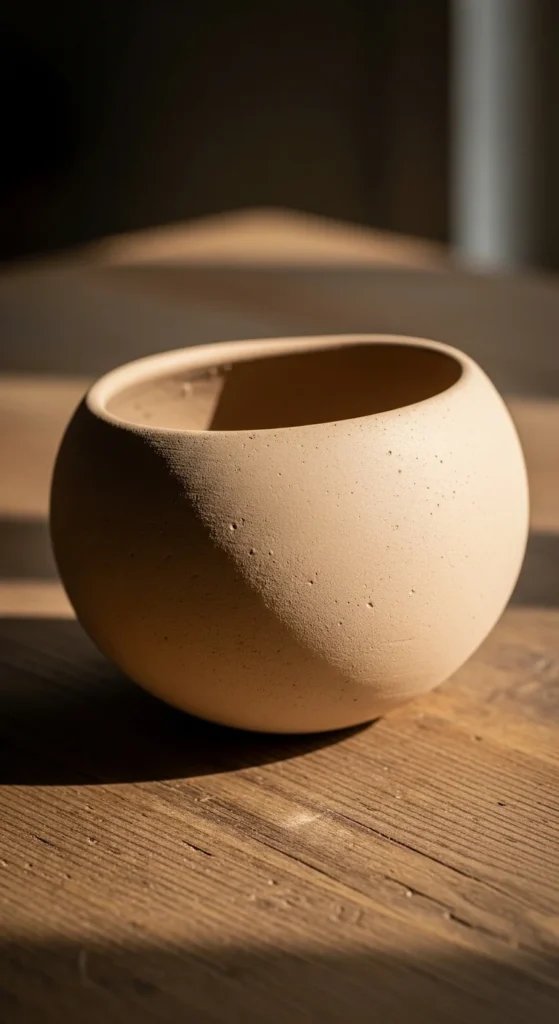
6. Speckled Terrazzo Planters
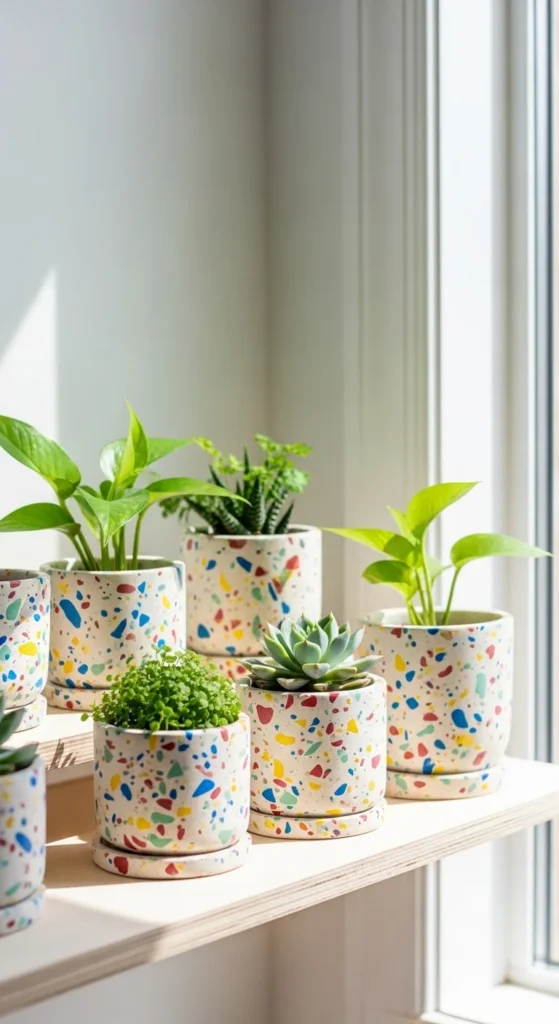
Terrazzo texture is simple. Mix small colored clay pieces into white clay and roll flat.
Shape into a small pot using a bowl mold.
Sand edges once dry for a smooth finish.
Seal properly to avoid cracking.
Modern, stylish, and easy to sell.
7. Clay Keychains
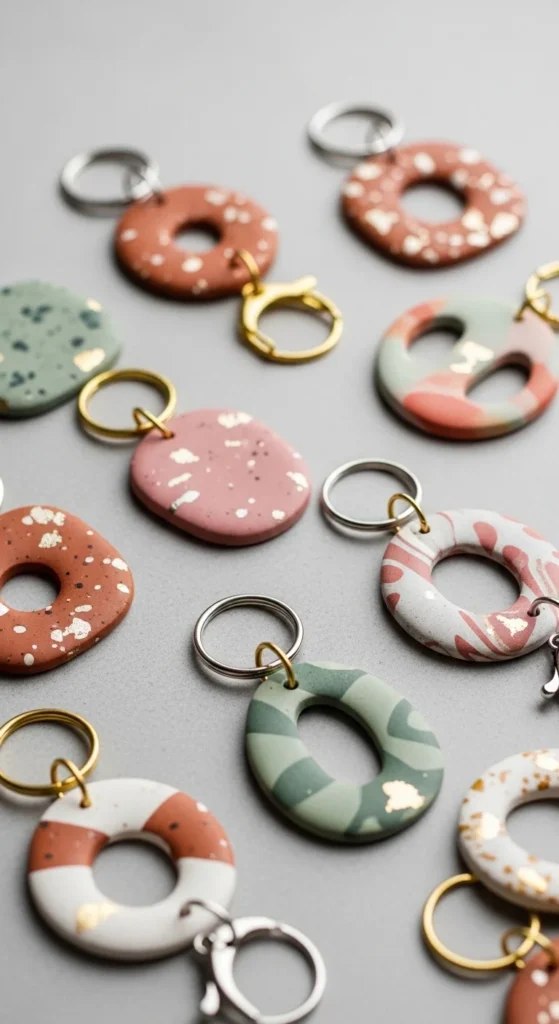
Keychains are quick and practical. Cut small shapes—hearts, letters, or circles.
Poke a hole for the key ring before drying.
Paint after drying and seal.
They’re affordable gift ideas and easy to batch-make.
8. Stacked Ombre Candle Holders
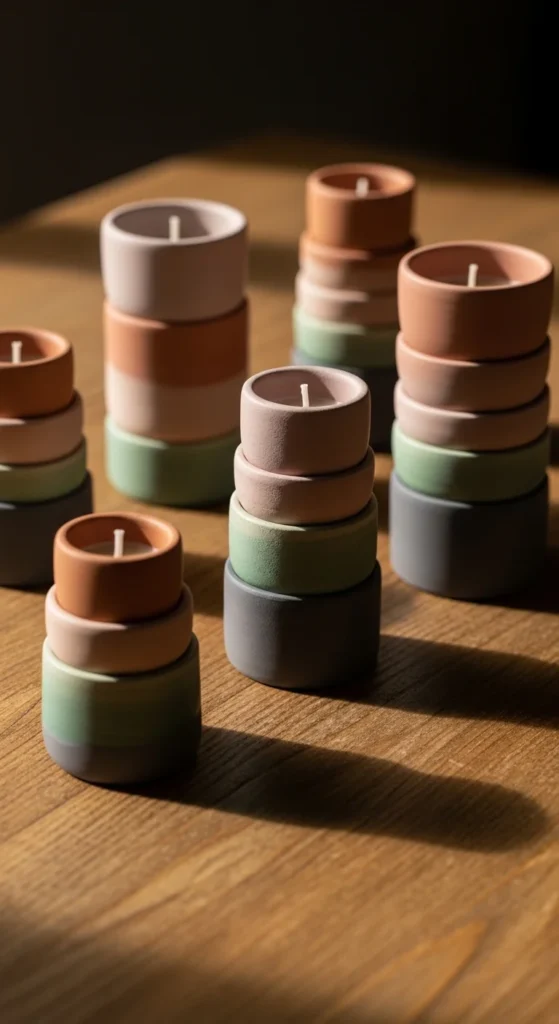
Roll clay into even cylinders and stack carefully. Blend colors slightly for an ombre look.
Carve a shallow top for tealight candles.
Always test stability before use.
These add cozy decor on a budget.
9. Celestial Moon Wall Hangings
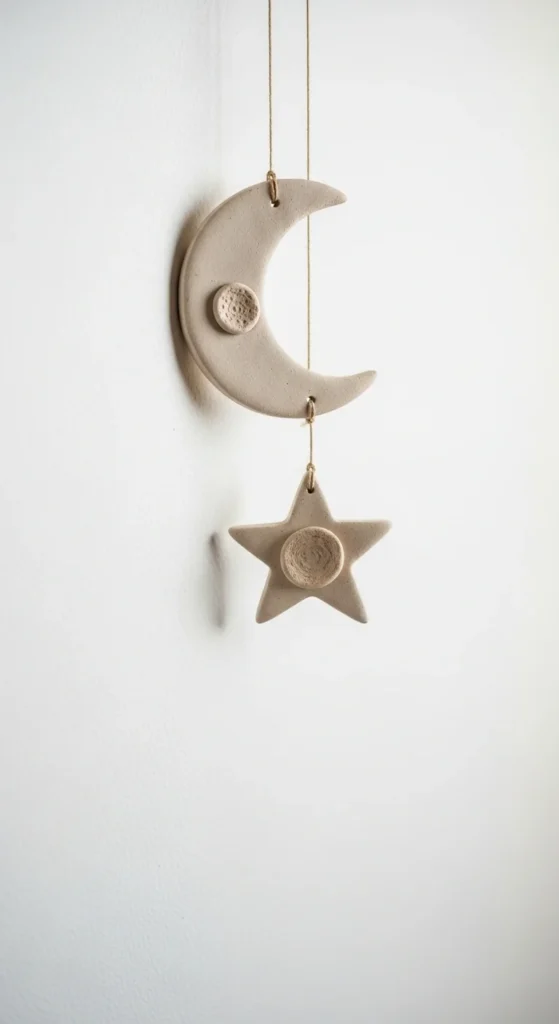
Roll clay flat and cut moon shapes. Add tiny star cutouts.
Attach small holes for hanging string.
Paint in soft neutrals or metallic tones.
Simple wall decor that feels trendy.
10. Clay Domino Game Set
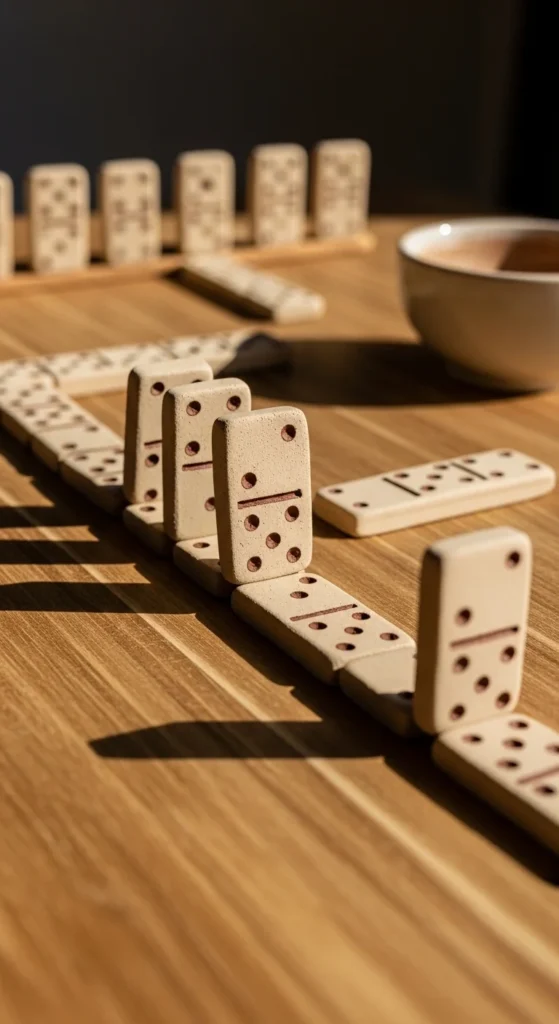
Roll clay evenly and cut rectangles. Mark dots using a tool before drying.
Paint black and white for a classic look.
Seal for durability.
A handmade game set feels personal and fun.
11. Marbled Ring Holders
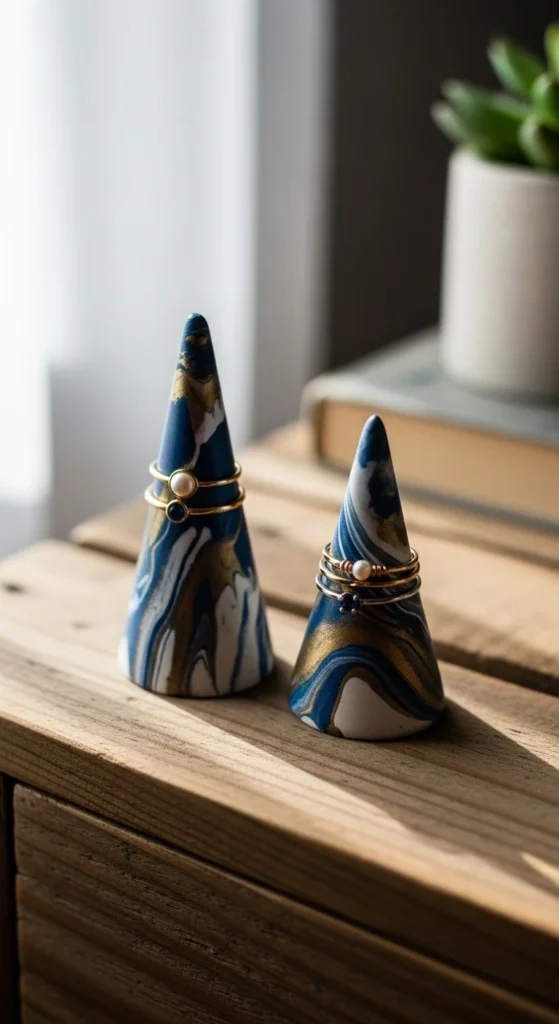
Roll clay into a cone shape. Blend two colors lightly for a marble effect.
Let dry fully before sealing.
They’re small but practical.
Perfect for gifts.
12. Kawaii Food Miniatures
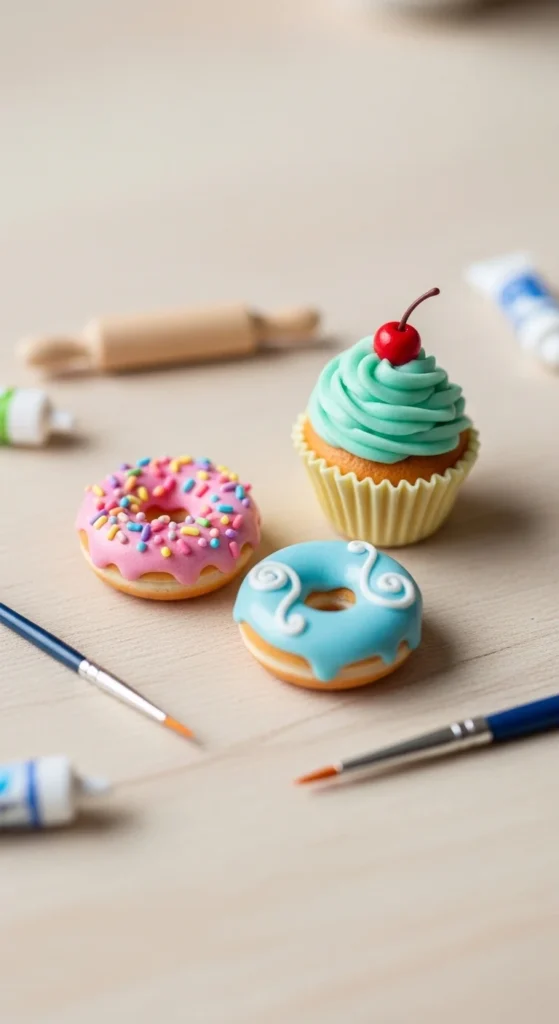
Shape tiny donuts or cupcakes. Use tools for texture.
Paint with soft pastel tones.
Great scrap-clay project.
Cute decor or keychain add-ons.
13. Flower Frog Vase Insert
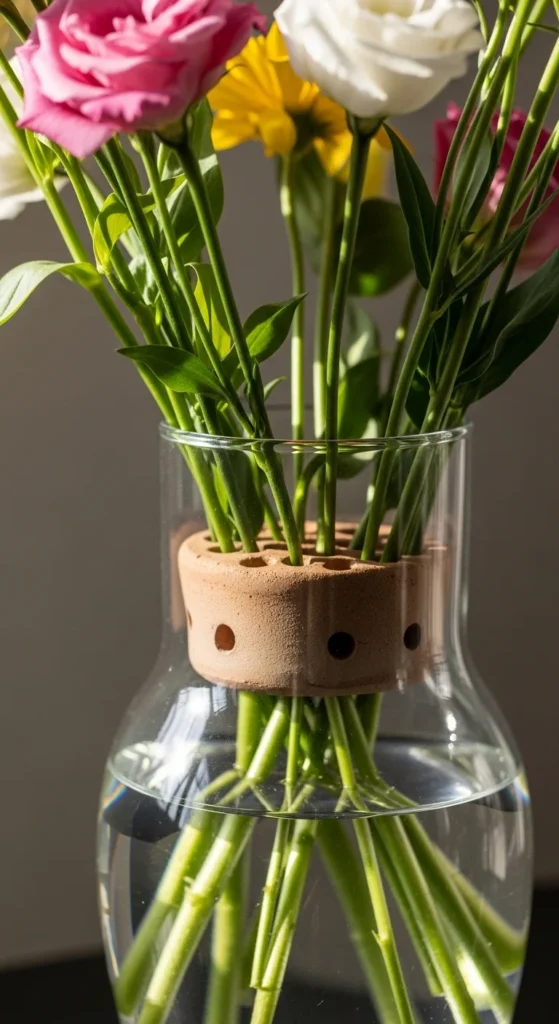
Roll a thick clay disc. Poke evenly spaced holes.
Place inside a vase to hold stems upright.
Practical and unique.
Great utility craft idea.
14. Clay Wall Tiles
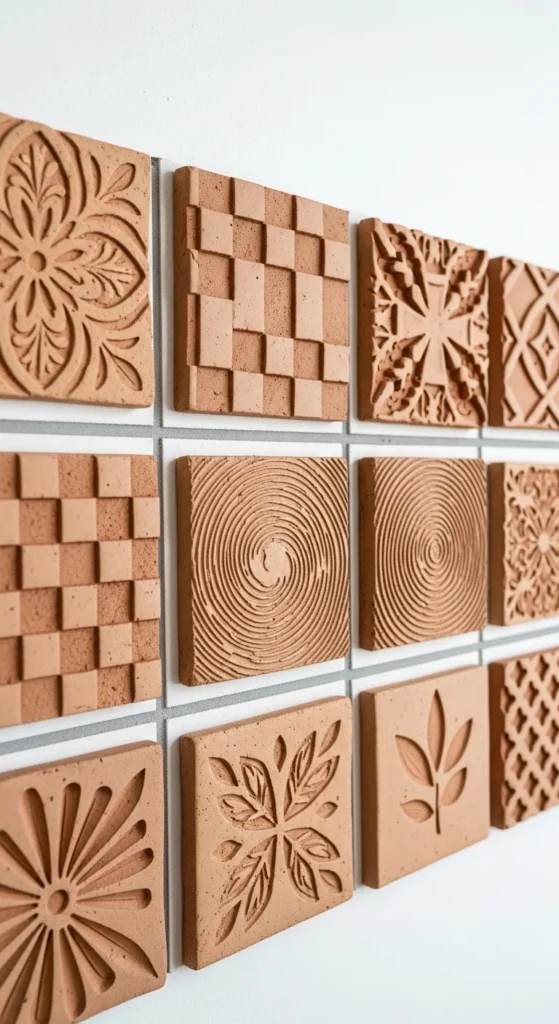
Cut square shapes and press patterns using stamps or leaves.
Let dry flat to avoid warping.
Mount as decor or use as game tiles.
Creative and multi-purpose.
15. Balloon Mold Planters
Cover half a balloon with clay evenly.
Let partially dry before popping the balloon.
Trim edges smooth.
Fun shaping method for beginners.
16. Friendship Heart Charms
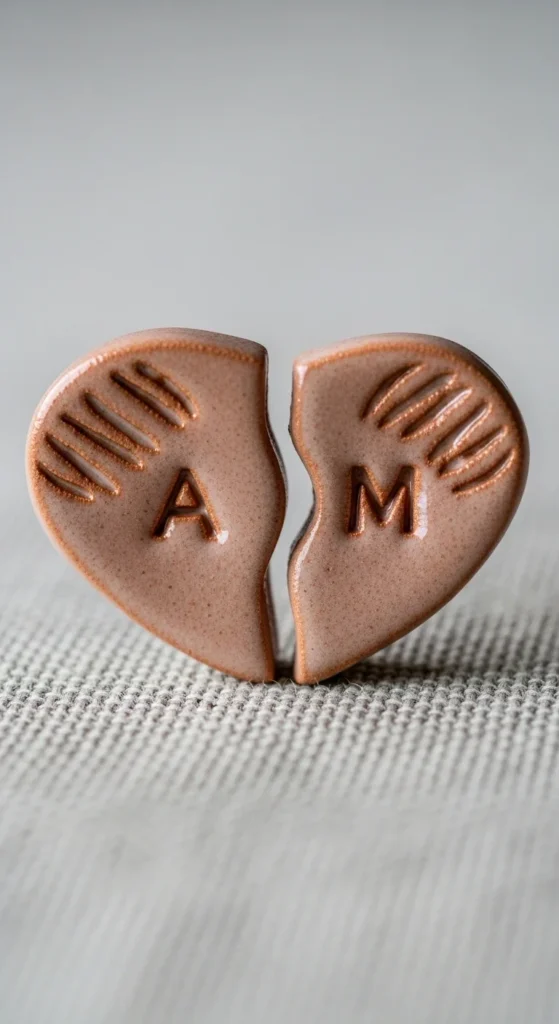
Shape a heart and slice in half before drying.
Add small engraved details.
Attach necklace cords.
Sweet and simple gift idea.
17. Clay Clock Face
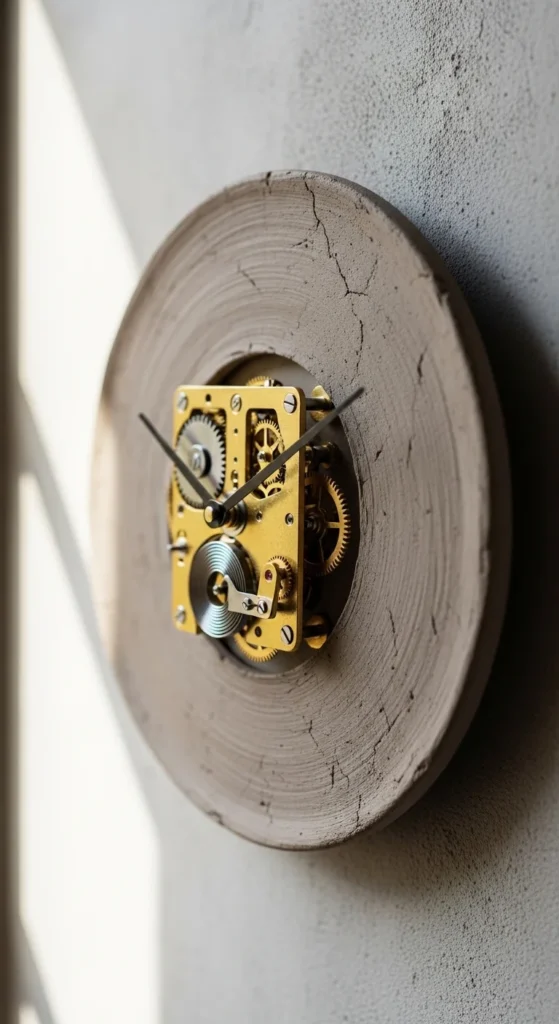
Cut a large circle and mark numbers lightly.
Insert a simple clock kit once dry.
Paint minimal designs.
Budget-friendly home decor project.
18. Animal Figurines
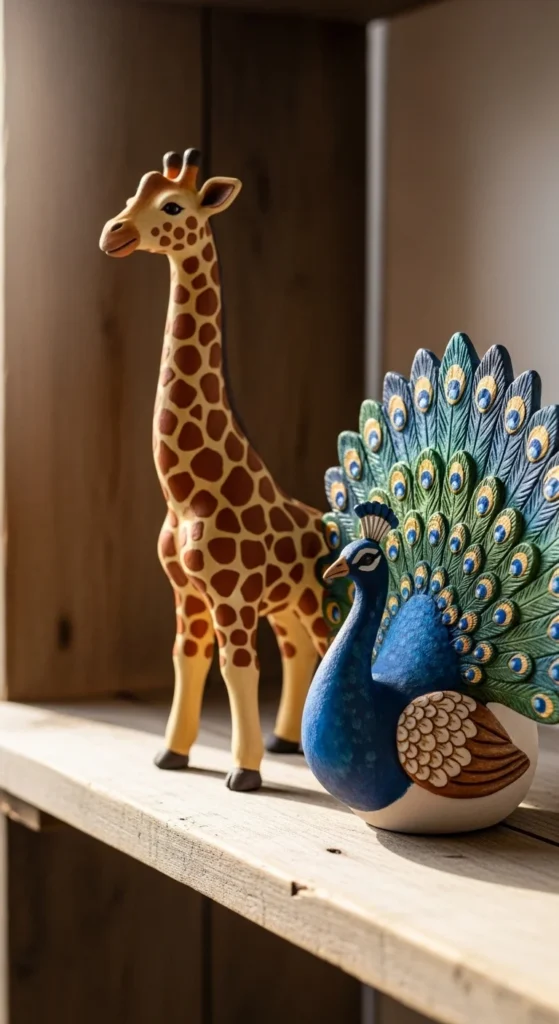
Start with simple shapes for body and legs.
Use pipe cleaners inside for balance.
Let dry slowly to reduce cracking.
Fun for display or gifts.
19. Suncatcher Shapes
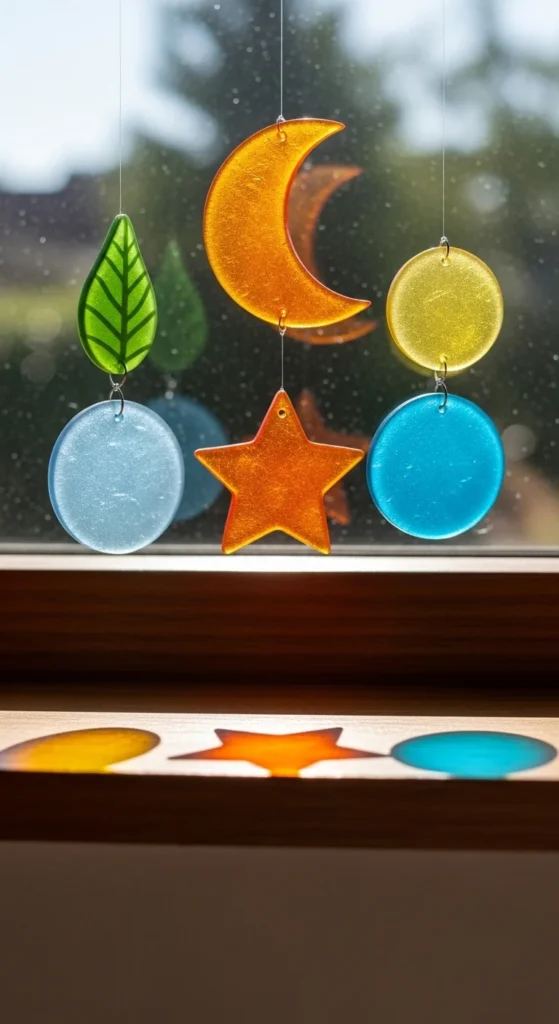
Cut thin shapes and poke hanging holes.
Paint lightly or leave neutral.
Hang near windows for light play.
Easy beginner project.
20. Carved Votive Holders
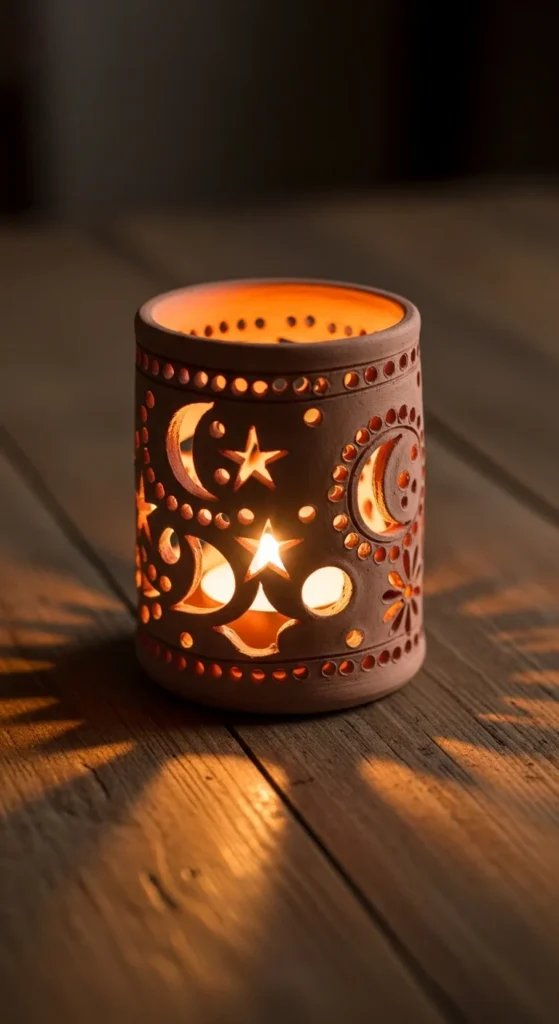
Shape a small cylinder. Carve simple patterns before drying.
Once dry, seal exterior.
The light creates beautiful shadows.
Simple but eye-catching decor.
21. Scrap Clay Challenge: 10 Tiny Projects
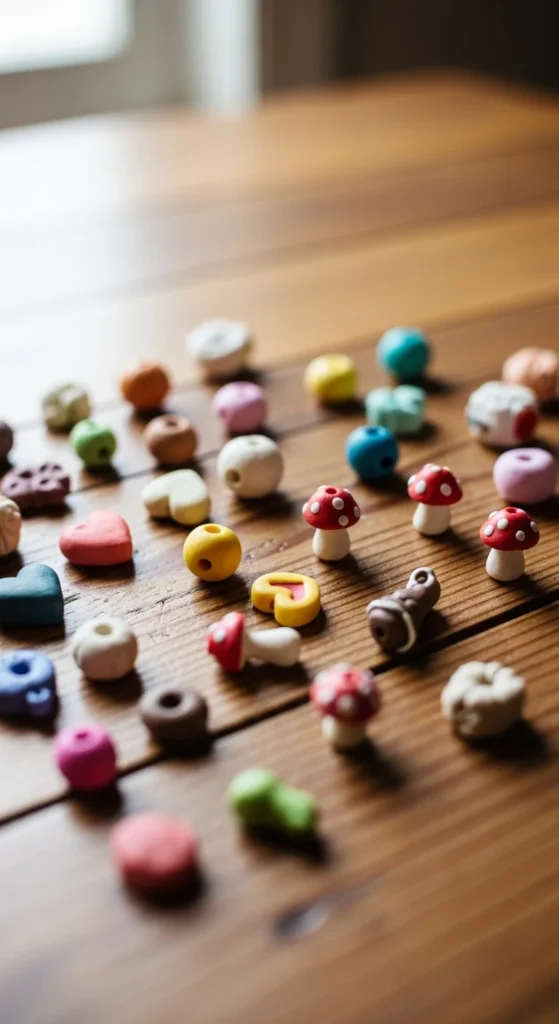
Don’t throw away leftover clay. Turn scraps into mini creations.
Roll tiny beads for bracelets.
Shape small hearts for charms.
Make miniature mushrooms or food pieces.
This is a fun 10-idea challenge you can do in one afternoon.
Keep designs small to avoid cracking.
Mix scrap colors together for natural marbled effects.
Kids love this idea because it feels quick and creative.
You also reduce waste and save money.
Store unused clay tightly wrapped so it doesn’t dry out.
Batch-making tiny items is great practice.
And you’ll always have small add-ons for gifts.
22. Clay Bead Necklaces
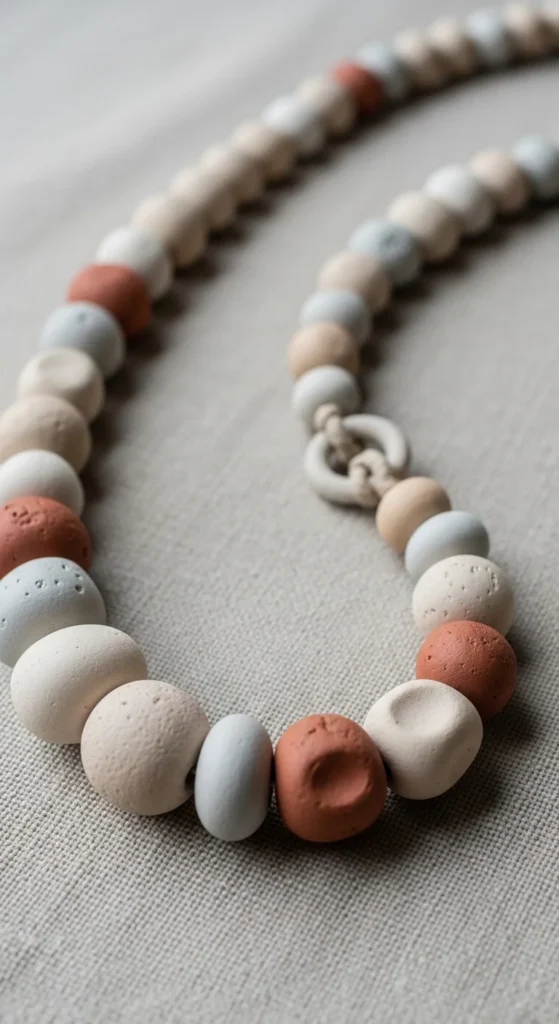
Roll small clay balls or oval beads evenly.
Use a skewer to create clean holes before drying.
After drying, sand lightly and paint with acrylic markers or simple color blocks.
String them onto cotton cord or thin chain.
Keep bead sizes consistent for a balanced look.
These are beginner-friendly and cost very little to make.
Try speckled or terrazzo beads for a modern style.
You can also personalize them with stamped letters.
Perfect for gifts or online sales.
23. Pressed Leaf Bowls
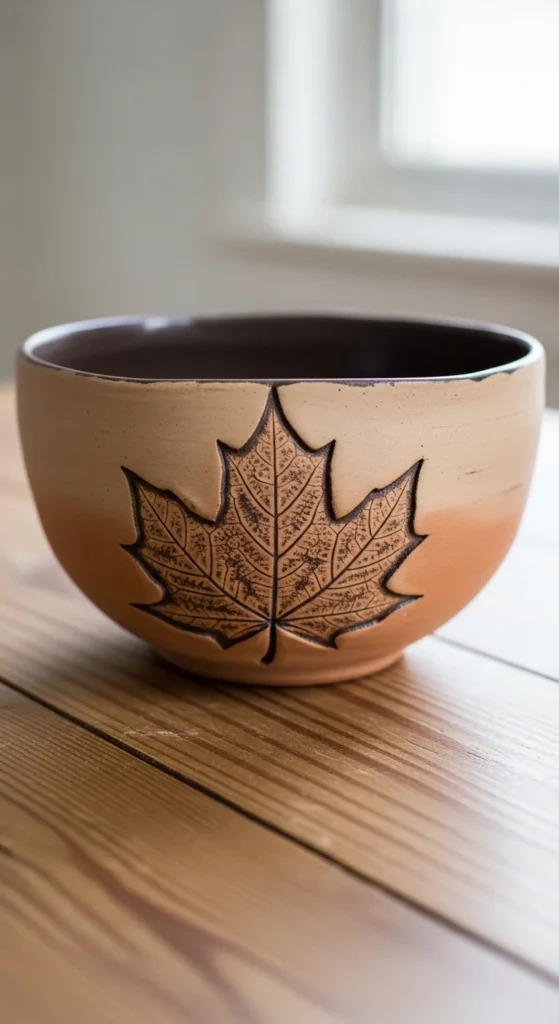
Roll clay flat and place a real leaf on top.
Gently press to transfer texture.
Trim around the leaf shape.
Drape the clay over an upside-down bowl to create curve.
Let it dry fully before removing.
Paint lightly to highlight the leaf veins.
Seal with clear varnish for durability.
It’s simple, affordable, and looks detailed.
Great seasonal decor piece.
24. Minimalist Clay Incense Holder

Roll a small clay disc or shape a slim tray.
Poke a small angled hole for the incense stick.
Keep the design clean and smooth.
Sand edges after drying for a polished finish.
Neutral colors work best.
Seal lightly to protect the surface.
This project uses very little clay and dries quickly.
Perfect for calm home decor.
25. Clay Name Tags for Gifts
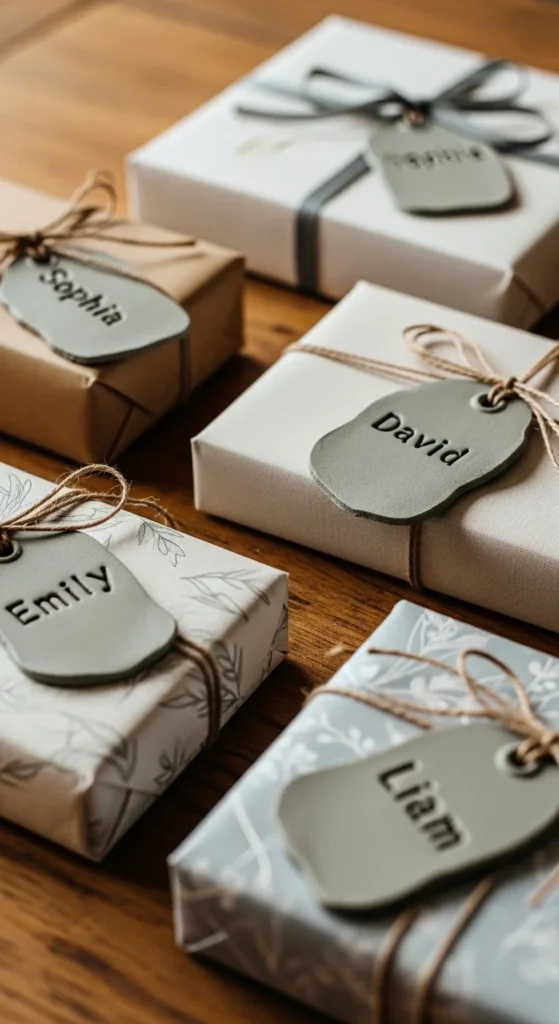
Roll clay thin and cut into small rectangles or circles.
Stamp initials before drying.
Poke a small hole for ribbon.
After drying, paint lightly or leave natural.
Seal for strength.
Attach to gift bags or packages.
They double as keepsakes.
Affordable and practical craft idea.
26. Clay Drawer Knobs
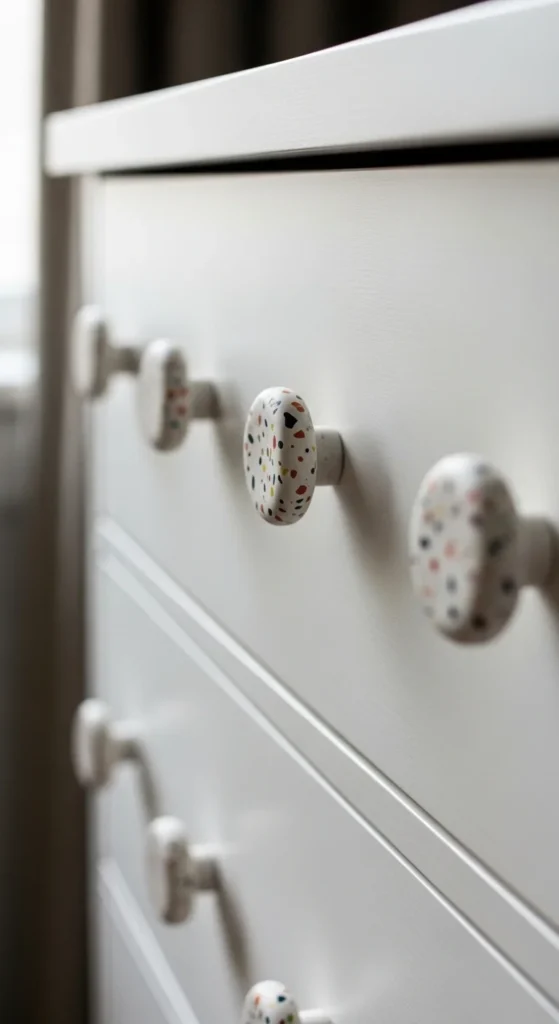
Shape small rounded knobs and create a hole for screw hardware.
Let dry fully before attaching.
Seal well for durability.
Terrazzo and marbled effects look modern.
This is a low-cost way to update furniture.
Test strength before daily use.
A small change makes a big difference in decor.
27. Clay Photo Holders
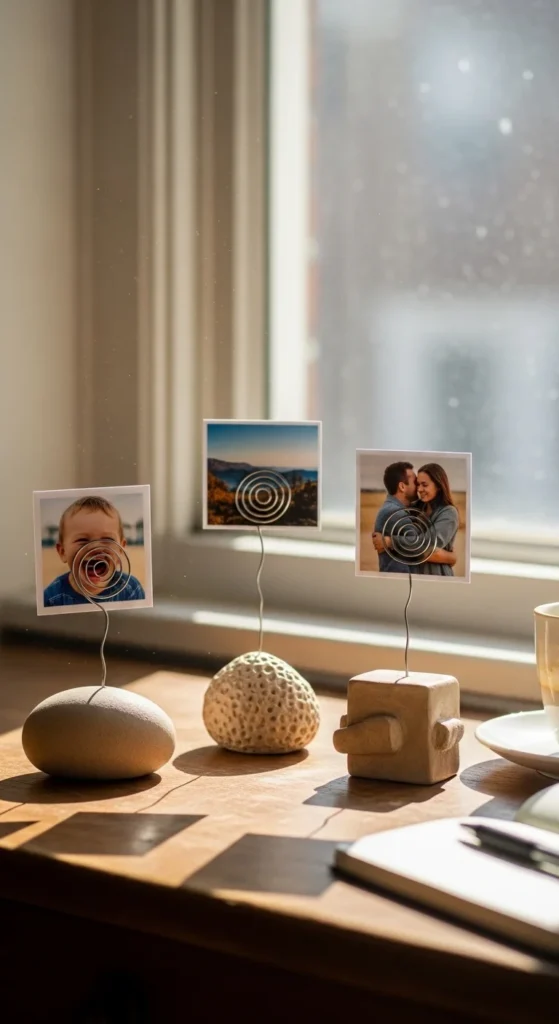
Roll a small clay base.
Insert a curled wire piece before drying.
Let dry completely so the wire sets firmly.
Paint or leave neutral.
Slide small photos or notes into the wire spiral.
These are perfect for desks or gifts.
They require minimal materials.
And they’re simple enough for beginners.
Conclusion
You don’t need expensive tools or special equipment to start clay crafting. With air dry clay, simple supplies, and a little patience, you can create decor, accessories, gifts, and even small items to sell.
Start with one easy project.
Practice small batches.
Seal properly to prevent cracking.
The more you create, the more confident you’ll feel.
Pick your favorite idea above and make something today.


