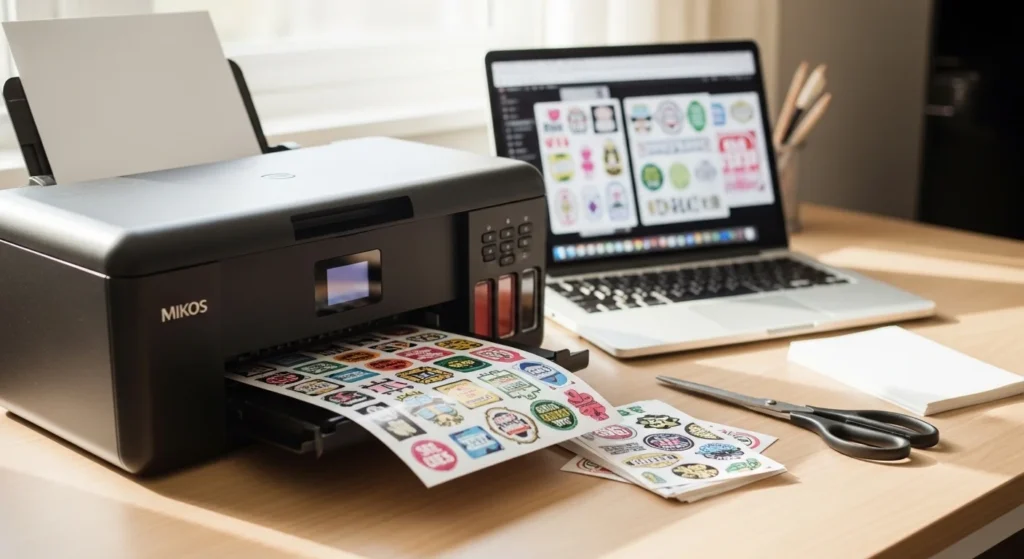
Making stickers with a printer is one of the easiest DIY projects you can start today. You don’t need a cutting machine, expensive supplies, or design experience. With a basic home printer and sticker paper, you can create planner stickers, labels, laptop decals, and small product stickers in one afternoon.
Once your setup is correct, the process becomes repeatable and fast — which is why so many creators start with printer-made stickers.
Below is a simple step-by-step setup that works for beginners.
What You Need (Simple Starter Supplies)
You only need a few items to begin.
Basic setup:
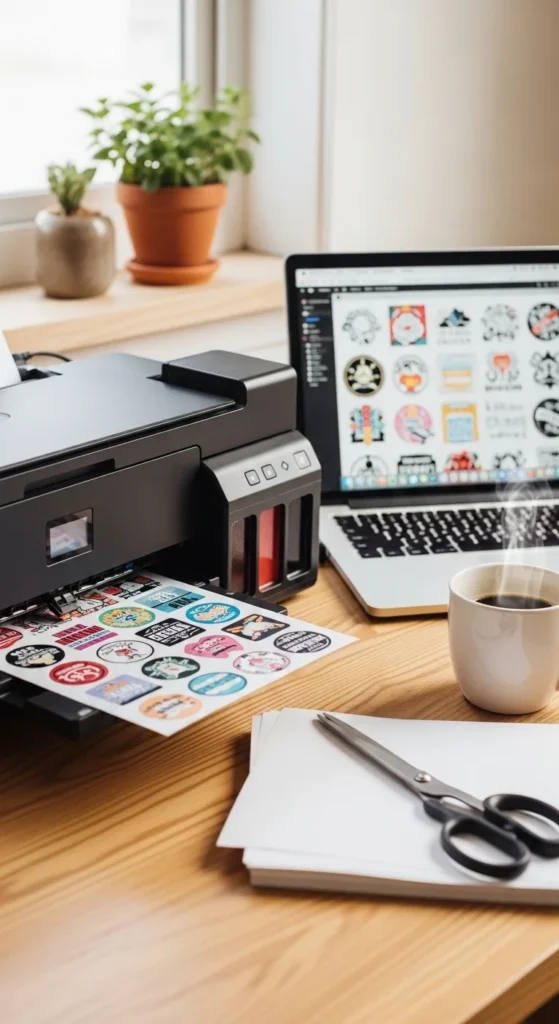
- Inkjet printer (Canon or Epson style printers work well)
- Printable sticker paper (matte recommended first)
- Design software (Canva, Procreate, or any drawing app)
- Scissors or craft knife
- Optional: laminating sheets for durability
Matte vinyl sticker paper is beginner friendly because it absorbs ink better and reduces smudging.
Start with small packs while testing. This prevents wasted supplies.
Step 1 — Prepare Your Sticker Design
Before printing, make sure your file is ready.
Design checklist:
- Resolution: 300 DPI minimum
- Add white outline if you want die-cut style stickers
- Leave spacing between stickers
- Use simple shapes for first projects
If you’re designing sticker sheets, keep a consistent theme. This makes layouts feel clean and professional.
Small beginner designs:
- Icons
- Labels
- Doodles
- Planner stickers
- Simple illustrations
Good design preparation makes printing easier later.
Step 2 — Do a Test Print (Never Skip This)
Test printing prevents wasted sticker paper.
Print your design on regular paper first to check:
- Size
- Colors
- Spacing
- Alignment
Hold the test print over your sticker paper against a light source. This helps confirm placement.

Test prints also help you adjust brightness. Home printers often print slightly darker than screens.
Think of this as your “preview step.”
Step 3 — Adjust Printer Settings for Stickers
Printer settings matter more than most beginners expect.
Recommended settings:
- Paper type → Photo paper or matte photo
- Quality → High
- Borderless printing if needed
- Disable draft mode for final prints
If colors look too heavy, slightly reduce saturation in your design instead of lowering print quality.
Printer tweaks improve sharpness and prevent bleeding.
Quick tip:
Different sticker papers require slightly different settings. Save presets once you find what works.
Step 4 — Print Your Sticker Sheet
Now print on sticker paper.
Loading tips:
- Load one sheet at a time
- Insert according to paper orientation
- Use rear feed if your printer has one
- Avoid bending sheets
After printing:
- Place the sheet on a flat surface
- Let it dry 30–60 minutes
- Avoid touching the surface immediately
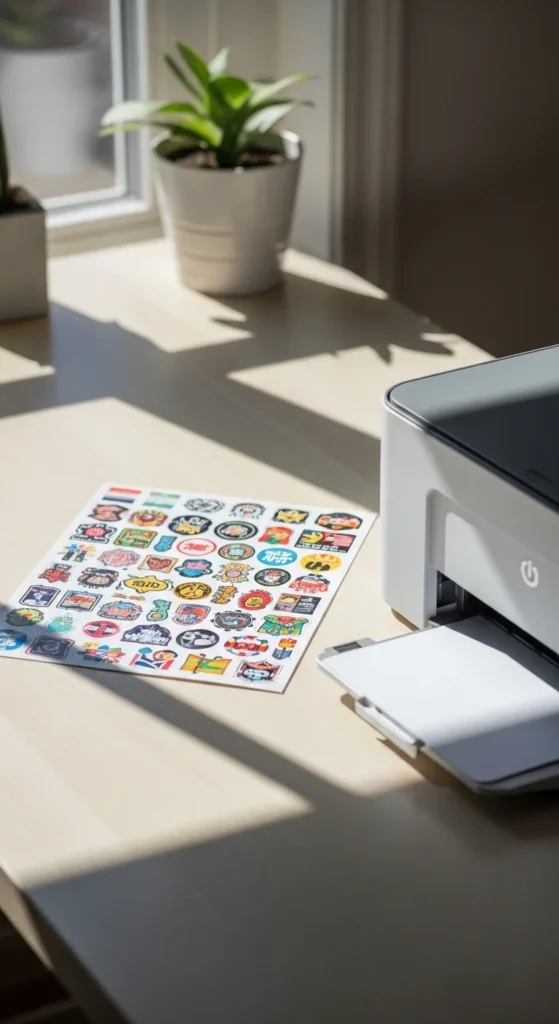
Dry time prevents smudging — one of the most common beginner mistakes.
Step 5 — Cut Your Stickers (Machine or No Machine)
You have two cutting options.
Hand cutting (budget friendly)
- Use sharp scissors
- Rotate paper for smoother curves
- Trace lightly before cutting
Cutting machine (optional)
Print-then-cut features use registration marks for accuracy.
But many successful creators hand-cut, especially at the beginning.
Tip:
White borders hide small cutting imperfections.
Step 6 — Make Stickers More Durable
Unlaminated stickers work fine for planners and notebooks. But adding protection increases durability.
Simple options:
- Self-adhesive laminate sheets
- Clear packing tape method
- Cold laminate film
After laminating:
- Press firmly from center outward
- Use a card or roller to remove bubbles
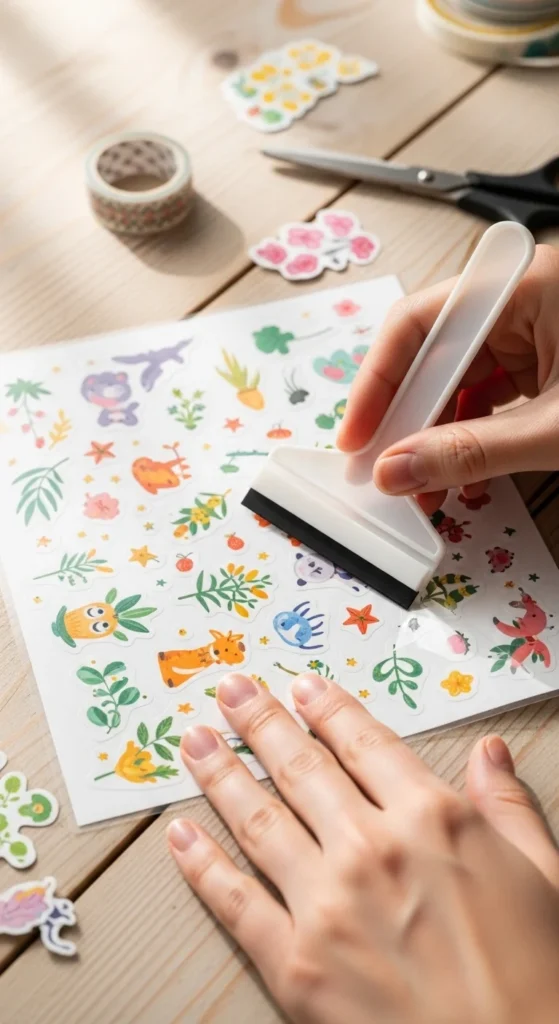
Laminated stickers become more resistant to scratches and moisture.
Beginner Mistakes to Avoid
Most sticker problems come from small setup issues.
Common mistakes:
- Skipping test prints
- Printing at low resolution
- Using glossy paper too early
- Touching prints before dry
- Overcrowded sticker sheets
- Loading multiple sheets at once
Fixing these small issues dramatically improves results.
Helpful Tools Under $10
You don’t need expensive equipment. These tools make the process easier:
- Craft knife
- Cutting mat
- Brayer or roller
- Storage folder for sticker paper
- Cheap paper trimmer
Simple tools help create cleaner stickers.
Ideas for Your First Sticker Sheets
If you’re unsure where to start:
- Planner icons
- Business packaging stickers
- Minimal label stickers
- Seasonal stickers
- Affirmation stickers
- Habit trackers
Start simple. Complexity comes later.
Consistency matters more than perfection.
Final Thoughts
Making stickers with a printer is one of the most accessible creative setups. Once you understand paper choice, printer settings, and drying time, the process becomes predictable.
Start with matte sticker paper, always test print, and keep your first designs simple. Small improvements quickly lead to professional-looking results.
Save this guide for later and try printing your first sticker sheet today. ✂️✨


