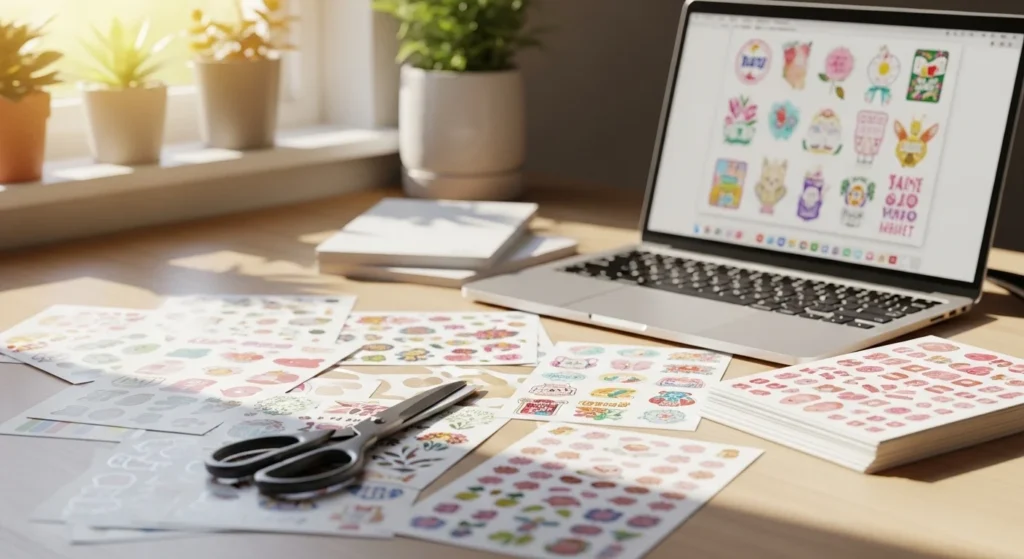
Making printable stickers at home is one of the easiest creative hobbies to start. You don’t need expensive machines, design experience, or a full craft room. With a printer, sticker paper, and simple tools, you can create planner stickers, laptop decals, labels, and cute art in minutes.
The best part? You control everything — colors, themes, size, and style. That means you can design stickers that match your personality, brand, or aesthetic without spending a lot.
Below is a beginner-friendly step-by-step guide to help you create printable stickers that look polished and last longer.
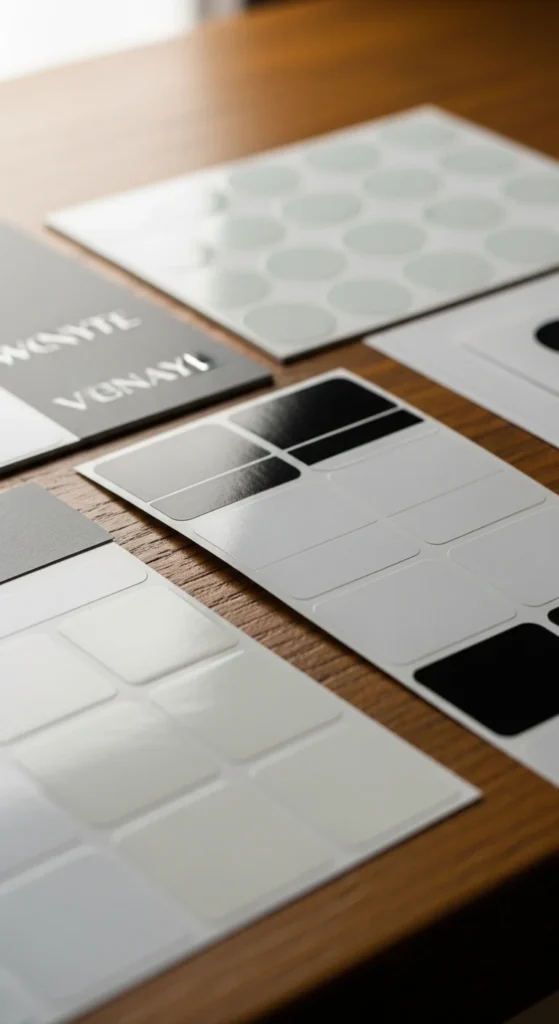
Choose the Right Sticker Paper
Sticker paper makes the biggest difference in how your stickers look and feel.
For beginners, start with:
- Matte vinyl sticker paper — less smudging and easy to cut
- Matte paper sticker sheets — budget friendly for practice
- Glossy vinyl — brighter colors and more durable
Matte vinyl is often the easiest option because ink dries faster and fingerprints are less visible.
Helpful tip:
- Buy small packs first and test before committing to bulk.
If you plan to use stickers on water bottles or planners, choose paper labeled water resistant.
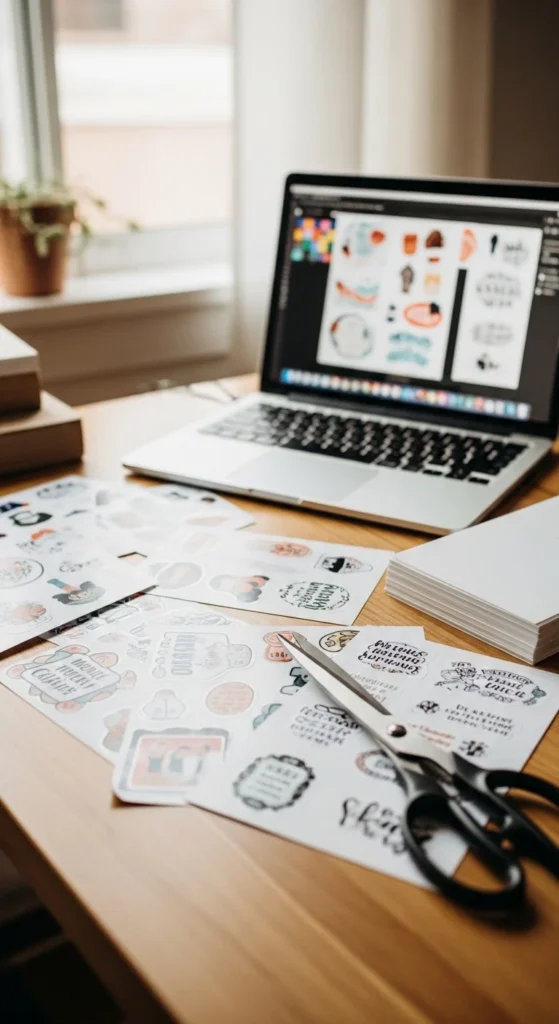
Design Your Stickers (Free Tools)
You don’t need advanced software. Many beginners design stickers using free tools.
Popular beginner options:
- Canva (drag-and-drop templates)
- Procreate (hand-drawn stickers on tablet)
- Free drawing apps
- Even PowerPoint or Google Slides
Simple design tips:
- Work in RGB color mode for home printers
- Add a white outline around stickers so they stand out
- Keep designs slightly larger at first — easier to cut
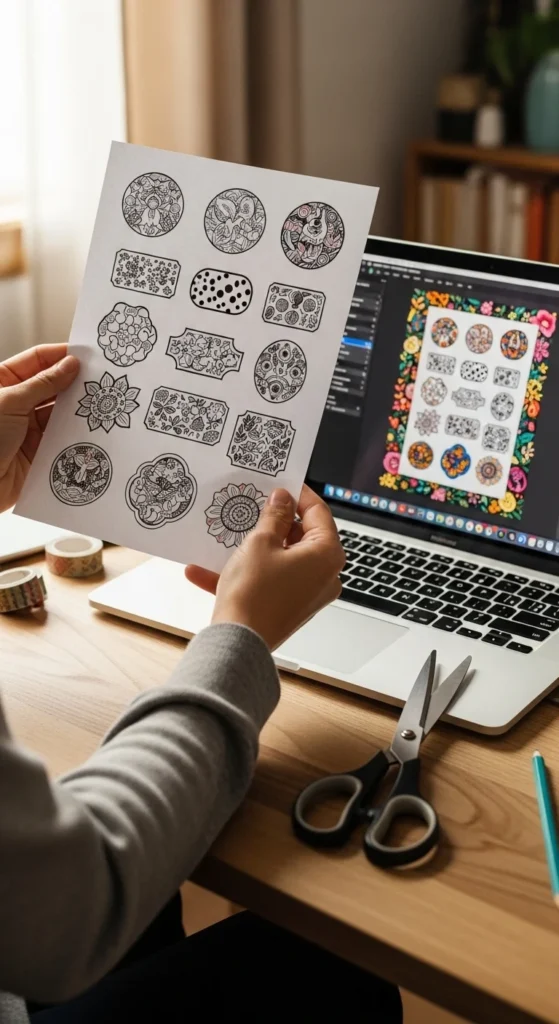
If you draw by hand, scan or photograph your artwork and remove the background.
This step is where your creativity shines. Start simple: icons, quotes, shapes, doodles.
Always Do a Test Print First
Skipping test prints is the fastest way to waste sticker paper.
Before printing on sticker paper:
- Print on regular paper first
- Check size and spacing
- Adjust colors if they look dull
- Make sure borders are even
Leave at least 0.1–0.2 inch spacing between stickers. This prevents cutting mistakes.
Think of test prints as your safety step.
Print Settings That Work Best
Printer settings matter more than many beginners expect.
Recommended settings:
- Paper type: Photo paper or premium matte
- Quality: High
- Color: Default RGB (avoid automatic conversions if possible)
Inkjet printers are commonly used because they handle sticker paper well.
After printing:
- Let stickers dry 30–60 minutes
- Avoid touching the surface immediately
- Place sheets on a flat surface
Dry time prevents smearing — one of the most common beginner problems.
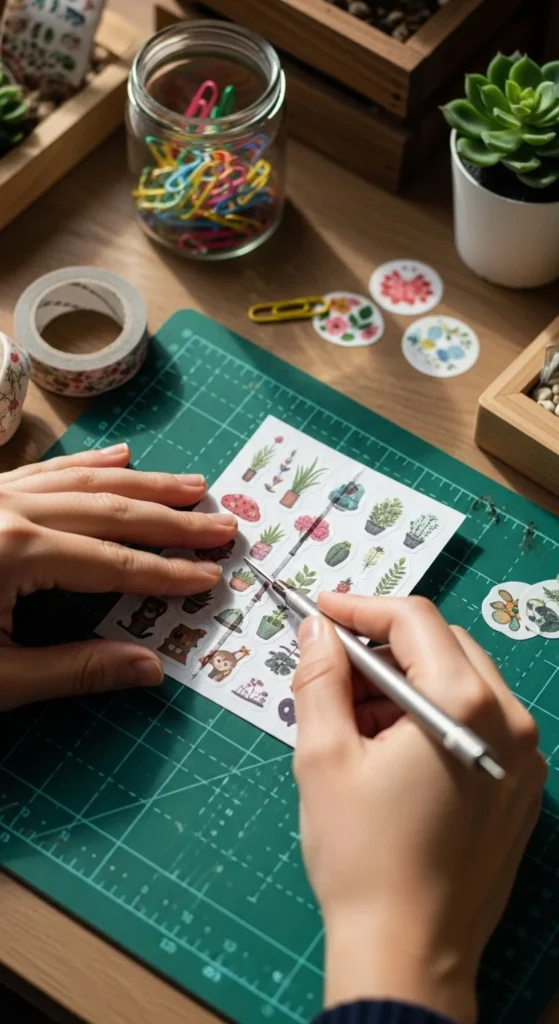
Cut Your Stickers (With or Without Machines)
You can cut stickers using machines — but you don’t need one.
No-machine methods
- Scissors (best for simple shapes)
- Craft knife for clean edges
- Trace lightly with pencil before cutting
Machine option (optional)
Cutting machines use “print then cut” alignment for precise shapes.
But many successful sticker shops still hand-cut.
Tip for cleaner cuts:
- Rotate the paper, not your hand
- Cut slowly around curves
- Use sharp blades
Make Stickers Last Longer (Durability Tips)
If you want longer-lasting stickers, sealing helps.
Beginner options:
- Clear laminate sheets
- Packing tape method (budget friendly)
- Spray sealant (light coats)
Lamination is popular because it adds water resistance and protects ink.
Durability ideas:
- Planner stickers → matte laminate
- Laptop stickers → glossy laminate
- Water bottle stickers → laminate + vinyl paper
Always test sealing methods first to avoid bubbles or lifting edges.
Beginner Sticker Ideas to Try First
If you’re not sure what to design, start with simple categories:
- Planner icons
- Cute doodles
- Label stickers
- Seasonal stickers
- Habit tracker stickers
- Quote stickers
- Minimal aesthetic shapes
Simple designs help you learn printing, spacing, and cutting faster.
Once comfortable, you can move to themed sticker sheets and bundles.
Common Beginner Mistakes (And Easy Fixes)
Here are the most common issues and quick fixes:
Smudging
- Wait longer before touching
- Switch to matte vinyl
Colors look dull
- Increase print quality
- Slightly raise brightness in design
Uneven cuts
- Increase spacing
- Cut slower
- Use sharper tools
Sticker paper wasted
- Always test print first
These small adjustments make a huge difference.
Final Thoughts
Printable stickers are one of the most beginner-friendly crafts you can start at home. The setup is simple, the cost is low, and the creative possibilities are endless.
Start small. Test designs. Experiment with paper types. Improve one step at a time.
Your first sticker sheet doesn’t need to be perfect — it just needs to exist.
Save this guide for later and try making your first sticker sheet today. ✂️✨


