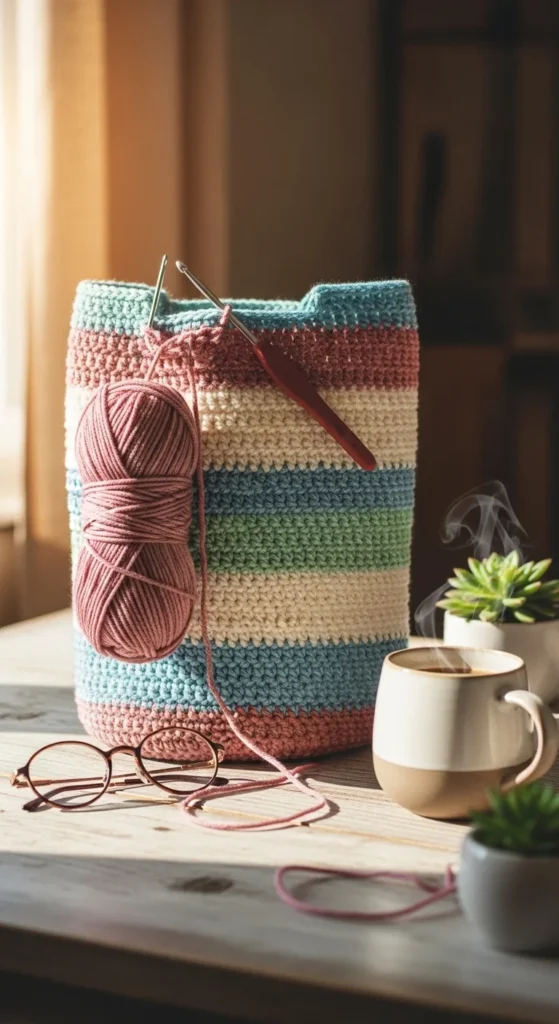
Crochet bags are the perfect mix of practical and adorable. Whether you’re heading to the market, the beach, or just running errands, a handmade bag adds personality to your everyday style — and it’s easier than you think.
If you can do basic stitches like single crochet or half double crochet, you already have everything you need to make a cute everyday bag. This beginner-friendly guide walks you through the full process step by step, with tips to keep your bag sturdy, stylish, and totally customizable.
Step 1: Choose the Right Yarn and Tools
The secret to a bag that holds its shape is choosing durable materials.
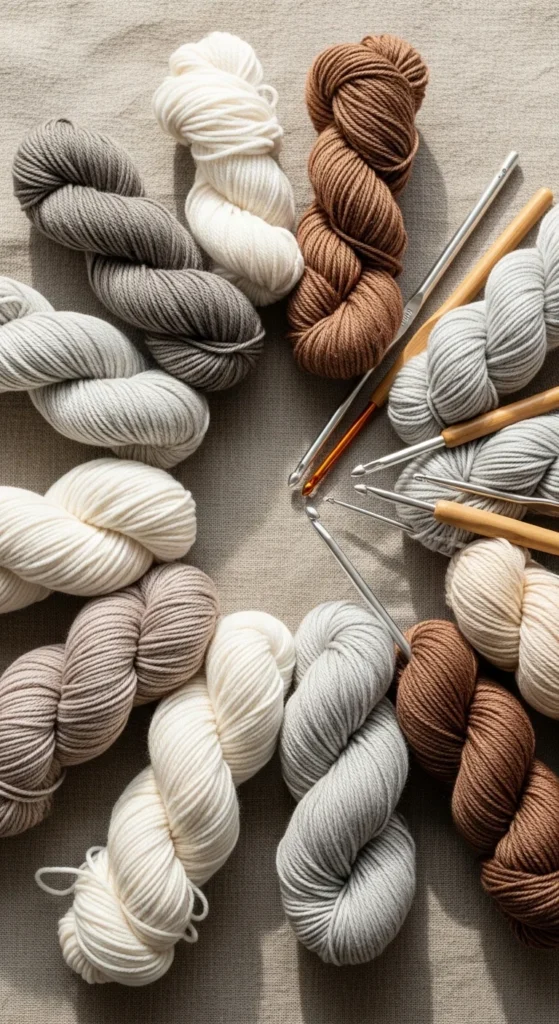
Best yarn choices
- Cotton yarn (most recommended)
- Linen or raffia for natural texture
- T-shirt yarn for chunky, fast projects
Hook size guide
- Worsted cotton → 4.5–5.5 mm hook
- Bulky yarn → 6–6.5 mm hook
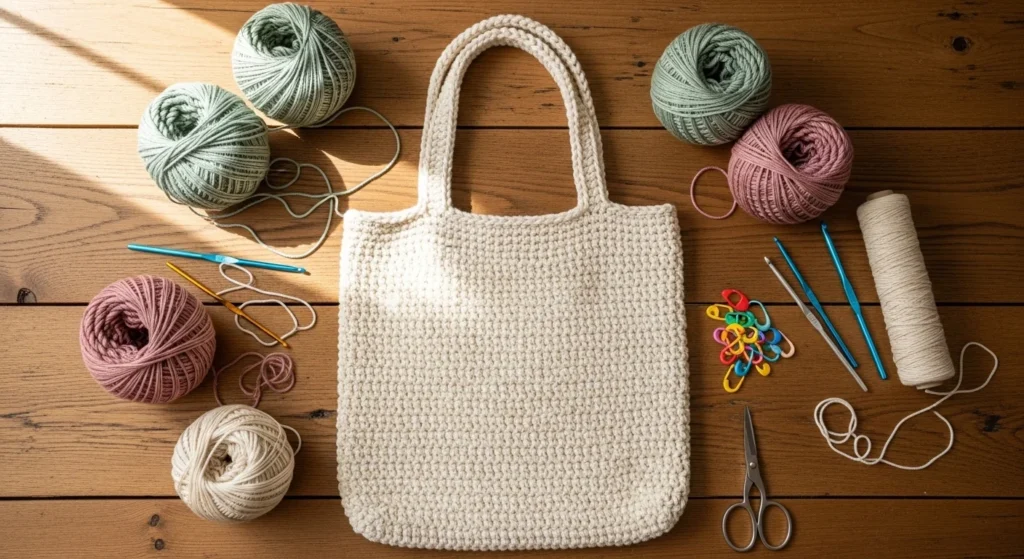
Helpful tools
- Stitch markers (track rounds)
- Yarn needle (weaving ends)
- Scissors
👉 Pro tip: Hold two strands together for extra structure and less sagging.
Step 2: Create the Bag Base
Most everyday bags start with a simple base — usually a chain worked into rounds.
Basic rectangle base method
- Chain 12–15 (adjust width).
- Work single crochet across.
- Continue around both sides of the chain.
- Increase at corners to shape the base.
Why this works
- Builds depth gradually
- Keeps shape consistent
- Beginner friendly
👉 Tip: Use a stitch marker at the start of each round to avoid losing your place.
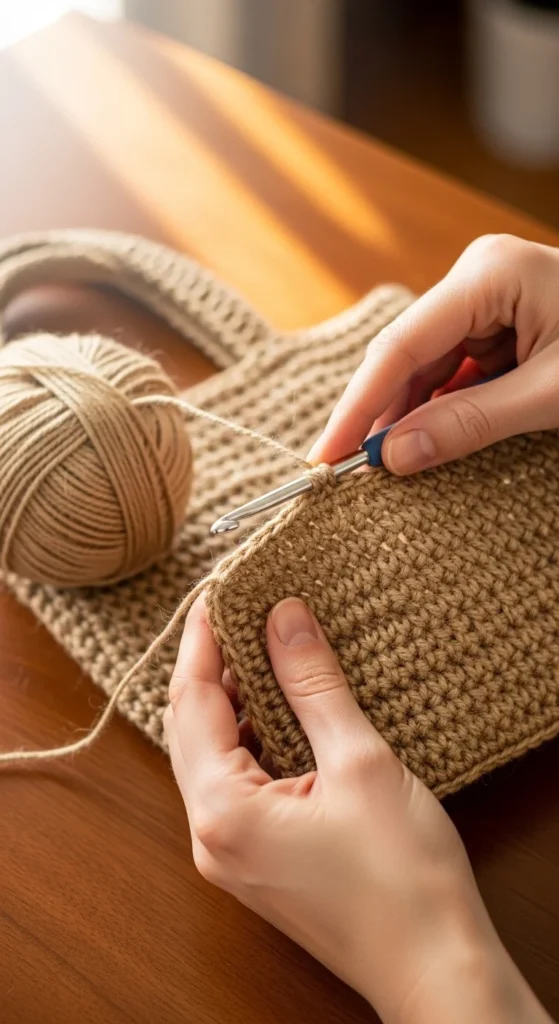
Step 3: Build the Bag Body
Once the base is done, you simply crochet upward — this is the relaxing part.
Popular stitches for bag bodies
- Single crochet → dense and sturdy
- Half double crochet → faster growth
- Double crochet → lighter fabric
- Cluster, shell, or bobble → texture
Cute design ideas
- Stripes
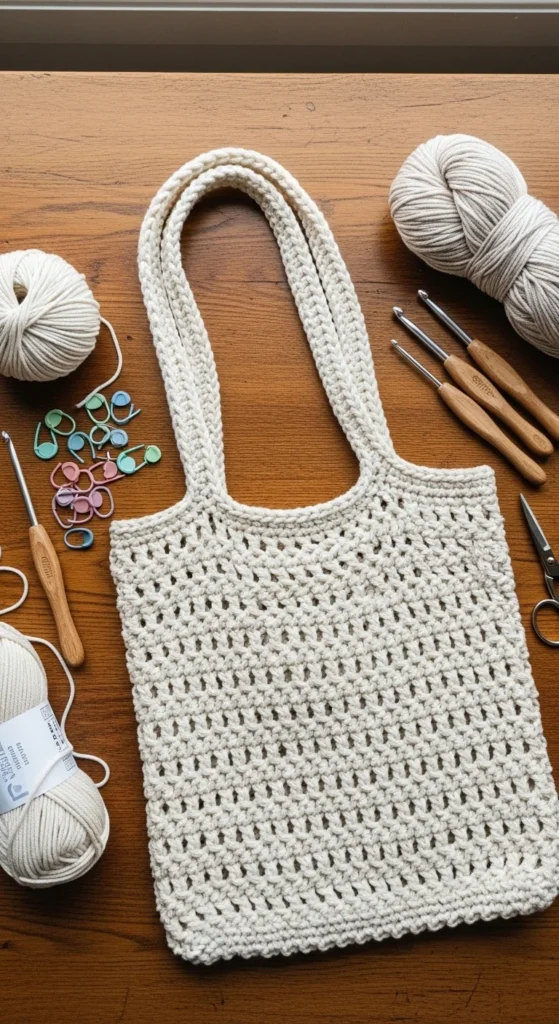
- Mesh panels for market bags
- Granny square panels
- Color blocking
👉 If your bag feels too soft, switch to smaller hook size or double strand yarn.
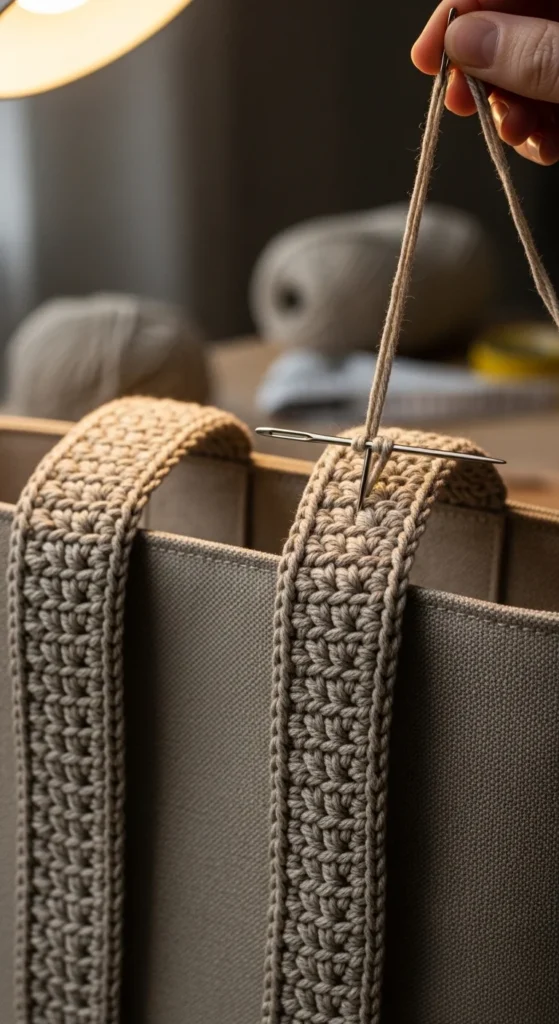
Step 4: Add Straps or Handles
Straps define how your bag is used — tote, shoulder, or crossbody.
Simple strap method
- Chain desired length
- Work rows of half double crochet
- Sew onto bag securely
Ways to strengthen handles
- Crochet decreases for thicker edges
- Add braided cord inside
- Use thermal stitch
- Sew fabric lining under straps
Length ideas
- Short tote: 10–12 in drop
- Shoulder bag: 12–16 in
- Crossbody: 20+ in
👉 Strong handles prevent sagging — don’t skip reinforcement.
Step 5: Add Cute Details (The Fun Part)
This is where your bag becomes unique.
Easy embellishments
- Tassels
- Charms
- Patches
- Fringe
- Buttons
- Surface slip stitch designs
Functional upgrades
- Interior pocket
- Gusset for depth
- Magnetic closure
- Lining
Boho textures like puff, camel, and cluster stitches are trending and make simple bags look designer.
Common Beginner Mistakes (And Fixes)
Bag sagging
→ Use cotton + smaller hook or double yarn
Uneven sides
→ Count stitches every round
Color change zigzag
→ Try invisible color change technique
Losing round start
→ Always use stitch markers
Straps stretching
→ Reinforce or line them
Quick Style Ideas for Everyday Bags
- Market tote (stretchy mesh)
- Minimal neutral tote
- Boho textured bag with tassels
- Small crossbody essentials bag
- Granny square modern tote
Fast projects under 5 hours are extremely popular — perfect for gifts or weekend crafting.
Final Thoughts
Crocheting a cute everyday bag is one of the most satisfying beginner projects — practical, customizable, and endlessly creative. Once you make one, you’ll want to experiment with shapes, textures, and colors.
Start simple, focus on sturdy structure, and add personality with details.
✨ Your first bag doesn’t need to be perfect — it just needs to be finished.
Save this guide for later and start your bag today. 🧶


