
Crochet headbands are one of the fastest projects you can make. They’re stylish, practical, and perfect for beginners learning basic stitches. A simple rectangle can turn into a stretchy headband in under an hour, and you can customize colors, width, and texture easily.
Most stylish crochet headbands use back loop only stitches to create ribbing. This gives stretch and a clean knit-like look. Once you learn the basic rectangle method, you can make endless variations — twisted, wide ear warmers, textured bands, and more.
Let’s walk through a simple step-by-step method that works for beginners and still looks polished.
Choose Yarn and Hook (Comfort + Style)
Headbands sit on your forehead, so yarn choice matters.
Beginner-friendly yarn options:
- Worsted weight yarn for everyday headbands
- Cotton yarn for sensitive skin
- DK yarn for lighter bands
Hook sizes:
- 4–5mm for most yarn types
- Smaller hook = tighter fabric
- Larger hook = softer stretch
Helpful tools:
- Stitch markers
- Yarn needle
- Measuring tape
Quick tip: If the headband feels stiff, switch to a larger hook rather than changing stitches.
Measure for the Right Fit
Sizing is simple because headbands stretch.
Measure:
- Head circumference where the band will sit
Beginner shortcut:
- Crochet a short sample strip
- Stretch lightly
- Compare against your head measurement
Most adult headbands finish slightly smaller than head size so they stay in place.
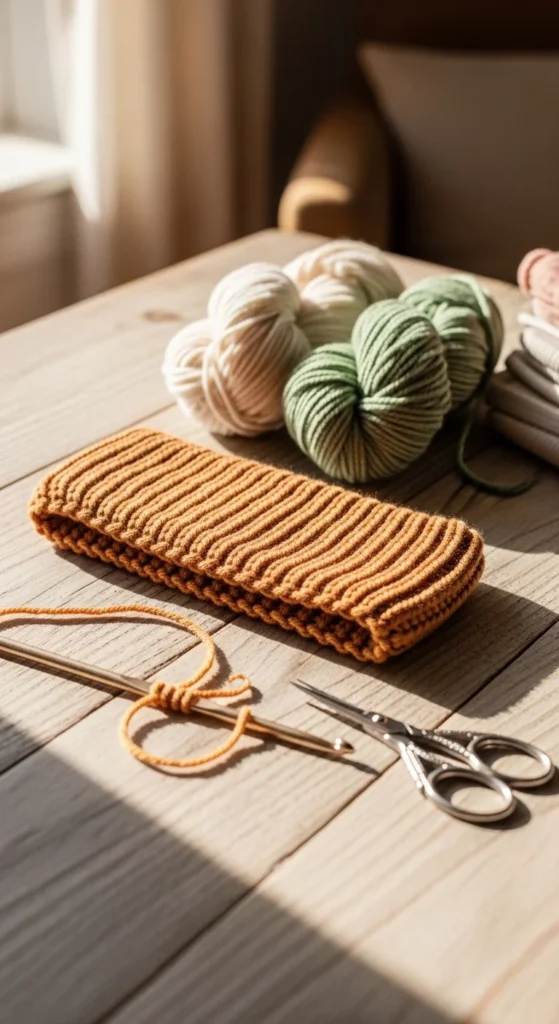
Crochet the Ribbed Rectangle (Core Method)
The rectangle method is the easiest and most popular approach.
Steps:
- Chain the width of your headband (usually 12–15 chains for 2–3 inches).
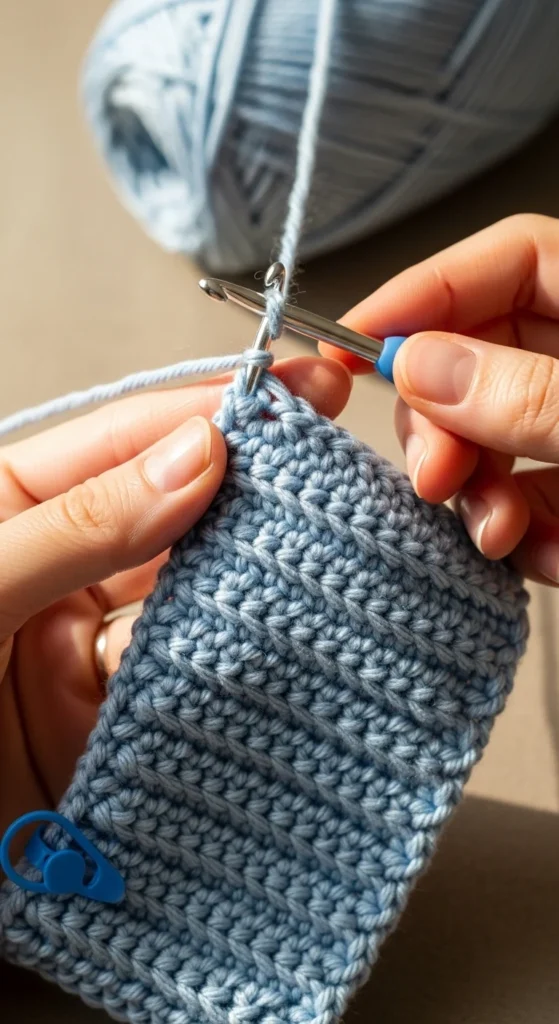
- Work single crochet rows.
- Insert hook in the back loop only to create ribbing.
- Continue rows until the length matches your head measurement.
Why ribbing works:
- Creates stretch
- Looks polished
- Fits multiple sizes
- Feels comfortable behind ears
Tip: Count rows every few repeats so both sides stay even.
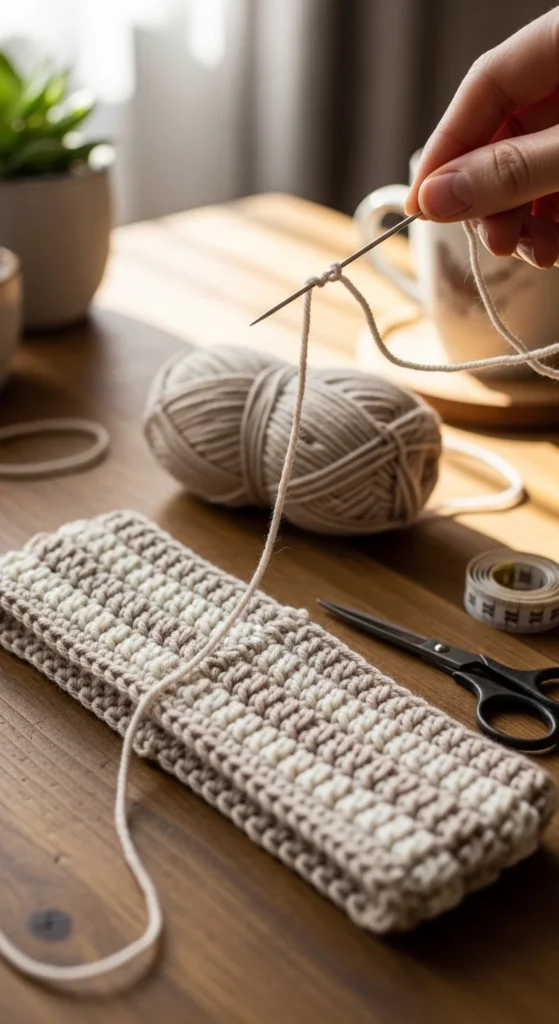
Join the Ends (Clean Seam Technique)
Once your rectangle is long enough, you’ll turn it into a loop.
Simple joining method:
- Align the short ends.
- Use whip stitch with a yarn needle.
- Keep stitches even and flat.
If you want a twisted headband:
- Fold ends in opposite directions before sewing.
- Seam through all layers.
Seam tip:
- Sew through back loops only for a less visible seam.
- Avoid pulling too tight so the seam stays flexible.
Add Texture or Style Variations
Once you know the basic headband, you can easily make it stylish.
Beginner upgrades:
- Alternate SC and HDC rows for ridge texture
- Add two colors for stripes
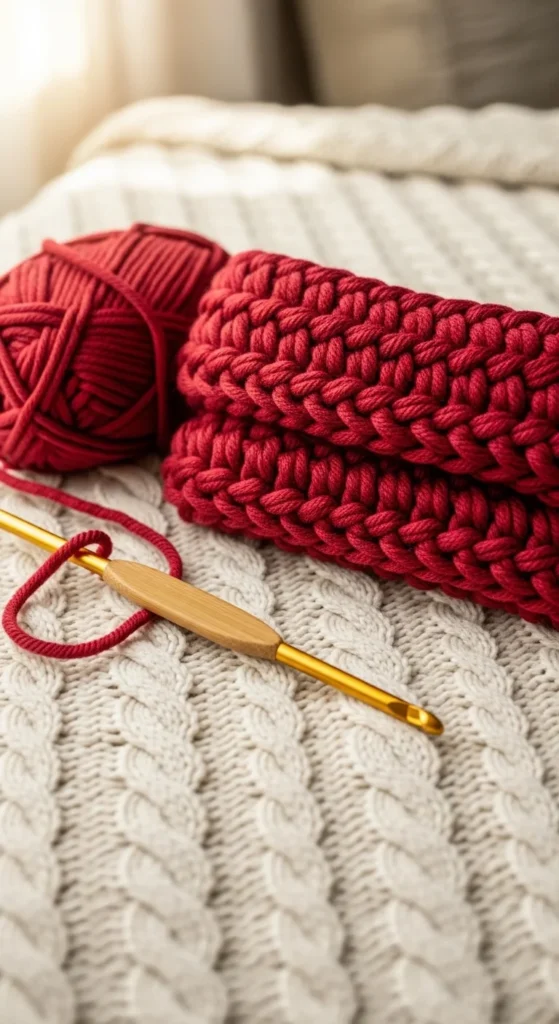
- Use chunky yarn for winter ear warmers
- Try mesh stitches for summer headbands
Popular style ideas:
- Twisted front headbands
- Wide ear warmers
- Minimal narrow bands
- Scrap yarn color blocks
Small changes make a big difference visually.
Make It Thicker (Double-Layer Trick)
If you want a warmer headband, try a folded design.
How:
- Crochet a longer rectangle
- Fold lengthwise
- Seam edges together
This creates:
- Extra warmth
- Better structure
- Reversible look
This method works especially well for winter ear warmers.
Fix Common Headband Problems
Small adjustments improve fit quickly.
- Too tight: add more rows
- Too loose: remove rows or use smaller hook
- Edges curling: add one round of single crochet border
- Seam bulky: sew through fewer loops
If yarn splits while working BLO:
- Slow down slightly
- Use a hook with smoother tip
Trying on during progress prevents most sizing issues.
Finishing Touches (Optional but Fun)
Personalization ideas:
- Small bow applique
- Crochet flower
- Button accent
- Decorative tag
- Texture panels
For gifting:
- Use soft yarn
- Keep neutral colors
- Add matching accessories (scrunchie or gloves)
Even simple headbands look premium with clean finishing.
Care Tips for Long-Lasting Headbands
To keep shape and stretch:
- Wash gently
- Air dry flat
- Avoid heat for wool blends
- Light blocking can smooth edges
Cotton headbands hold structure well and are great for everyday wear.
Conclusion
Crocheting a stylish headband is one of the fastest ways to create wearable handmade pieces. Start with a ribbed rectangle, join the ends cleanly, and experiment with width, texture, and color. The basic method stays the same, which makes this project perfect for beginners and stash yarn projects.
Save this tutorial for later and make your first stylish headband today.


