
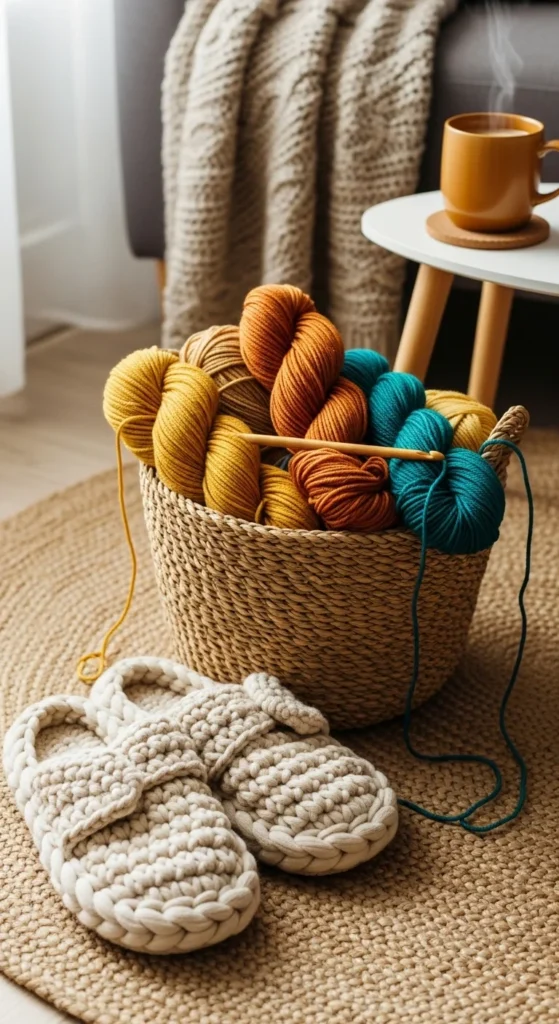
There’s something deeply satisfying about slipping your feet into slippers you made yourself. They’re warm. They’re soft. And they can be done in one cozy afternoon. If you’ve ever wanted a crochet project that feels useful right away, slippers are it.
The best part? You don’t have to follow complicated sock patterns. Many beginner-friendly slippers use the rectangle method: crochet one flat piece, fold it, then seam it into a slipper shape. Add a snug cuff, reinforce the sole, and you’re done.
Below is a simple, practical way to crochet warm slippers at home with tips for fit, comfort, and traction.
Choose Your Yarn and Hook (Warm + Fast)
Before you start, decide what kind of slipper you want: quick and chunky, or classic and sturdy.
Here are easy choices:
- Bulky yarn + large hook = faster, squishy, warm slippers
- Worsted yarn + 5mm hook = balanced warmth, good durability
- Wool-blend yarn = cozy and often more resilient for frequent wear
You’ll also want:
- Stitch markers (helpful but optional)
- Tapestry needle (for seaming)
- Scissors
- Measuring tape or ruler
Tip: If your floors are slippery, plan to add a non-slip finish at the end. It’s worth it.
Measure Your Foot for the Right Size (Simple Calculator)
Slippers feel best when they fit your foot length with a little stretch.
Measure:
- Foot length (heel to longest toe)
- Foot width (widest part)
Quick sizing idea:
- Your crocheted rectangle length should be close to your foot length.
- If your yarn is stretchy or you use back loop only (BLO), you can go slightly shorter.
If you’re making gifts and don’t know the exact size:
- Aim for a “middle fit” and add a flexible ribbed cuff.
Crochet the Main Rectangle (Beginner-Friendly Method)
This is the core of the slipper. You’ll crochet a rectangle, then fold it into shape.
Step 1: Chain the width
- Chain enough stitches to match your foot length (or slightly shorter if using stretchy stitches).
Step 2: Work rows until tall enough
Most slippers need a rectangle tall enough to wrap around your foot.
Common stitches:
- Single crochet (SC) for dense warmth
- Half double crochet (HDC) for a little more speed
- BLO (back loop only) for stretch and comfort

Tip for comfort:
Try BLO single crochet. It creates a ribbed fabric that stretches around the foot and feels cozy.
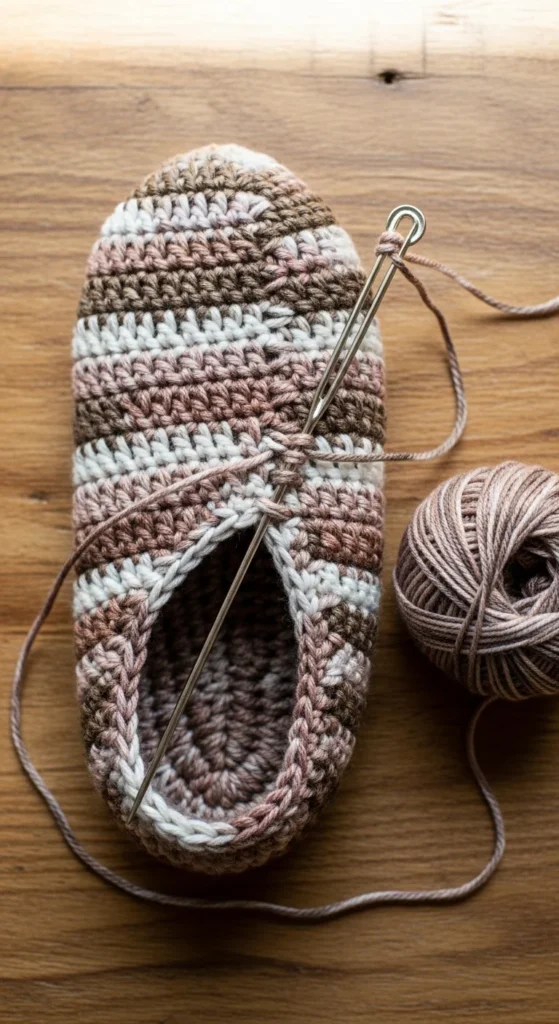
Fold and Seam the Slipper (Clean, Comfortable Shape)
Once your rectangle is done, it’s time for the magic: folding and seaming.
Step 1: Fold to form the toe
- Fold one short end inward.
- Pinch the corners together so the opening narrows like a toe box.
Step 2: Sew the toe seam
Use whip stitch for a clean join. Keep stitches even and snug.
Step 3: Wrap around the foot and seam the heel
- Wrap the rectangle around your foot to find the heel overlap.
- Seam the heel upward to create a cup shape.
Seaming tip:
If seams feel bulky, sew through fewer loops and keep tension steady. A neat whip stitch looks smoother and feels better.
Add a Ribbed Cuff (No-Slip Ankle Fit)
A cuff helps slippers stay on your feet. It also adds a cozy “bootie” look.
Easy cuff options:
- HDC ribbing (worked in BLO)
- SC BLO ribbing for extra stretch
- A simple folded edge sewn on
How to do it fast:
- Attach yarn around the opening.
- Work rounds of BLO stitches to build a snug cuff.
- Stop when it hugs the ankle without squeezing.
Fit tip:
If slippers slip off, the cuff is usually the fix. Make it slightly tighter than the foot section.
Reinforce the Sole (Make Them Last Longer)
Slippers wear out fastest under the ball of the foot and heel. A reinforced sole makes a huge difference.
Here are budget-friendly options:
- Crochet a second sole layer and sew it on
- Add an extra strip of stitching across high-wear spots
- Use tighter stitches (SC) on the bottom only
Durability tip:
Use single crochet for the bottom layer even if the top is HDC. It holds up better.
Make Them Safer With Grip (Non-Slip Ideas)
If you have tile or smooth floors, add grip. It helps prevent slips and makes slippers feel more secure.
Simple grip ideas:
- Sock stop coating (made for socks and slippers)
- Non-slip fabric dots sewn on
- Grip spray made for indoor footwear
Try this approach:
- Add grip to the heel and ball of the foot first.
- Let it dry fully before wearing.
Quick Fixes for Common Slipper Problems
If your first pair isn’t perfect, you’re not alone. Here are quick fixes:
- Too loose: Add a tighter cuff or sew the heel seam deeper
- Toe gaping: Close the toe seam a little more or add a small decrease fold
- Too tight: Make the rectangle slightly wider (more rows)
- Uneven shape: Use stitch markers to line up folds before sewing
Pro tip: Make a second pair right away using the same method. The second pair almost always looks better.
Final Touches and Care Tips
To keep slippers wearable longer:
- Weave ends securely and trim neatly
- Lightly reshape with your hands
- If using washable yarn, wash on gentle and air dry
If you used wool-blend yarn:
- Skip hot water
- Air dry flat
Conclusion
Crochet slippers are one of the best cozy projects you can make at home. The rectangle method keeps it simple, and small upgrades like BLO stitches, ribbed cuffs, and reinforced soles make them feel more comfortable and long-lasting.
Try one pair with chunky yarn for a quick win. Then make another in worsted weight for everyday wear.
Save this tutorial for later and make a pair for yourself (and one as a gift).


