
Crochet socks have a reputation for being tricky. Too loose? They slide down. Too tight? They’re uncomfortable. But once you understand negative ease, gauge, and toe-up construction, crochet socks become surprisingly customizable — and addictive to make.
The secret isn’t magic. It’s math, measurement, and smart construction.
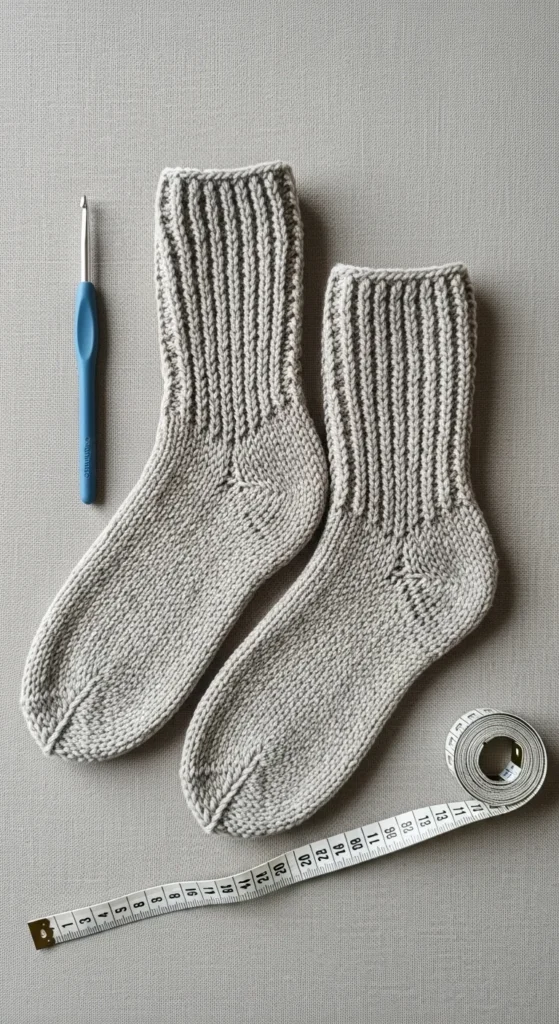
Let’s break it down step by step so your socks fit snugly and comfortably every time.
🧶 Step 1: Choose the Right Yarn & Hook
Sock success starts with materials.
Yarn
- Fingering weight (#1) sock yarn
- Wool + nylon blend for durability
- 100g skein is usually enough for one pair (EU 38/39 or US 5.5–6)
Nylon content helps prevent sagging and stretching over time.
Hook
- 2.25mm–3.5mm crochet hook
- 3mm is a common sweet spot
Crochet fabric must be tight and dense — no visible holes.
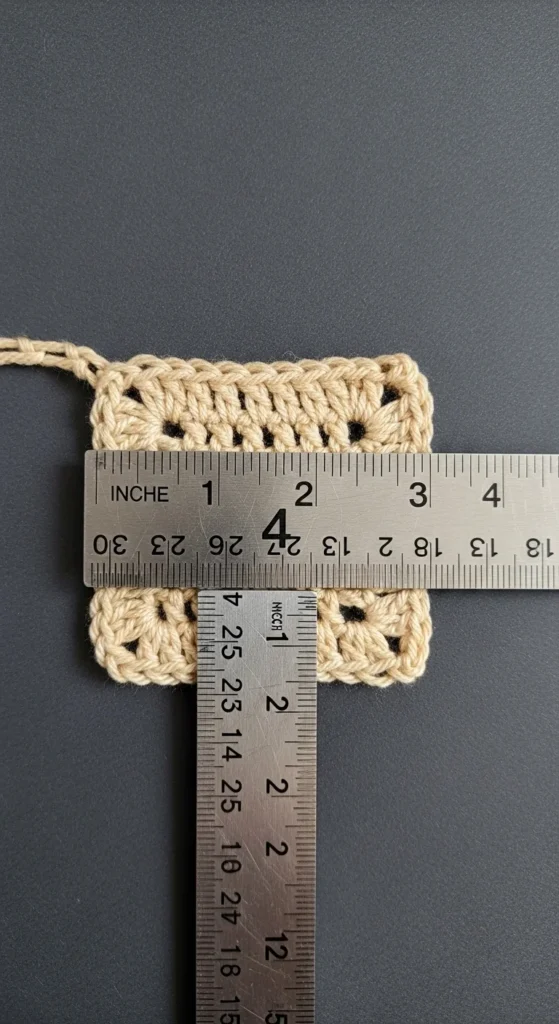
📏 Step 2: Make a Gauge Swatch (Swatch or Suffer!)
Crochet socks are all about fit.
Typical gauge:
- 32–36 stitches = 4 inches
Make a small swatch in the round and measure carefully.
Why it matters:
- Too loose → baggy socks
- Too tight → uncomfortable squeeze
Keep tension consistent and re-check after a few rows.
📐 Step 3: Use the Negative Ease Formula
Socks need to be slightly smaller than your foot so they grip comfortably.
Negative Ease Rule:
Foot circumference × 0.90 = sock circumference
Example:
- 9″ foot circumference
- 9 × 0.90 = 8.1″ sock circumference
Now multiply by your stitch gauge to find starting stitch count.
This formula prevents sagging.
👣 Step 4: Start Toe-Up for Adjustable Fit
Toe-up construction allows you to try on the sock as you go.
Basic Toe Start
- Create a magic ring
- Work 6 stitches into the ring
- Increase evenly every round until toe width matches foot
This creates a smooth, rounded toe box.
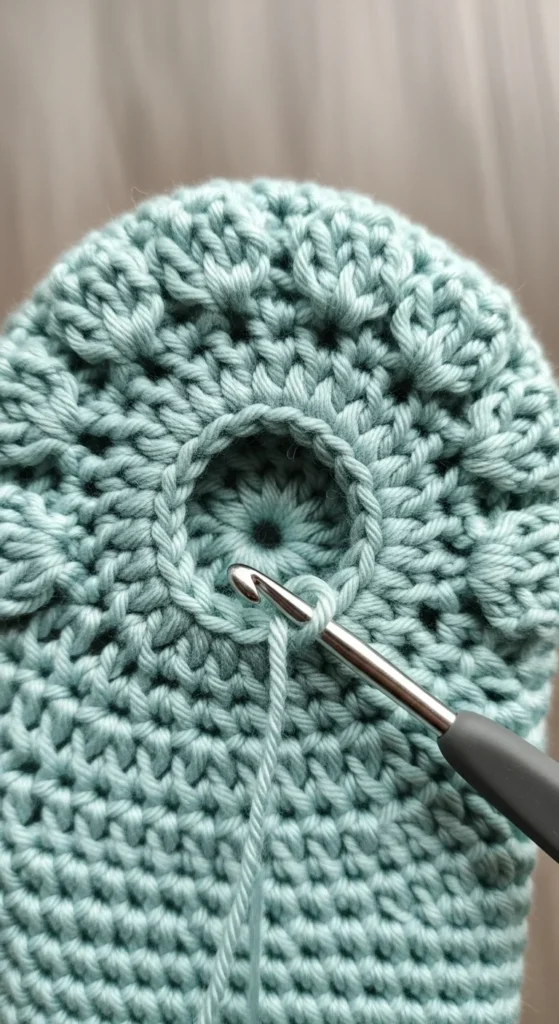
Continue working in continuous spiral rounds (no joins) to create a seamless foot tube.
📏 Step 5: Crochet the Foot Length
Work even rounds (no increases) until the sock reaches:
- About 1.5–2 inches before your heel
Try the sock on as you go — this is the beauty of toe-up construction.
Mark heel placement with stitch markers.
🧵 Step 6: Choose Your Heel Style
Two beginner-friendly options dominate.
Option 1: Afterthought Heel (Easiest)
- Crochet foot tube straight
- Insert scrap yarn where heel will go
- Remove later and crochet heel opening
This allows easy size adjustment without ripping.
To prevent heel gaps:
- Pick up stitches evenly
- Add small single crochet stitches at corners

Option 2: Short Row Heel (Cupped Fit)
Short rows create a curved heel cup.
Basic idea:
- Work partial rows
- Turn before end
- Decrease gradually
- Then increase back out
About 15 short rows usually shape the heel properly.
Short rows give a snug, shaped fit but require careful counting.
🧦 Step 7: Crochet the Leg
Once heel is complete:
- Continue working in spiral rounds
- Stop at desired height
Common lengths:
- Ankle socks
- Crew socks
- Mid-calf
Measure at thickest part of calf for best fit.
✨ Step 8: Add Stretchy Cuff Ribbing
Cuff needs stretch without squeezing.
Try:
- Alternating single crochet and back loop only stitches
- Simple 2×2 rib look
Work ribbing for 1–2 inches.
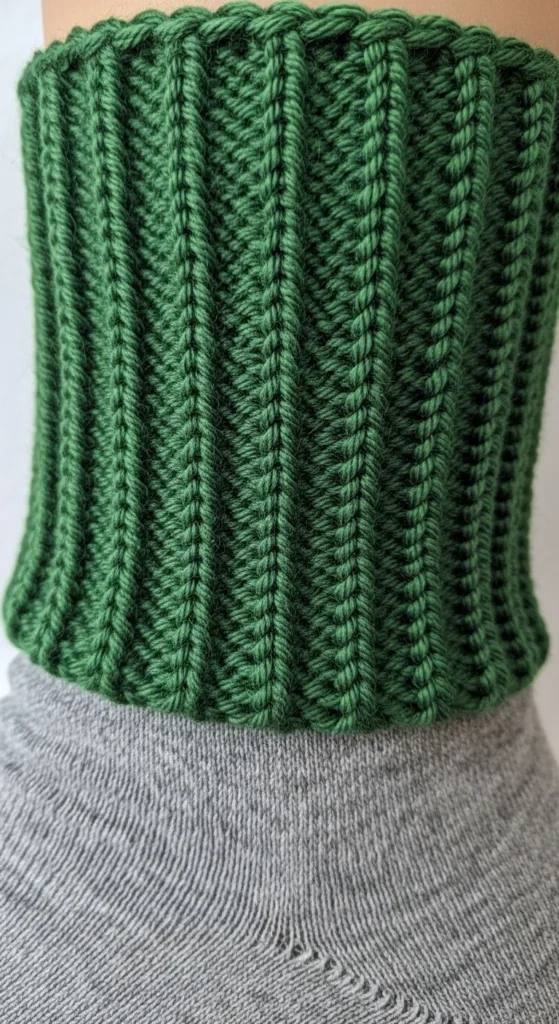
This helps socks stay up comfortably.
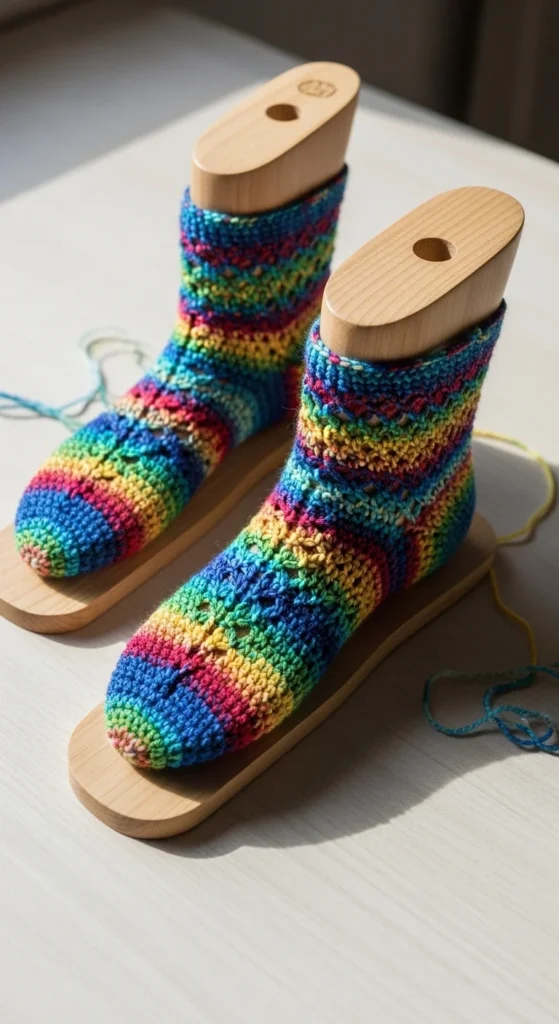
🧼 Step 9: Block & Finish
Wet block lightly:
- Soak in lukewarm water
- Gently squeeze
- Place on sock blockers if available
Blocking:
- Evens stitches
- Improves fit
- Helps fibers relax
🚫 Common Fit Problems & Fixes
Baggy socks?
- Increase negative ease
- Use smaller hook
Heel gaps?
- Pick up extra stitches
- Tighten corner stitches
Sock too short?
- Try toe-up so you can adjust length
Sagging over time?
- Use yarn with nylon content
Uneven pair?
- Write down stitch counts for second sock
- Mirror decreases for left/right symmetry
🧶 Quick Fit Formula Recap
- Measure foot circumference
- Multiply by 0.90 (10% negative ease)
- Multiply by stitch gauge
- Start toe-up
- Add heel
- Finish with ribbed cuff
Simple math = perfect fit.
💛 Final Thoughts
Crocheting socks that fit comfortably isn’t about guessing — it’s about measuring, swatching, and adjusting as you go.
With:
- Toe-up construction
- Proper negative ease
- Accurate gauge
- Thoughtful heel shaping
You can create socks that hug your feet perfectly and stay comfortable all day.
🧶 Save this guide, grab your favorite sock yarn, and crochet a pair that truly fits you!


