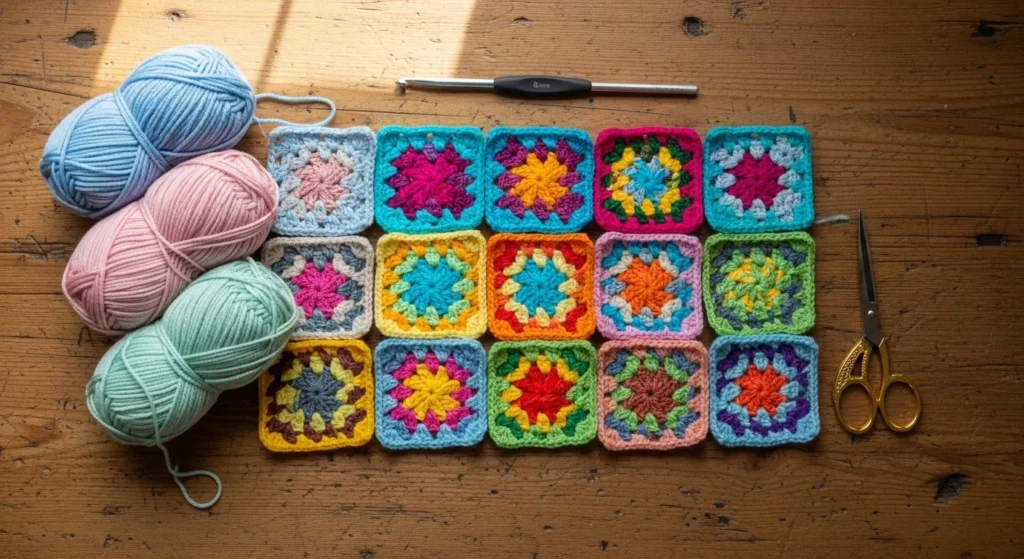
If there’s one crochet project that never goes out of style, it’s the classic granny square. It’s simple, rhythmic, colorful, and incredibly versatile. You can turn granny squares into blankets, bags, cardigans, pillow covers — even bucket hats.
And the best part? Once you understand the basic formula (clusters + corner chains), you can crochet one almost mindlessly.
Let’s break it down step by step so your squares come out flat, even, and beautiful every time.
🧶 Step 1: Choose the Right Yarn & Hook
For beginners, stick with:
- DK or worsted weight yarn (#3–4)
- 4mm–5mm crochet hook
Why this combo?
- Stitches are easy to see
- Gaps stay balanced
- Squares lie flatter
Acrylic yarns are great for beginners because they show stitch definition clearly and are budget-friendly.
If your square has large gaps → try a smaller hook.
If it feels stiff → go up a hook size.
🪄 Step 2: Start with a Foolproof Center
There are two easy ways to start a granny square.
Option 1: Magic Ring (Adjustable & Neat)
- Make a magic ring
- Chain 3 (counts as first double crochet)
- Work 2 more double crochet into the ring (this forms your first 3-DC cluster)
Option 2: Chain-4 Ring (Beginner-Friendly)
- Chain 4
- Slip stitch into the first chain to form a ring
- Chain 3 and begin your first cluster
Both methods work — choose whichever feels more comfortable.

🧵 Step 3: Round 1 – Build the Four Corners
The secret to a perfect square? Chain-3 corners.
Here’s the classic formula:
- 3 DC (cluster)
- Chain 3 (corner)
- Repeat 4 times total
- Slip stitch to the top of the first chain-3 to join
You should now have:
- 4 clusters
- 4 chain-3 corners
This creates the basic square shape.
Count corners rule: Always confirm you have four corners before moving on.
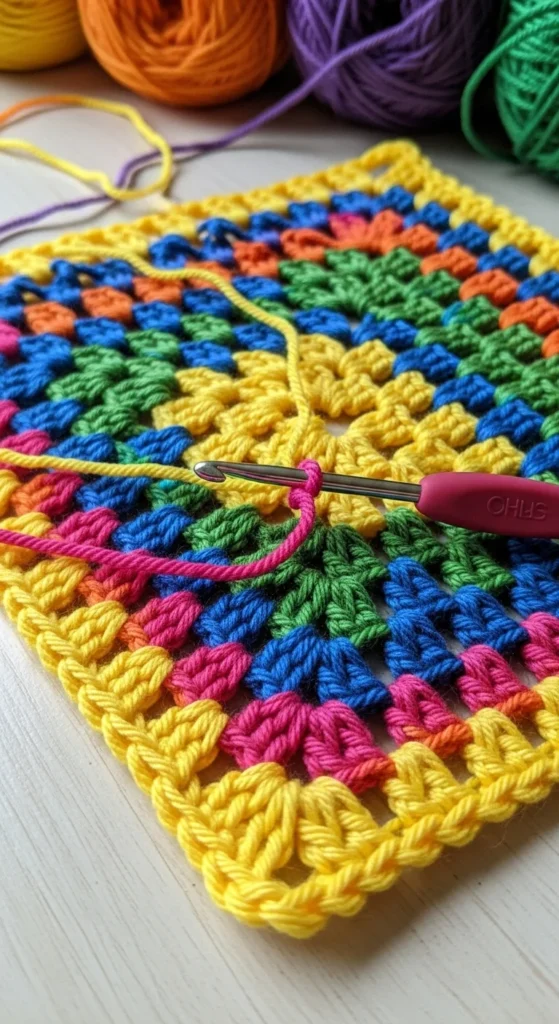
🔄 Step 4: Round 2 – Grow the Square Evenly
Now we build outward.
In each corner space:
- Work 3 DC
- Chain 3
- 3 DC again (same corner space)
Between corners:
- Chain 1
- 3 DC in the next chain-1 space
Slip stitch to join at the end of the round.
Each new round:
- Adds one cluster per side
- Keeps four corners
- Uses chain-3 in every corner
Keep repeating this pattern until your square reaches your desired size.
📏 How Big Should Your Granny Square Be?
Typical sizing:
- 4 rounds → about 4–5 inches
- 5 rounds → about 6 inches
- 6 rounds → about 7–8 inches
A classic 6-inch square usually takes around 30 minutes for beginners.
Want a test guide?
With DK yarn and 4mm hook, about 7 clusters per 4 inches is a good gauge reference.
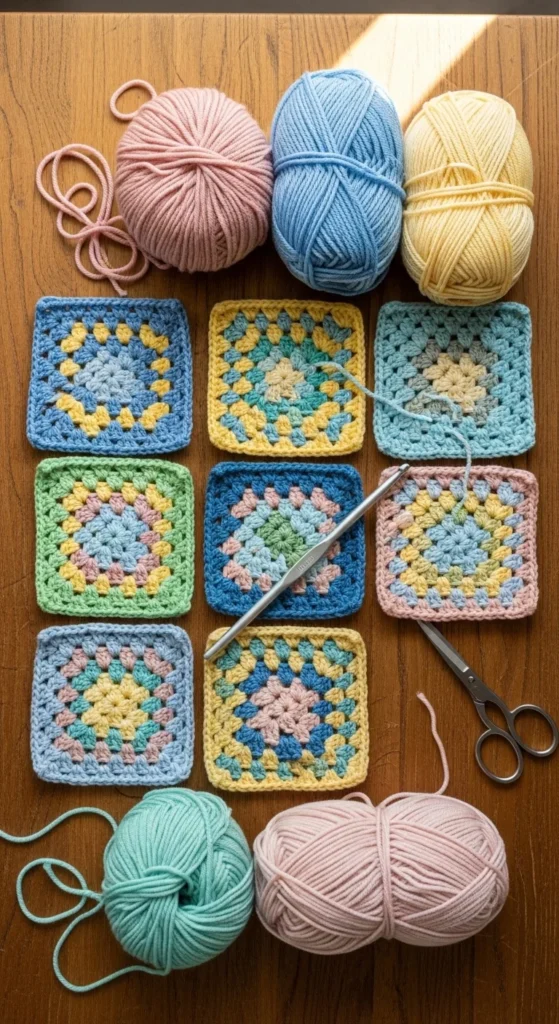
🎨 Step 5: Change Colors Cleanly
Multi-color granny squares are trending — and surprisingly simple.
Best place to change color?
👉 At the corner space
Why?
- Tails hide more easily
- Color transitions look cleaner
Color Change Tip:
- Finish last double crochet until 2 loops remain
- Pull new color through
- Continue with new color
- Weave in ends before starting next round
🧠 Tension Tips for Flat Squares
If your square looks wonky, here’s what might be happening:
Ruffled edges?
- Too loose tension
- Too many stitches
Curling inward?
- Too tight tension
- Not enough chain space
Skewed sides?
- Missing a cluster
- Incorrect corner chains
Use stitch markers in corners if needed — especially as a beginner.
Practice really does help. Try a “10-square challenge” to build speed and consistency.
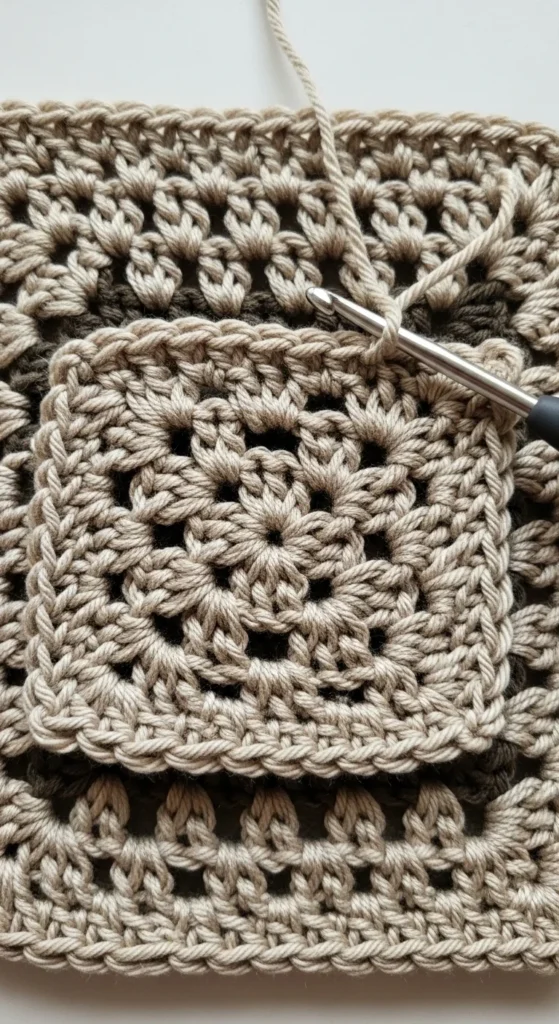
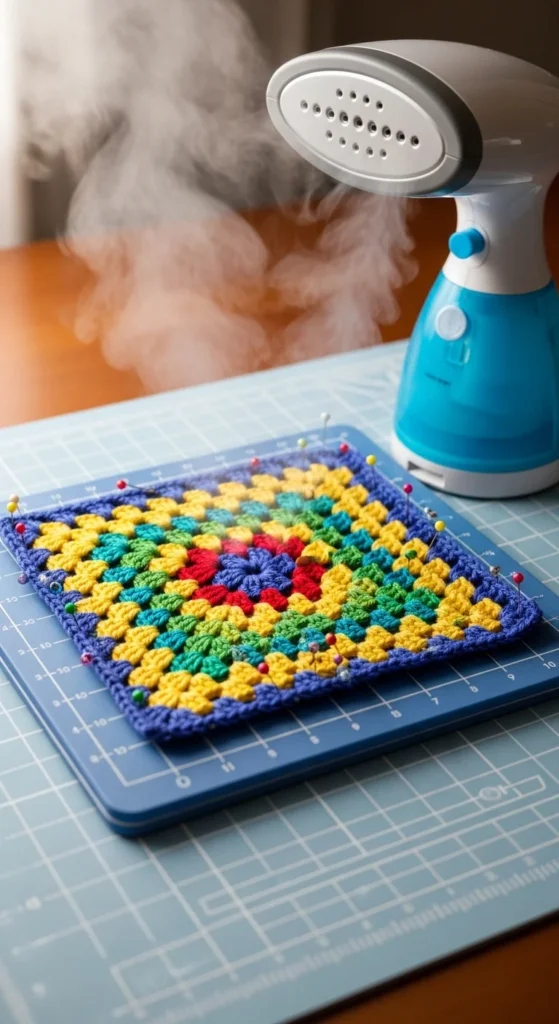
🧼 Step 6: Block for a Professional Finish
Blocking makes a huge difference.
To block:
- Lightly steam (without touching yarn)
- Pin square evenly into shape
- Let cool completely
Blocking:
- Straightens edges
- Opens up stitches
- Makes joining easier later
✨ Quick Join Preview (For Blankets)
Once you’ve made multiple squares, you can join them using:
- Slip stitch join
- Invisible seam
- Join-as-you-go method
But first — master one perfect square.
💛 Beginner Cheat Sheet
✔ 3 DC = one granny cluster
✔ Chain 3 = corner
✔ Chain 1 = side space
✔ Slip stitch to join
✔ Always check for 4 corners
Stick to this formula, and your squares will stay even and flat.
🎁 Final Thoughts
Crocheting a classic granny square is like learning the alphabet of crochet. Once you know it, you can build almost anything.
With:
- Simple 3-DC clusters
- Chain-3 corners
- Even tension
- Clean joins
You’ll create beautiful, flat squares ready for blankets, bags, or garments.
🧶 Save this tutorial and start your first granny square today — one square at a time!


