There’s something magical about turning a simple ball of yarn into a cozy, wearable hat — especially when it only takes an hour or two. If you’ve been wanting to try crocheting a beanie but felt intimidated by working in rounds, counting stitches, or getting the right fit… this guide is for you.
We’re using the rectangle method — one of the easiest and most beginner-friendly ways to crochet a cute hat that actually fits.
Let’s grab our hook and get started!
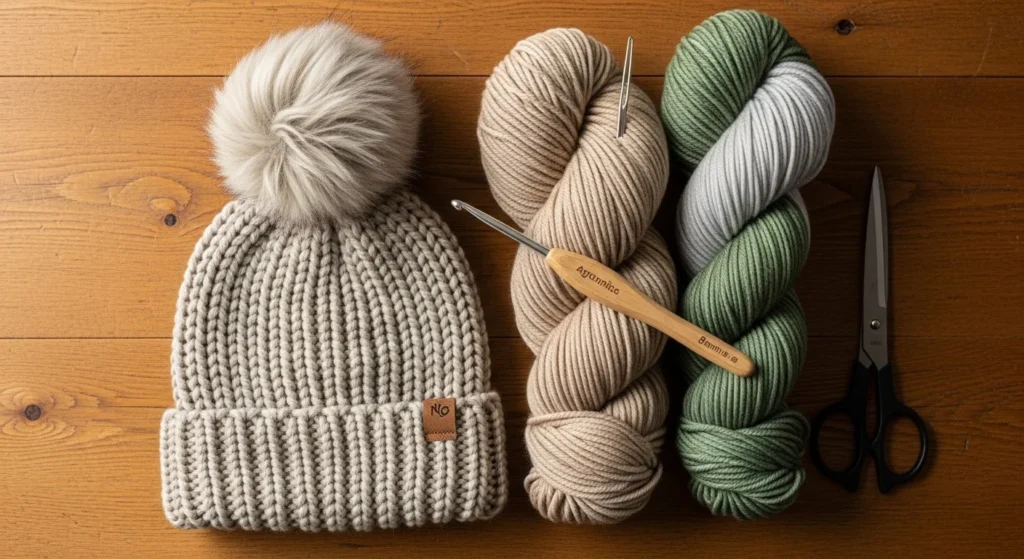
🧶 What You’ll Need (Beginner-Friendly Supplies)
Keep it simple — especially for your first hat.
Recommended supplies:
- Chunky or bulky yarn (Category 5 or 6 works up fast)
- 6mm–8mm crochet hook
- Yarn needle (for seaming and finishing)
- Scissors
- Optional: pom pom maker
Why chunky yarn?
- Works up in 30–90 minutes
- Makes stitches easier to see
- Perfect for gifts and winter sets
If you only have worsted weight yarn, you can hold two strands together to mimic bulky yarn — a great stash-busting trick!
📏 Step 1: Measure for the Perfect Fit
A common beginner mistake? Skipping measurements.
Measure the head circumference first.
👉 Your hat should be 2–3 inches smaller than the head measurement.
This is called negative ease, and it ensures a snug (but comfy) fit.
For example:
- Head size: 22”
- Hat width (unstretched): 19–20”
Pro tip: Measure once, fit forever.
🪡 Step 2: Crochet a Simple Rectangle (The Easy Method!)
This is where the magic happens.
Instead of working in confusing rounds, you’ll:
- Crochet a rectangle
- Fold it into a tube
- Seam the side
- Cinch the top closed
Basic Beginner Stitch: Back Loop Only (BLO)
We’ll use half double crochet in the back loop only (HDC BLO).
Why?
- Creates a stretchy ribbed look (like knitting!)
- Easy to learn
- Very forgiving for tension mistakes
How to Start:
- Chain until your piece measures the desired hat height (usually 14–15” for adults).
- Work half double crochet into the back loop only across each row.
- Turn and repeat.
Keep going until your rectangle measures the head circumference (minus 2–3 inches).
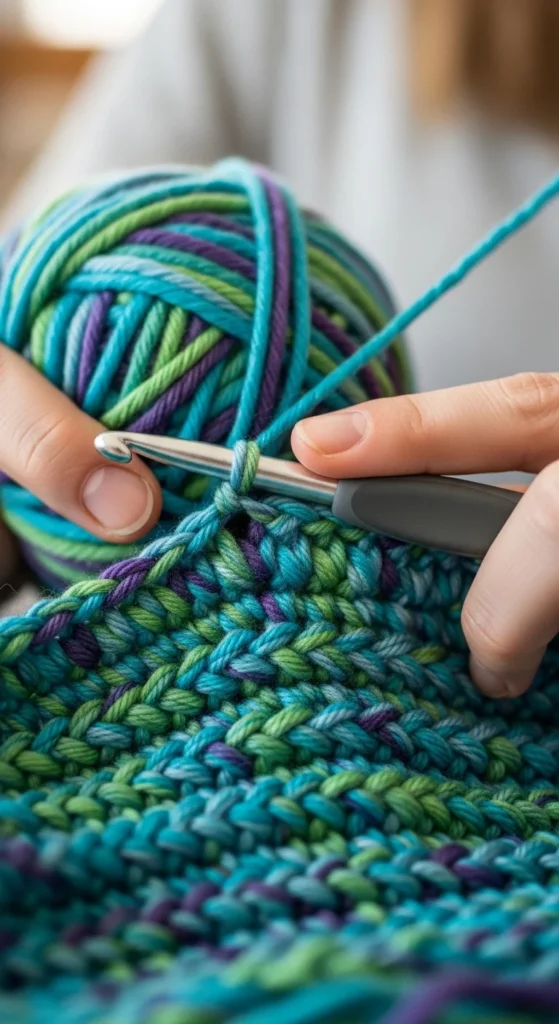
You’ll notice beautiful vertical ribbing forming — that’s your cute knit-look texture!
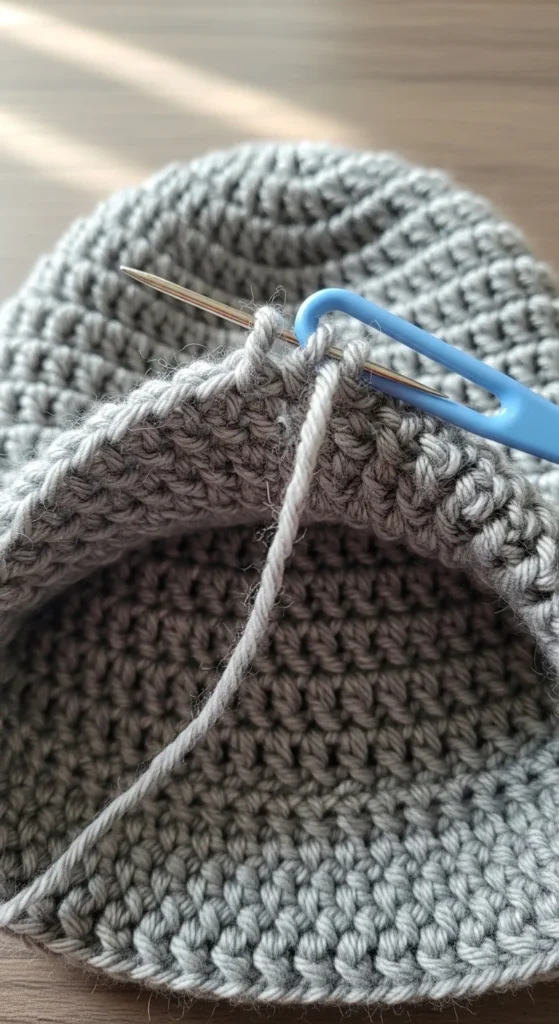
🧵 Step 3: Seam the Hat
Once your rectangle is the correct width:
- Fold it in half (short sides touching).
- Use a yarn needle to whip stitch or mattress stitch the seam.
- Turn the tube right side out.
If you want a seamless look, try matching your stitches carefully — bulky seams can feel uncomfortable.
Beginner fix: If your seam feels too thick, try stitching through only one loop on each side.
🎀 Step 4: Cinch the Top (No-Hole Trick!)
Now it’s time to close the top.
- Thread your yarn needle.
- Weave in and out along the top edge (running stitch).
- Pull tightly to cinch.
- Secure with a few stitches to prevent gaps.
If you see a small hole at the top, weave the needle through the gaps and pull again.
This step transforms your rectangle into a real hat!
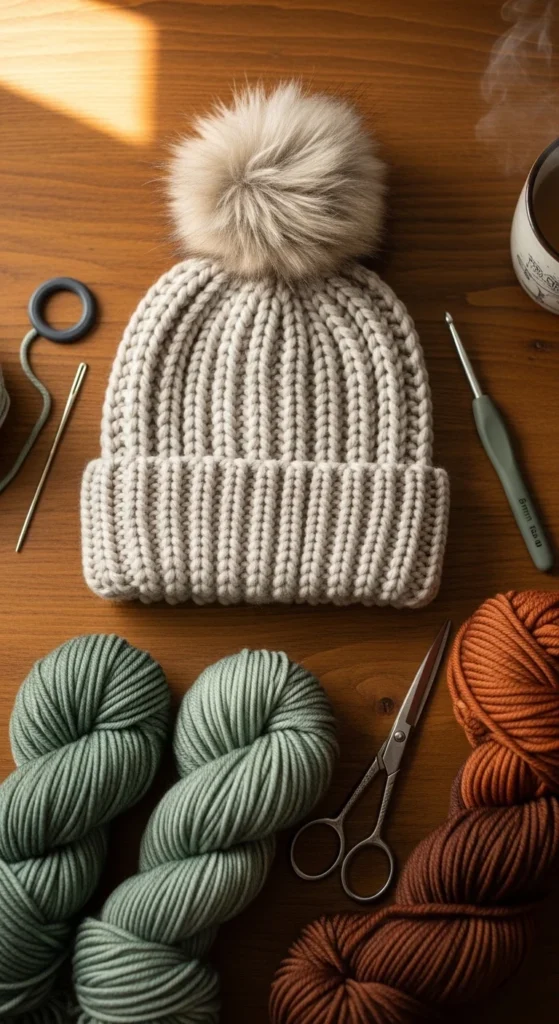
🎉 Step 5: Add a Pom Pom (Optional but Adorable)
Want instant cuteness? Add a pom pom.
You have options:
- Yarn pom pom (DIY and soft)
- Faux fur pom (low-shed and trendy)
- Removable snap pom (great for washing)
Attach securely to the cinched top using strong knots.
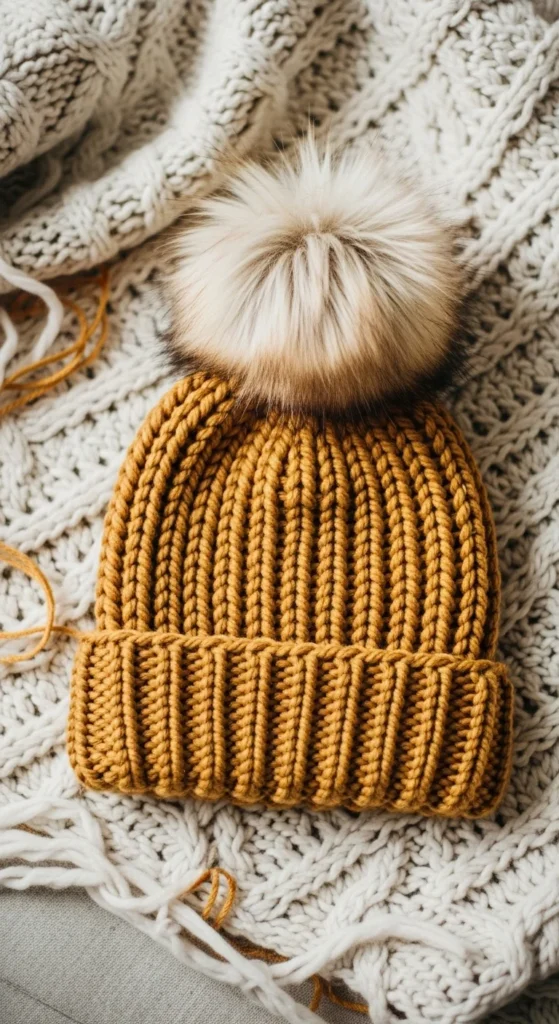
Pom poms instantly upgrade a basic beanie into something gift-worthy.
🧠 Common Beginner Mistakes (And How to Fix Them)
Let’s save you frustration:
❌ Hat too big?
- You didn’t account for negative ease.
- Try fewer rows next time.
❌ Hat too small?
- Add more rows before seaming.
- Stretch gently if yarn allows.
❌ Top won’t close fully?
- Tighten your running stitch more.
- Go around twice if needed.
❌ Ribbing doesn’t show?
- Make sure you’re crocheting in the back loop only.
✨ Want to Try Other Methods?
Once you master the rectangle method, you can explore:
- Magic circle (top-down hats)
- Spiral HDC for seamless designs
- Slouchy styles (just add extra rows!)
- Color-block versions for unisex looks
But honestly? The rectangle method is the ultimate beginner win.
💛 Final Thoughts
Crocheting your first hat doesn’t have to be complicated.
With:
- Chunky yarn
- Half double crochet
- Back loop only ribbing
- A simple rectangle
You can create a cute, cozy beanie that fits beautifully — even as a beginner.
Make one for yourself… then one for a friend… then maybe a whole family set.
✨ Save this tutorial for later and start crocheting your first cute hat today!


