Blank walls can make even the most beautiful room feel unfinished. The good news is that you don’t need expensive artwork or custom pieces to create a polished, gallery-style look. Framed art made with DIY prints is one of the easiest ways to upgrade your space on a budget, and it’s completely beginner-friendly.
With a few smart choices and simple techniques, you can turn affordable prints into wall art that looks intentional and stylish. This guide walks you through the entire process, from choosing prints to hanging them like a pro.
Choose Prints That Feel Cohesive
The first step is selecting prints that work well together. You don’t need complicated designs. Simple visuals often look best once framed.
Great DIY print options include:
- Abstract shapes or line art
- Nature photography or botanical images
- Minimal illustrations or patterns
- Vintage-style sketches or textures
Stick to a consistent color palette. Neutral tones, soft pastels, or muted earth colors make it easier to mix different prints without clashing.
If you plan to hang multiple frames, aim for prints that share a similar mood or theme.
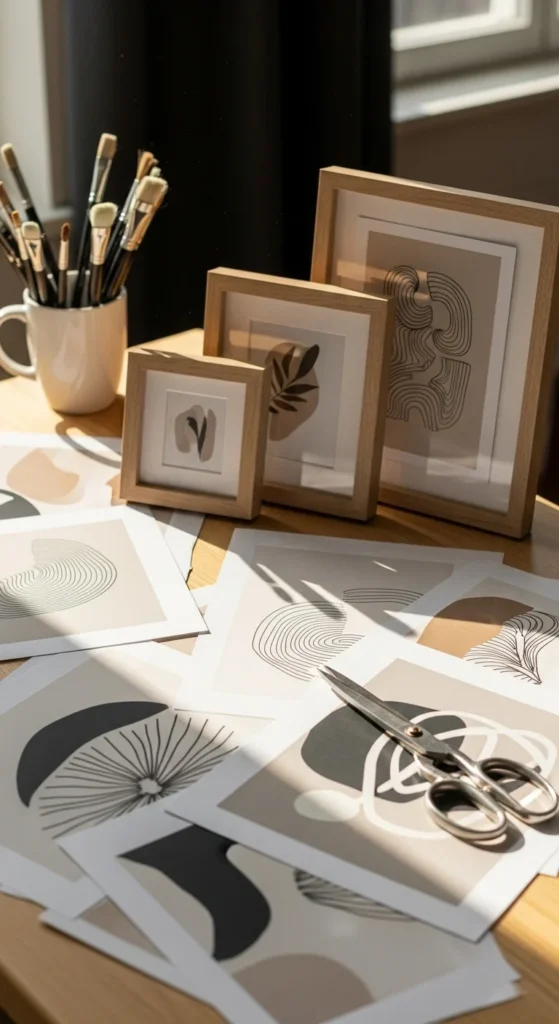
Pick Frames That Instantly Elevate the Art
Frames play a huge role in how professional your DIY prints look. Even the simplest print can feel high-end with the right frame.
Helpful framing tips:
- Use the same frame style for grouped art
- Choose thin frames for a modern look
- Add white mats to give prints breathing room
Black, wood, or soft metallic frames are versatile and work in most spaces. Consistency matters more than price.
Resize and Prepare Prints the Right Way
Before placing prints in frames, make sure they fit properly. A well-sized print looks intentional and clean.
Easy preparation steps:
- Trim prints evenly with a ruler and craft knife
- Center smaller prints using a mat
- Keep margins balanced on all sides
Avoid overcrowding the frame. Negative space helps the artwork stand out and gives your wall a curated feel.
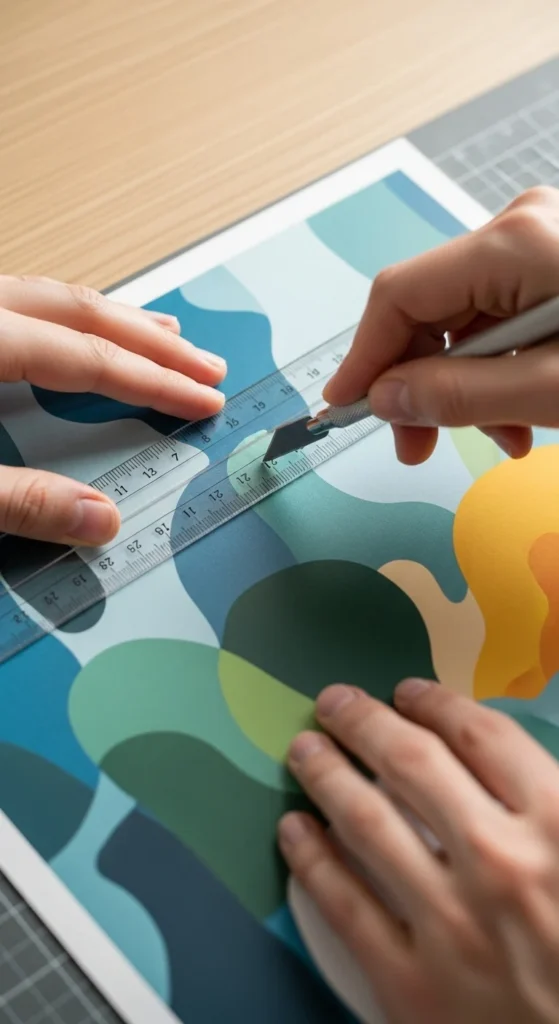
This step takes a little patience, but it makes a noticeable difference in the final result.
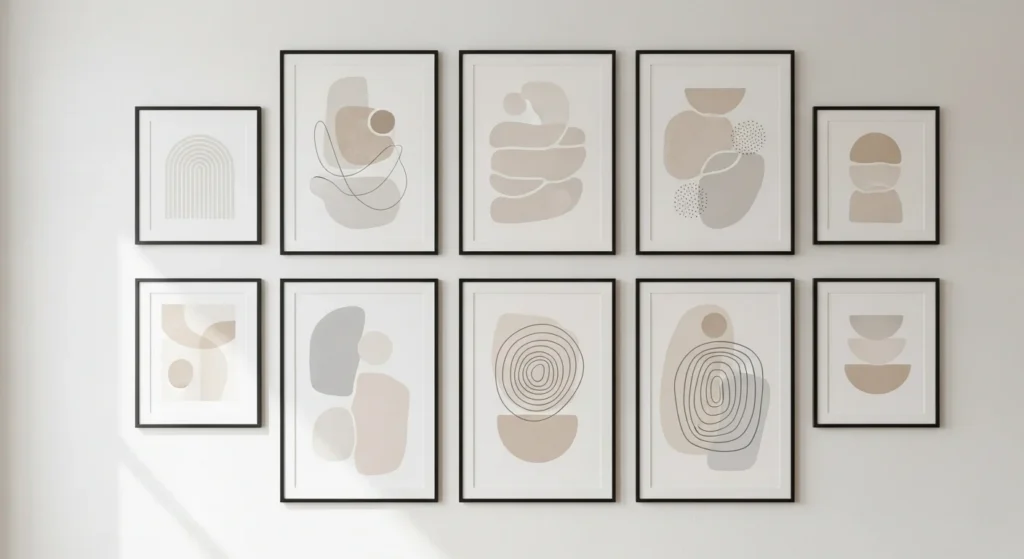
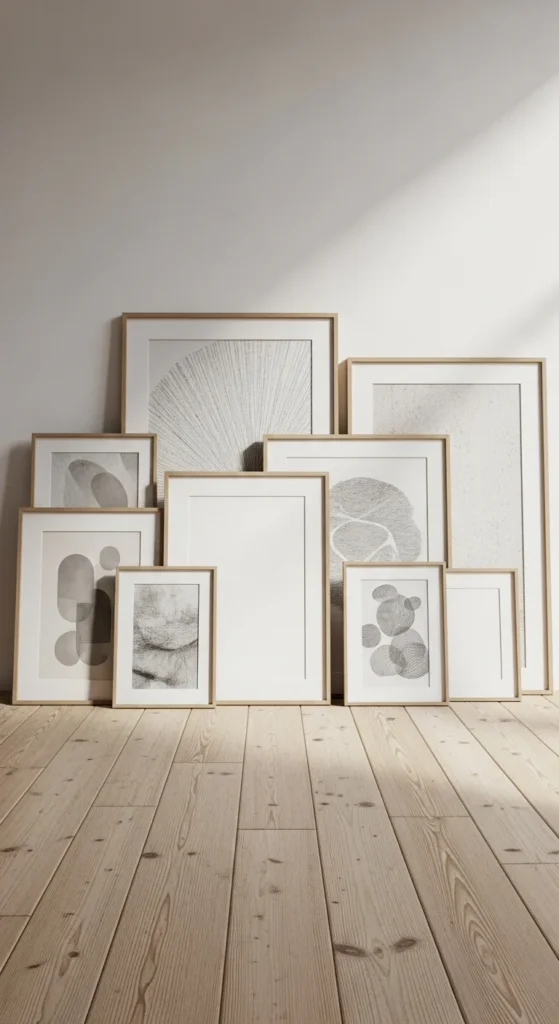
Create a Balanced Gallery Wall Layout
Gallery walls are popular because they allow you to display multiple pieces without needing one large artwork. Planning the layout first prevents uneven spacing or awkward gaps.
Try these layout ideas:
- A straight row of identical frames
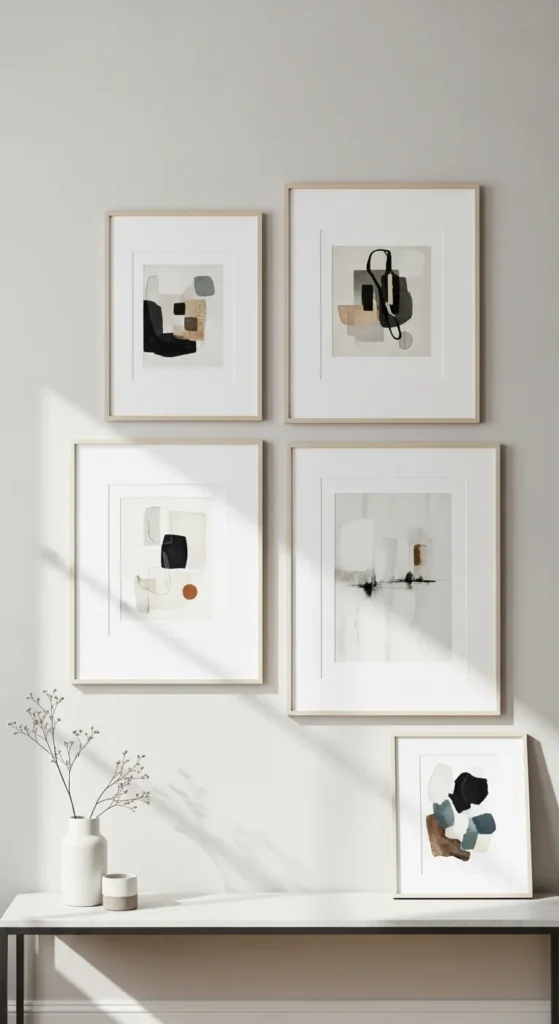
- A grid layout for a clean, structured look
- A loose, organic arrangement for a relaxed feel
Lay the frames on the floor before hanging. Adjust spacing until everything feels balanced.
Use a level and measure carefully so the final display feels polished.
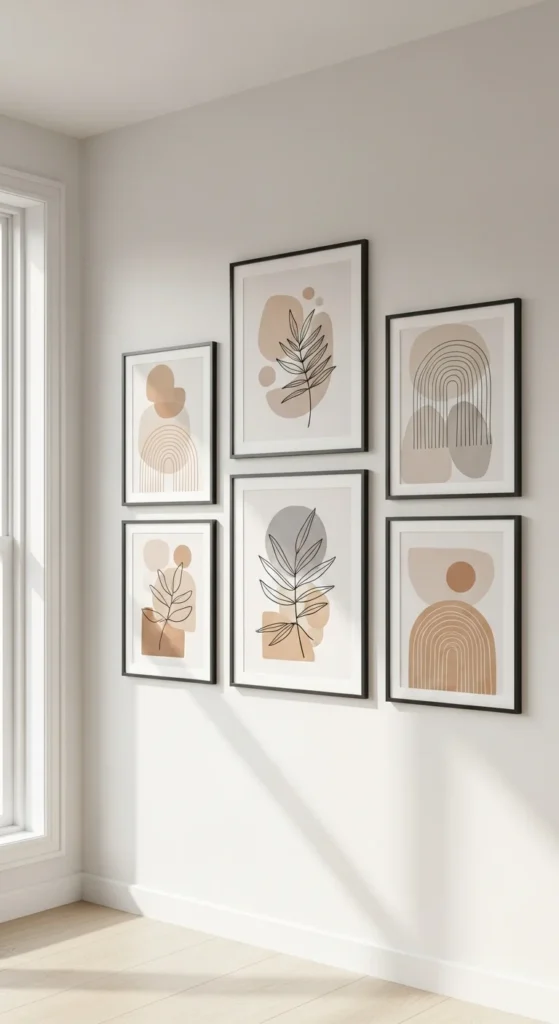
Style Frames for Different Rooms
Framed DIY prints work in almost every room. The key is choosing designs that fit the space.
Room-specific ideas:
- Living room: Abstract or landscape prints
- Bedroom: Soft, calming visuals
- Hallway: Repeating patterns or line art
- Home office: Simple, motivating imagery
Keep surrounding decor minimal so the framed art remains the focal point.
Use Mats and Spacing to Add Depth
Mats are an easy way to make DIY prints feel more refined. They add contrast and help guide the eye toward the artwork.
Simple mat tips:
- Use white or off-white for a clean look
- Match mat size across grouped frames
- Leave enough space between frames so each piece can breathe
Even budget prints look elevated when properly matted and spaced.
Final Thoughts: Simple Prints, Big Impact
Framed art with DIY prints is proof that decorating doesn’t need to be expensive or complicated. With cohesive prints, consistent frames, and thoughtful spacing, you can create wall art that feels intentional and personal.
Take your time, plan your layout, and enjoy the process. Small details make a big difference.
Save this guide for later and start turning simple prints into framed art that transforms your space.


